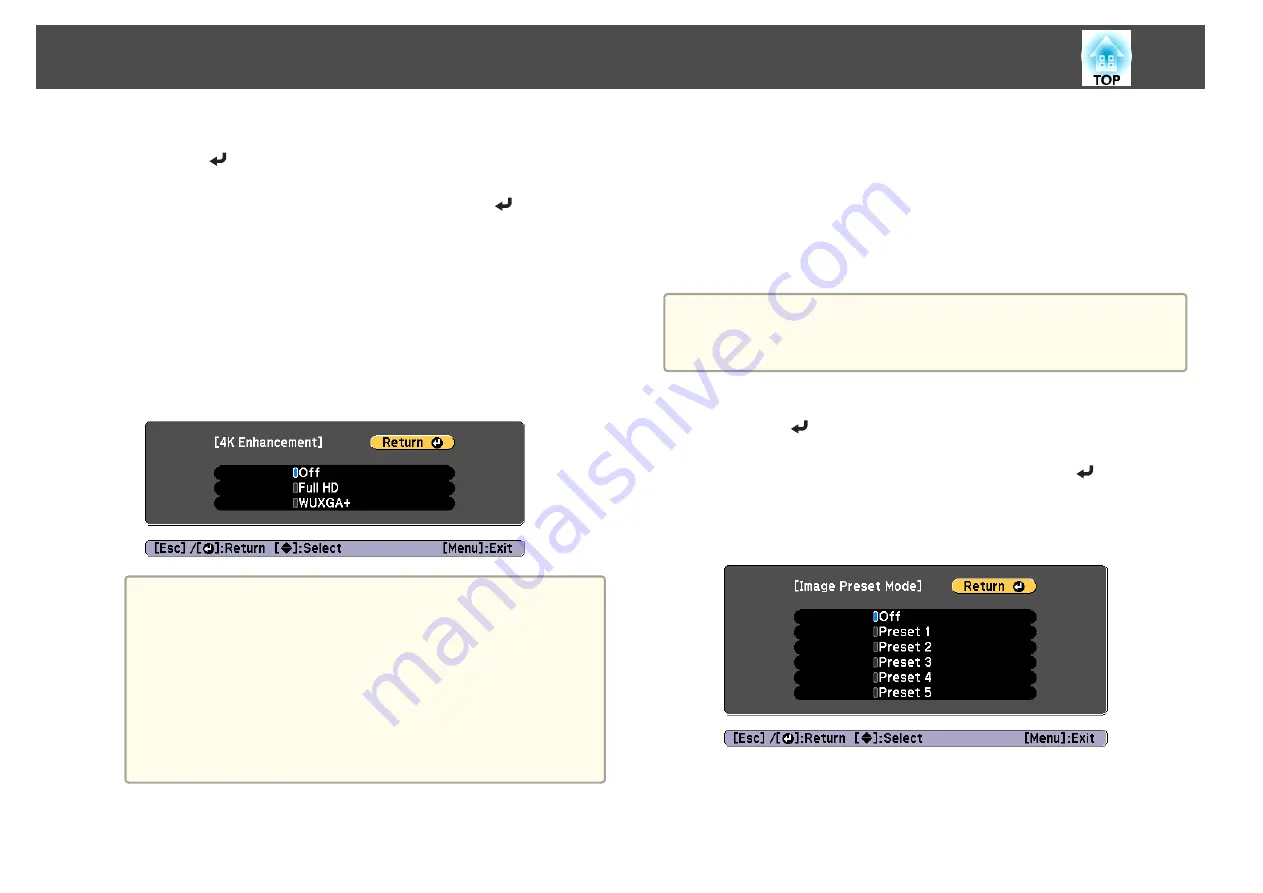
a
Select
4K Enhancement
from
Image Enhancement
, and then
press the [
] button.
b
Select one of the following, and then press the [
] button.
Off
: Disables 4K Enhancement. If a signal that exceeds the panel
resolution of this projector is input, the image is displayed according
to the panel resolution of this projector.
Full HD
: If a signal with a resolution of 1080i/1080p/WUXGA or
higher is input, 4K Enhancement is enabled.
WUXGA+
: If a signal with a resolution that exceeds WUXGA is
input, 4K Enhancement is enabled. To project a high-resolution
movie, you can project a high-definition image by using this setting
with
Image Preset Mode
.
a
•
To project from multiple projectors, select
Off
to unify each
image.
•
Off
is ideal for projecting presentation materials from
computers and so on.
•
If set to
Full HD
or
WUXGA+
, the status corrected using the
following function is canceled.
Edge Blending, Scale, Curved Surface, Point Correction,
Corner Wall
When
4K Enhancement
is set to
Off
, the settings return to
their previous state.
c
Press the [Esc] button to return to the previous screen.
Image Preset Mode
Select the optimal setting according to the projected image from five presets
prepared in advance.
The following settings are saved in the presets.
Frame Interpolation
,
Deinterlacing
,
Noise Reduction
,
MPEG Noise
Reduction
,
Super-resolution
,
Detail Enhancement
a
•
To minimize delays, set
Image Preset Mode
to
Off
.
•
If you set
Image Preset Mode
to
Off
, you cannot set the other items
in
Image Enhancement
.
a
Select
Image Preset Mode
from
Image Enhancement
, and then
press the [
] button.
b
Select one of the following, and then press the [
] button.
Preset 1
to
Preset 5
: The settings saved in advance are applied to the
image.
Off
: Select this to turn off presets.
Adjusting the Projected Images
84
Summary of Contents for EB-L1050U
Page 1: ...User s Guide ...
Page 14: ...Introduction This chapter explains the names for each part ...
Page 57: ...Basic Usage This chapter explains how to project and adjust images ...
Page 135: ...Configuration Menu This chapter explains how to use the Configuration menu and its functions ...
Page 207: ...Cleaning the Parts 207 ...
Page 214: ...Appendix ...


