•
Moderator Password
: Allows you to set an authentication password
for using Epson iProjection when connecting to the projector as a
moderator. Enter four digits for the password. (There is no default
password.)
•
Projector Keyword
: Lets you turn on a security password to
prevent access to the projector by anyone not in the room with it.
You must enter a displayed keyword using Epson iProjection to
project images and send or receive data.
•
Display Keyword
: Lets you display a projector keyword on the
projection screen when connecting to the projector using Epson
iProjection.
•
Display LAN Info.
lets you set the display format for the
projector's network information.
a
Use the displayed keyboard to enter the name, passwords and
keyword. Press [
][
][
][
] buttons on the remote control
to highlight characters and press [Enter] to select them.
f
Select the
Wired LAN
menu and press [Enter].
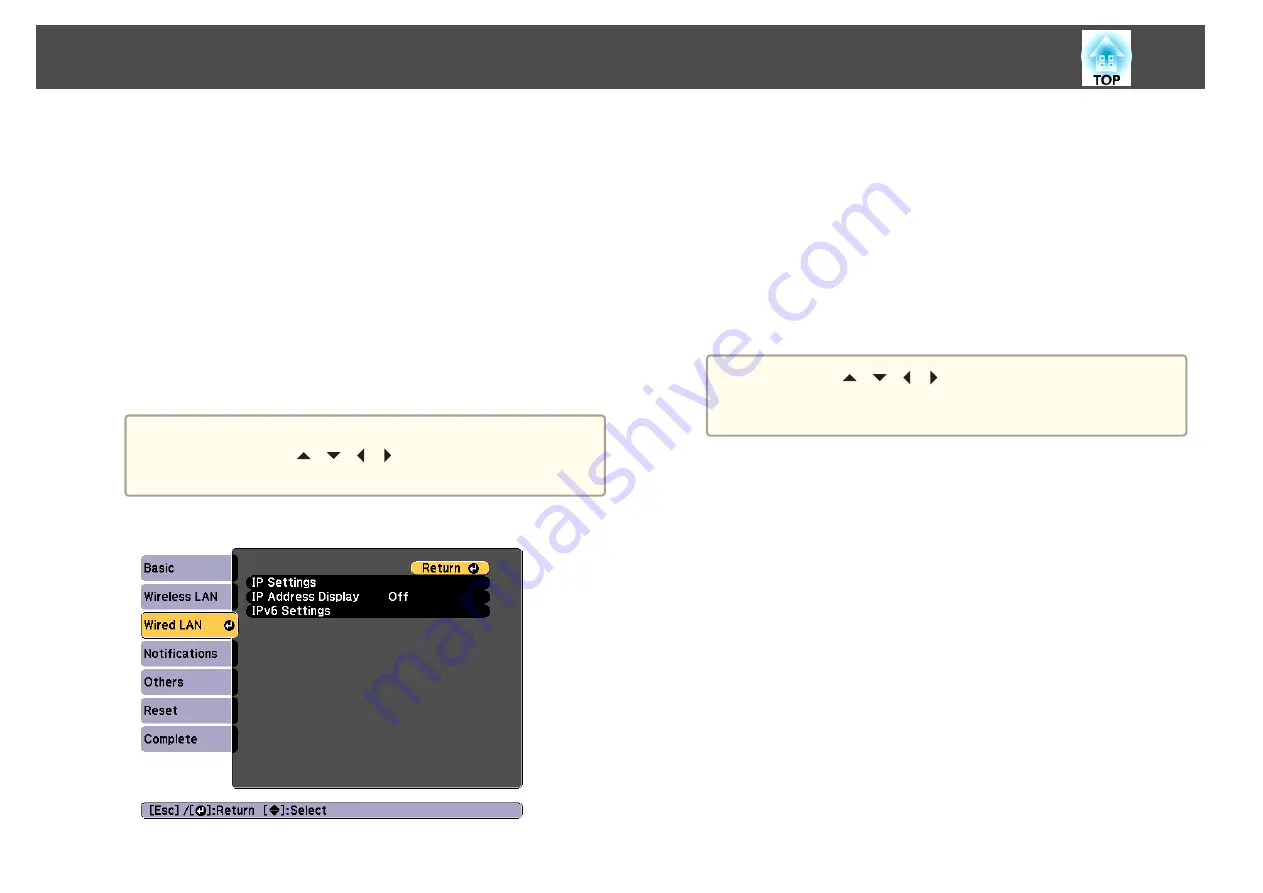
g
Assign the IP settings for your network as necessary.
•
If your network assigns addresses automatically, select
IP Settings
to set the
DHCP
setting to
On
.
•
If you must set addresses manually, select
IP Settings
to set the
DHCP
setting to
Off
, and then enter the projector's
IP Address
,
Subnet Mask
, and
Gateway Address
as necessary.
•
If you want to connect the projector to the network using IPv6,
select
IPv6 Settings
.
s
a
Press the [
][
][
][
] buttons on the remote control, and
then select the number you want to enter on the soft keyboard
displayed. Press the [Enter] button to confirm.
h
To prevent the IP address from being displayed on the LAN
standby screen and Home screen, set the
IP Address Display
setting to
Off
.
i
If you have finished making settings, select
Setup complete
.
Follow the on-screen instructions to save the settings and close
the menu.
Wired Network Projection
122
Summary of Contents for EB-L1050U
Page 1: ...User s Guide ...
Page 14: ...Introduction This chapter explains the names for each part ...
Page 57: ...Basic Usage This chapter explains how to project and adjust images ...
Page 135: ...Configuration Menu This chapter explains how to use the Configuration menu and its functions ...
Page 207: ...Cleaning the Parts 207 ...
Page 214: ...Appendix ...


