a
•
By pressing the [Geometry] button on the remote control or the
[
] button on the control panel, a screen for selecting the
adjustment method is displayed.
•
When you want to re-adjust the projection position and so on, if
you want to release the correction status temporarily, set the
Geometry Correction
to
Off
. Even when it is set to
Off
, the
correction values are saved.
s
Settings
-
Geometry Correction
•
You can save the geometry correction settings using
Memory
in
Geometry Correction
, and load them when needed.
s
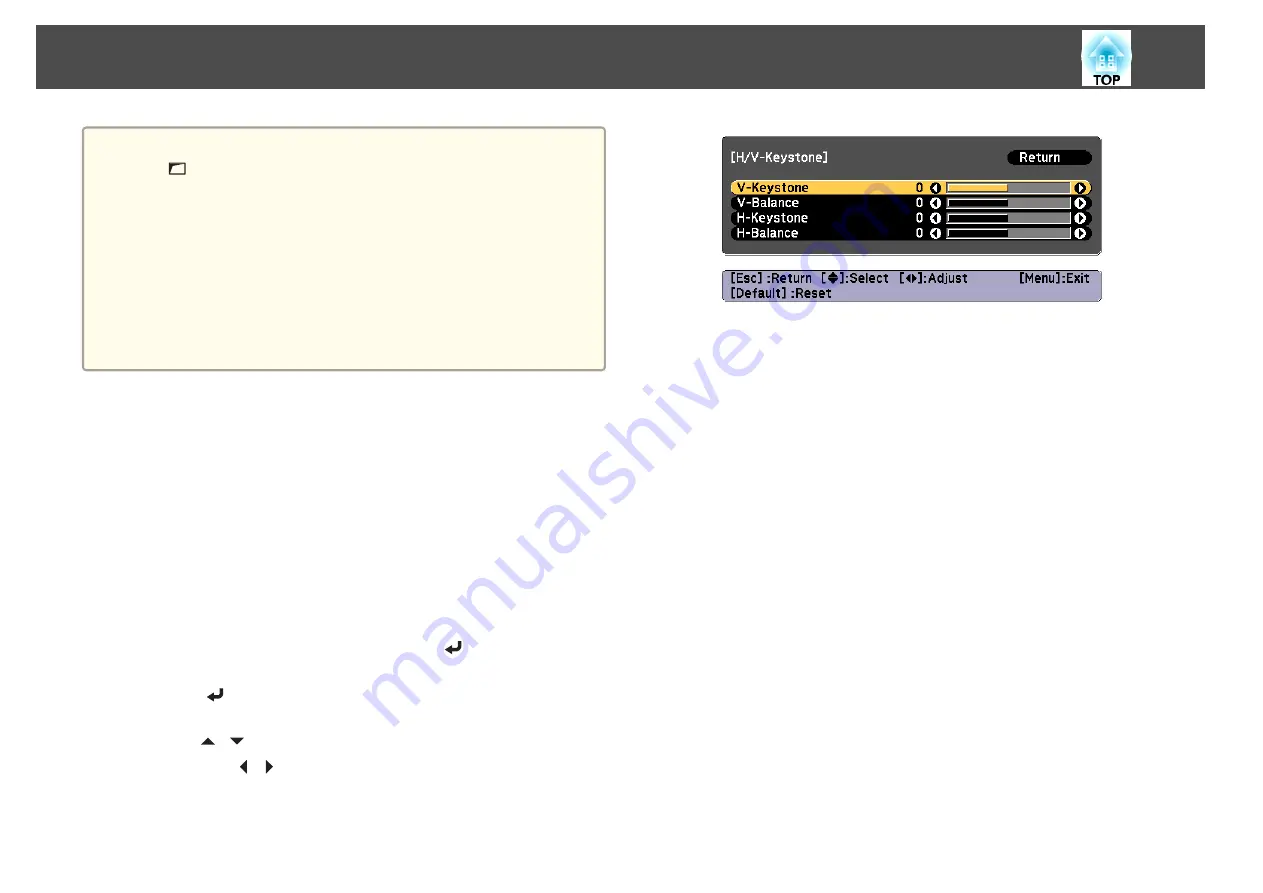
H/V-Keystone
This allows you to correct distortion in the horizontal and vertical
directions independently.
Use the following to check the adjustment range for the image.
s
a
Press the [Menu] button while projecting.
b
Select
Geometry Correction
from
Settings
.
c
Select
H/V-Keystone
, and then press the [
] button.
"If this setting is changed, the image may be distorted." is displayed,
press the [
] button.
d
Use the [
][
] buttons to select the correction method, and
then use the [
][
] buttons to make the corrections.
Adjusting the Projected Images
65
Summary of Contents for EB-L1050U
Page 1: ...User s Guide ...
Page 14: ...Introduction This chapter explains the names for each part ...
Page 57: ...Basic Usage This chapter explains how to project and adjust images ...
Page 135: ...Configuration Menu This chapter explains how to use the Configuration menu and its functions ...
Page 207: ...Cleaning the Parts 207 ...
Page 214: ...Appendix ...


