(2)
Select a combination of R (red), G (green), and B (blue) for the grid color.
R/G/B
: Displays a combination all three colors; red, green and blue. The
actual color of the grid is white.
R/G
: This is available when
R
is selected from
Select Color
. Displays a
combination of two colors; red and green. The actual color of the grid is
yellow.
G/B
: This is available when
B
is selected from
Select Color
. Displays a
combination of two colors; green and blue. The actual color of the grid is
cyan.
(3)
Press the [Esc] button to return to the previous screen.
g
Select
Start Adjustments
, and then press the [
] button.
First, select
Shift the whole panel
to adjust the entire LCD panel.
When the start confirmation message is displayed, press the [
]
button to start adjustment.
a
The image may become distorted while adjusting. The image is
restored once adjustments are complete.
h
Use the [
][
][
][
] buttons to make adjustments, and then
press the [
] button.
i
To perform more detailed adjustments, select
Adjust the four
corners
, and then press the [
] button to confirm.
j
Use the [
], [
], [
], and [
] buttons to make adjustments, and
then press the [
] button to move to the next adjustment point.
k
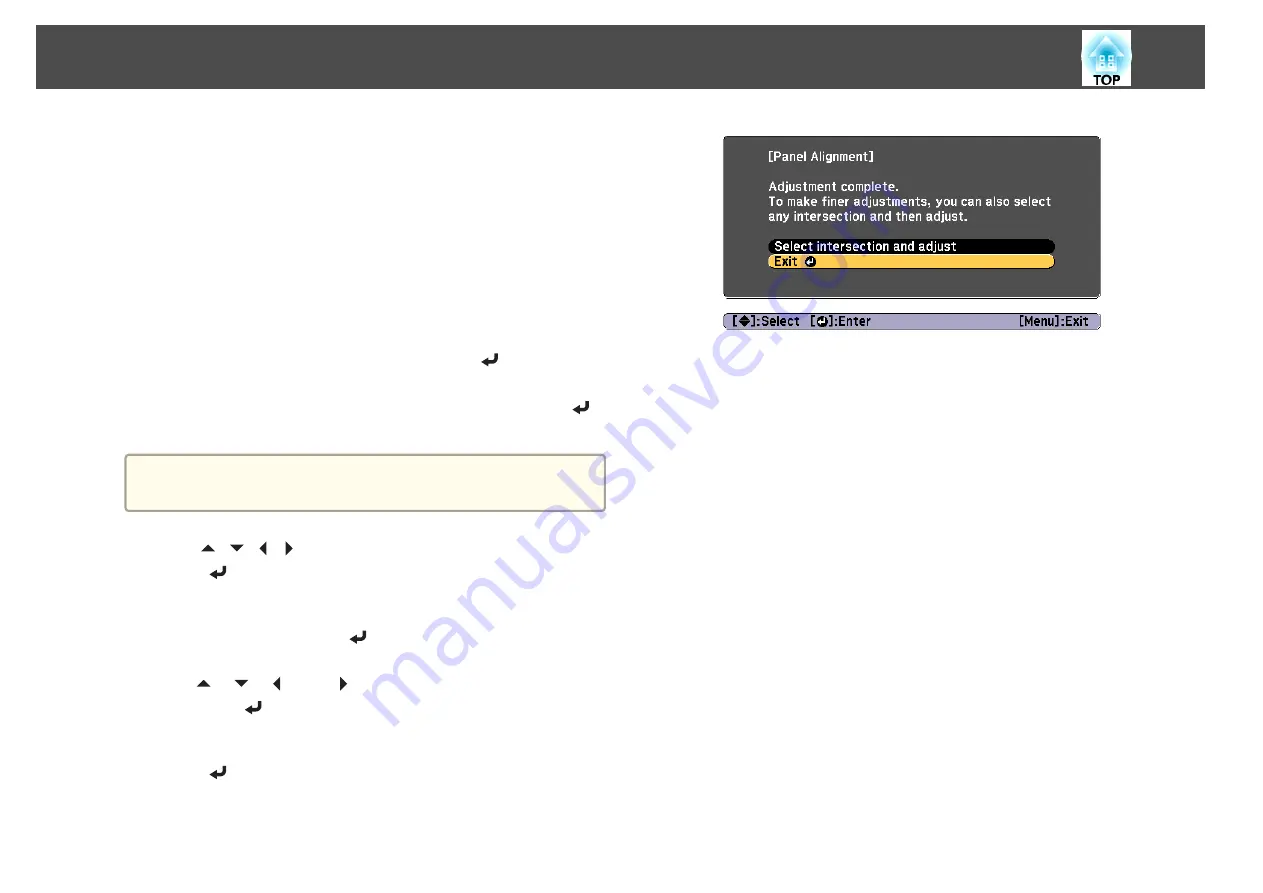
When you have adjusted all four corners, select
Exit
, and then
press the [
] button.
If you feel you still need to make adjustments after correcting all
four points, select
Select intersection and adjust
and then continue
making adjustments.
Image Maintenance
211
Summary of Contents for EB-L1050U
Page 1: ...User s Guide ...
Page 14: ...Introduction This chapter explains the names for each part ...
Page 57: ...Basic Usage This chapter explains how to project and adjust images ...
Page 135: ...Configuration Menu This chapter explains how to use the Configuration menu and its functions ...
Page 207: ...Cleaning the Parts 207 ...
Page 214: ...Appendix ...


