D-Show Profile Guide
230
• Channel select is disabled for all inputs and outputs
◆
Switch the Mute Group Masters, and see the effect on the
channels with member-mutes (flashing mute switches)
◆
All LCD displays illuminate (orange)
• Adjust near-field monitor and headphone levels
Unavailable Features
The following features are unavailable while the backup per-
sonality is in effect:
• Use the Assignable Channel Sections
• Modify any other mixing parameters apart from faders
and mutes (for example auxes)
• Use solos or Solo In Place
• Change the input or output routing, or order of inputs
• Make stereo, or unlink stereo to discrete mono channels
• Change bus or group assignments
• Change VCA membership, or show VCA members
• Change names or access any Filing functions
• Reconfigure any system parameters in the Options
screens
• Access GEQs on the faders
• Adjust the parameters of any existing Plug-In
• All LED indicators (except meters) and output fader CAL
lights go dark and are inactive
Resuming Normal Operation
(Exiting the Backup Personality)
When the system has recovered and is prepared to return to
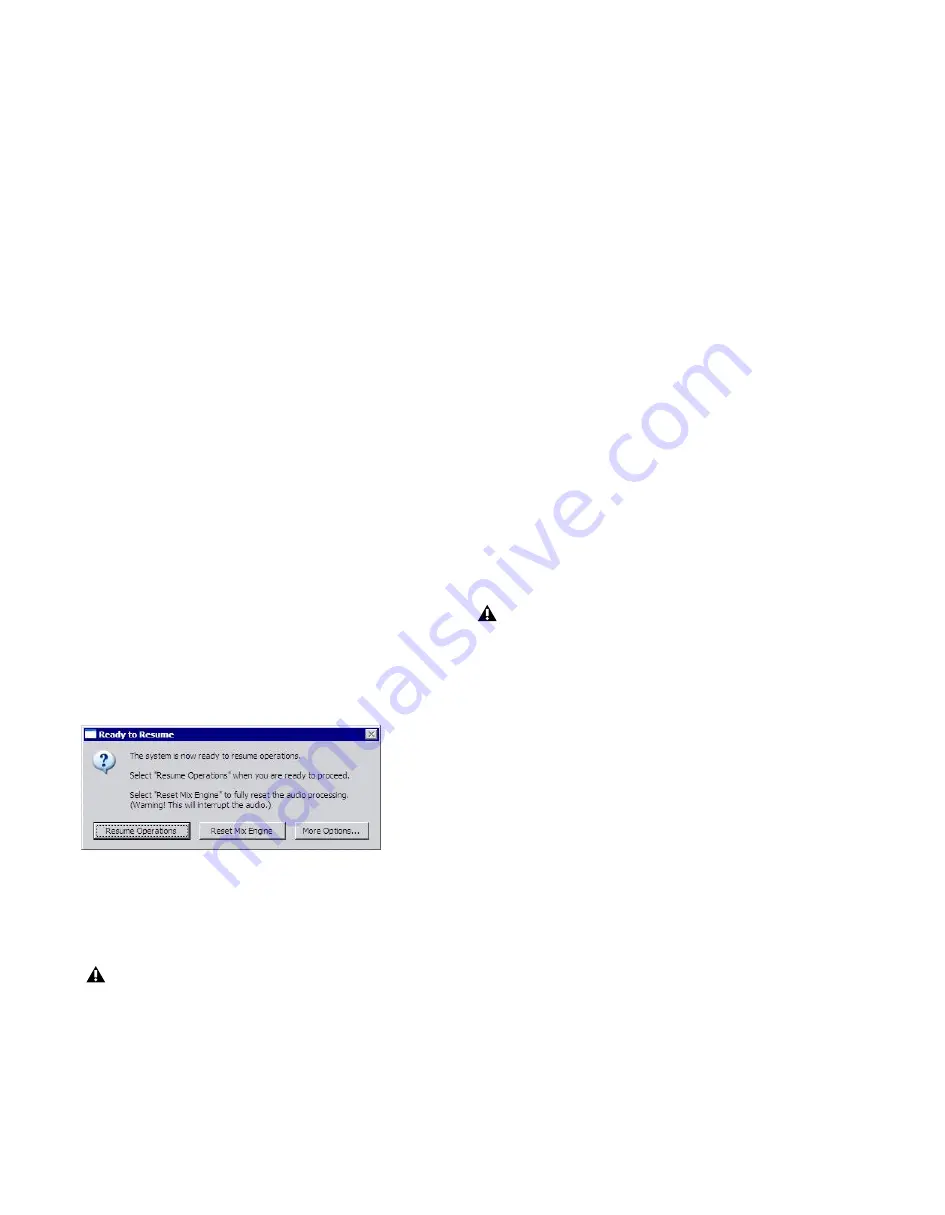
normal operation, the Ready to Resume dialog appears
on-screen.
Choices in the Ready to Resume dialog give you options for
how and when critical functions are brought back online.
Utility functions are also provided for reset and diagnostics, as
described in the following sections.
Resume Operations
Use this option if you need to wait for a
break in a performance to complete the resumption of normal
operations.
Reset Mix Engines
Use this option to do a full system reset in
one step. All operations and controls including the plug-in
racks return to full operation. This is the fastest way to resume
operations, but it may interrupt audio.
More Options
Use this option to clear the console (reset, or
“zero” the board), or to perform hardware diagnostics.
Resume Operations
This option begins the process of resuming operations and lets
you control precisely when the plug-in racks are re-initialized.
To begin the Resume Operations process:
1
Click Resume Operations. The console resets all parameters
and configuration settings. When completed, the Plug-In
Racks Reset dialog appears to let you initiate the process of
re-initializing the plug-in racks.
2
Reset the plug-in racks (see next).
Re-Initializing the Plug-In Racks
The plug-in racks are taken offline during a Resume Operation
process. Whenever the plug-in racks go offline they will need
to be reinitialized to resume normal operation.
The following conditions apply when resuming operations
• When offline, plug-ins on Input Channels and FX Re-
turns continue to pass and process audio using their set-
tings at the time the racks went offline.
• Offline plug-ins on output channels and busses are
muted.
• You will not be able to adjust plug-ins settings until the
racks fully re-initialize.
• Once the racks begin to reinitialize, plug-ins are unavail-
able and do not process audio.
• During reinitialization, plug-ins are loaded into rack slots
according to the last loaded Show file; plug-in racks are
turned off (all assigned plug-ins are made inactive).
• When all plug-ins have loaded and the racks initialized,
D-Show displays a dialog alerting you that the racks are
ready to be brought back online (reactivated). This is pro-
vided as a final precaution against sudden changes to au-
dio when plug-ins resume processing.
Shortly after you confirm that you want the racks brought
back online, plug-ins resume processing audio and all param-
eters become available for editing.
Ready to Resume dialog
Because this process can interrupt audio throughput, wait
for a silent portion of the performance before confirming
(such as a break between songs, intermission, or similar).
Do not reset the racks until there is a long enough break in
the performance that the rack can be fully rebuilt with no
signal passing through. This is especially important when
using crossover plug-ins or gain-attenuating plug-ins.
Summary of Contents for D-Show Profile
Page 10: ...D Show Profile Guide x ...
Page 11: ...Part I Overview and Installation ...
Page 12: ......
Page 16: ...D Show Profile Guide 6 ...
Page 32: ...D Show Profile Guide 22 ...
Page 33: ...Part II System Description ...
Page 34: ......
Page 50: ...D Show Profile Guide 40 ...
Page 58: ...D Show Profile Guide 48 ...
Page 67: ...Part III Signal Routing ...
Page 68: ......
Page 94: ...D Show Profile Guide 84 ...
Page 102: ...D Show Profile Guide 92 ...
Page 110: ...D Show Profile Guide 100 ...
Page 134: ...D Show Profile Guide 124 ...
Page 135: ...Part IV Processing ...
Page 136: ......
Page 144: ...D Show Profile Guide 134 ...
Page 171: ...Part V Shows ...
Page 172: ......
Page 180: ...D Show Profile Guide 170 ...
Page 204: ...D Show Profile Guide 194 ...
Page 227: ...Part VI Specifications ...
Page 228: ......
Page 236: ...D Show Profile Guide 226 D Show Output Signal Flow Diagram Version 1 3 07 07 05 ...
Page 245: ...Part VII Reference ...
Page 246: ......
Page 258: ...D Show Profile Guide 248 ...
Page 269: ......


