XD20 Installation and Operating Guide
Version 1.1
Document # 9301H264001.1
60
Note:
When using a network switch only XD20s can be connected to each other. If other
computers or connections to the internet are to be used, it will be necessary to use a router. See
Setup Procedure with Router
below for more information.
At each XD20 that is networked follow these menu setup steps:
1.
Select
Enter
, then
Setup
→
System
→
Network
2.
Select
Network Mode
, then select
Static IP
.
3.
Use left arrow button to go back to the
Network Menu
, scroll down and select
Set Static IP
4.
In the Static IP address menu
Select IP Address
.
Note:
In the Static IP Address menu, no changes are needed to the Subnet Mask, Default
Gateway, Primary DNS, or Secondary DNS.
5.
Using the navigation keys change the IP address to a unique number. Every XD20 connected
must have a different number. See example below:
Screen #1 – IP address 010.090.010.020
Screen #2 – IP address: 010.090.010.030
6.
Return to the
Network Mode
menu, scroll down and select
Network Transfer
, then choose
Enable
.
7.
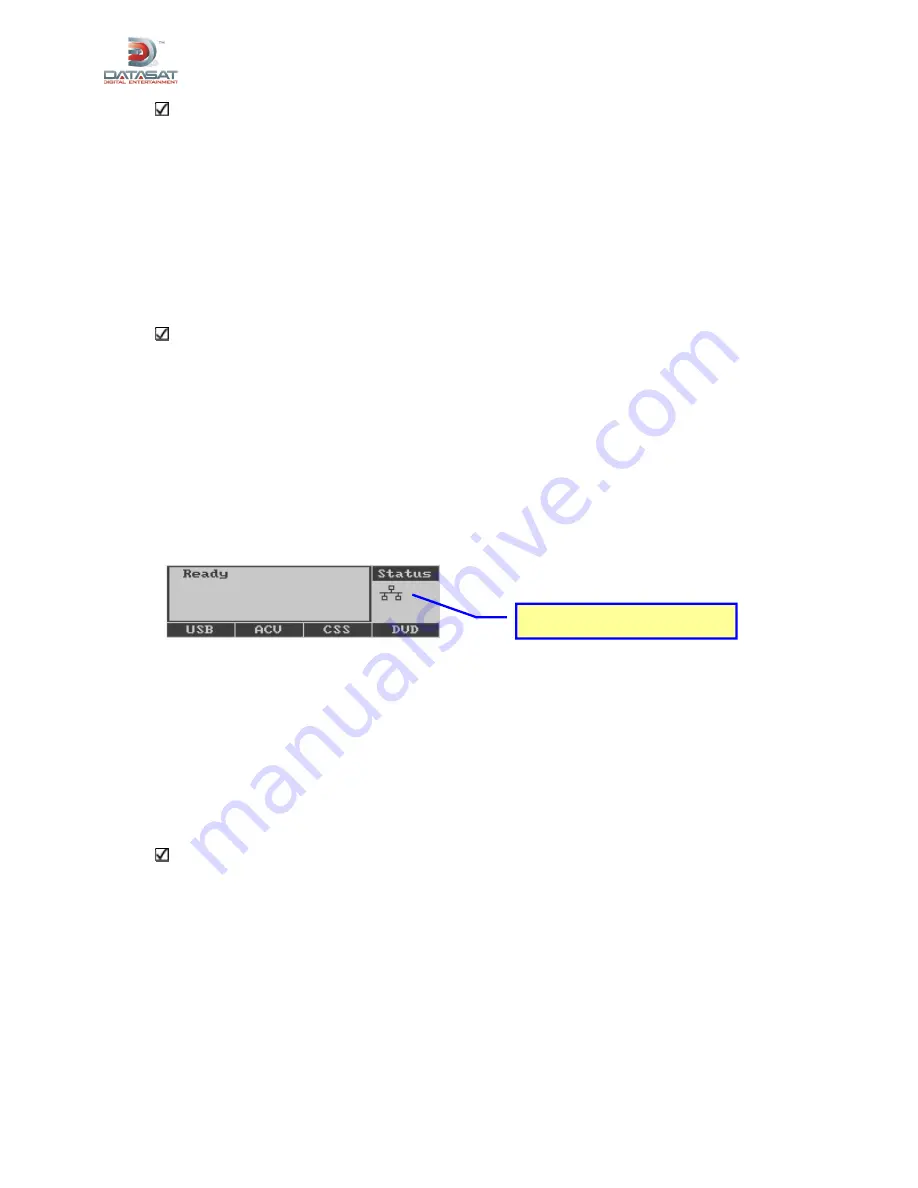
Reboot the XD20 for settings to take place. After reboot, if setup was successful, the network
icon should appear in the status screen and the boxes in the icon should blink.
5.7.1.2. Setup Procedure with Router
When connecting multiple XD20 units together using a router, all units within the local network must be
set to use DHCP (Dynamic Host Configuration Protocol). This setting will allow the router to assign IP
addresses to each XD20 unit without any user intervention. (The full menu path is
Setup
→
System
→
Network
→
Network Mode).
The following steps must be completed for each XD20 that will be connected to the network:
1.
Network Transfer must be set to “Enable”.
2.
Network Mode must be set to “DHCP”
Note:
DHCP automates the assignment of IP addresses, subnet masks, default gateway, and
other IP parameters. See section 7.8.5.1, Network Mode, for more details.
No other steps are necessary.
5.7.2. Connecting to an Existing LAN
When connecting an XD20 to an established local area network containing additional equipment, follow
the same procedure as in section 5.7.2.2,
Setup Procedure with Router
, above.
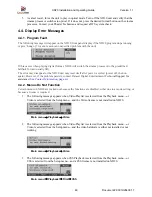
Network connection icon


