71
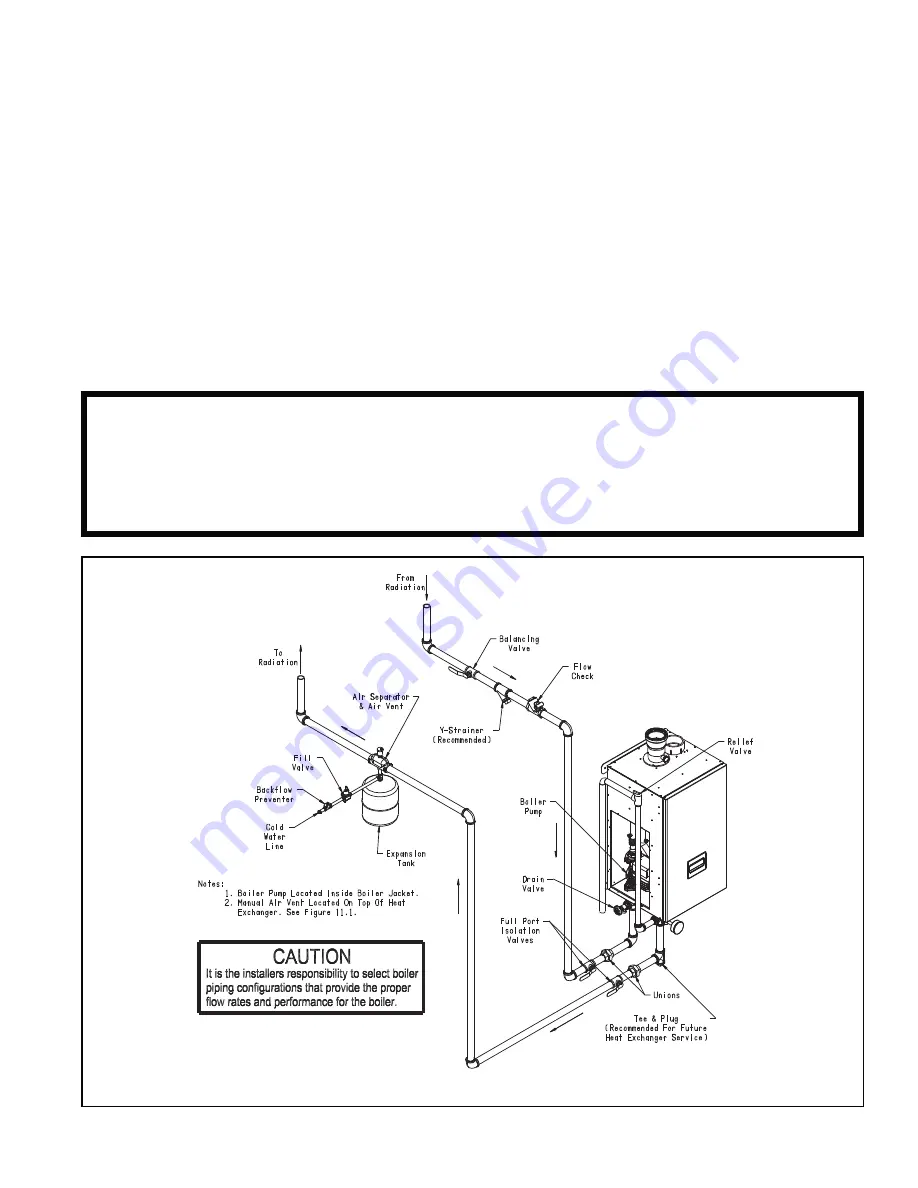
Method 2: Direct Connection to Heating System (Generally NOT Recommended)
In some relatively rare cases it may be possible to connect this boiler directly to the heating system as is done with
) _^ %`# &\#'#%## ' (#'#%##
$#'#%###' ' # # #' $^# \#
pressure drop through the entire system must be known.
$# #& %&& )& #&
through the system. In replacement installations, it may be impossible to get an accurate measurement of the amount of
%& % #&& \ # {&\#'&''#
minimum required when only one zone is calling for heat.
The one advantage to this method is its installation simplicity. It may make sense to use this method when the boiler is to be
installed with a new single zone system having a low-pressure drop.
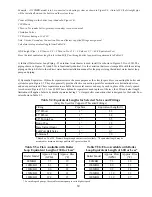
Figure 9.8 shows the performance curve for the pump in each boiler model, taking into account the pressure drop through
# |#*#%& %$#)##'#'## )&#%##
as a function of the pressure drop through the connected piping. Calculation of the system pressure drop must be performed
by someone having familiarity with pressure drop calculations, such as an HVAC engineer.
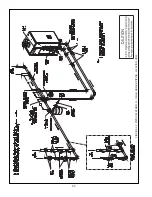
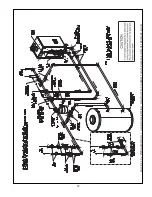
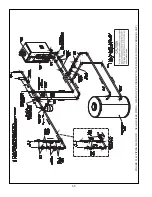
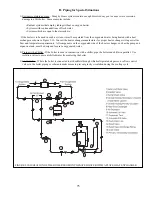
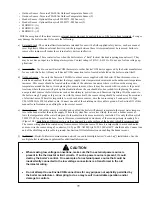
FIGURE 9.7: PIPING METHOD #2 - DIRECT CONNECTION OF BOILER TO HEATING SYSTEM
$!
B*B*B@)()(*>(
C?(*? B)BAA?
* E(B(-C?))(C?@ *(
(*!+97_I4X_J-
Summary of Contents for PHNTM080
Page 2: ......
Page 9: ...7 Figure 4 1 Minimum Clearances To Combustible Construction...
Page 11: ...9 Figure 5 1 Wall Layout Mounting Hole Location...
Page 12: ...10 Figure 5 2 Boiler Mounting Bracket Installation Boiler Wall Mounting...
Page 39: ...37 FIGURE 7 24 SPLIT VENT SYSTEM FLEX IN ABANDONED MASONRY CHIMNEY VENT OPTIONS 33 38...
Page 63: ...61 This page is intentionally left blank...
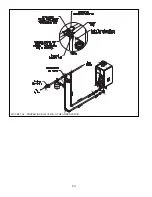
Page 68: ...66 FIGURE 9 2 PIPING METHOD 1 NEAR BOILER PIPING HEATING ONLY...
Page 72: ...70 FIGURE 9 6 PIPING METHOD 1 NEAR BOILER PIPING SHADED BOILER LOOP...
Page 82: ...80 FIGURE 10 4 PROPER INSTALLATION OF HEADER SENSOR...
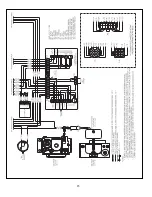
Page 84: ...82 FIGURE 10 6 INTERNAL WIRING CONNECTIONS DIAGRAM...
Page 85: ...83...
Page 92: ...90 Lighting and Operating Instructions...
Page 101: ...99 FIGURE 12 5 SETTINGS MENU SEE PART C FOR ADDITIONAL INFORMATION...
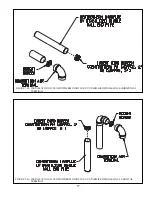
Page 113: ...111 FIGURE 13 2 IGNITION ELECTRODE GAP FIGURE 13 3 CONDENSATE TRAP EXPLODED PARTS VIEW...
Page 125: ...123...
Page 127: ...125 40 33 31 27 28 34 35 37 38 32 39 36 29 30 48 Blower Gas Valve Assembly for 80 100 120...
Page 129: ...127...
Page 131: ...129...
Page 132: ...130...
Page 133: ...131...
Page 135: ...133...
Page 137: ...135 140 141 142 143 144 145...

