Touch and Drag
•
To select more than one item in a table or list, touch your first selection, hold your finger in place for a short time then
drag in any direction to extend your selection. Selections are always in order, usually numeric, so if you drag to the left
or right in a vertically arranged grid, such as the external inputs screen, you will select all cells between your first and
last selection. Touch and drag can also be used to move a selection around, for example in the fader layout screen,
make a selection then hold and drag to move paths to a different set of faders.
Scrolling
•
Whenever a screen is too large to be fully displayed on the touch display, drag the screen to scroll in any direction.
Scrolling and ‘flinging’ will allow the screen to scroll quickly, then decelerate to a stop.
Drag Handles
•
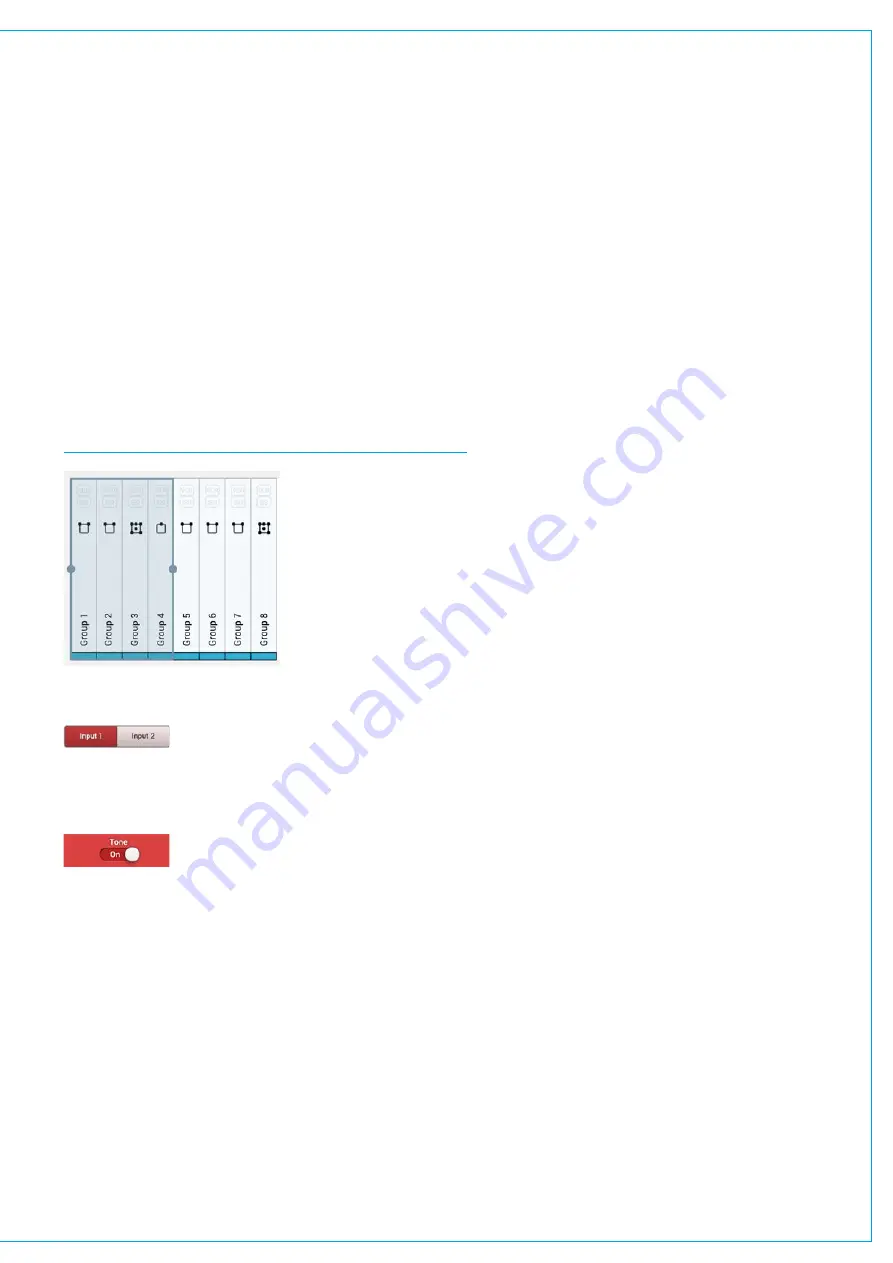
A multiple selection can be made by dragging the selection handles once an initial selection has been made, as
shown in Figure 1.
FIGURE 1 -
DRAG HANDLES TO SELECT MULTIPLE ITEMS
Buttons
Switches
Keyboard
•
There are several Brio 36 functions which require the use of a Qwerty keyboard.
•
Whenever the keyboard function is needed the software keyboard will appear from the bottom of the touch display.
•
If there are several text fields to complete,
NEXT
and
PREVIOUS
buttons are provided to move between text fields in
order, alternatively, just tap the text fields on the touch display to move between them.
•
SAVE
and
CANCEL
buttons are provided to exit the text input mode, either saving or discarding any changes.
Alternatively tap the touch display outside the text fields to exit.
•
Standard
CUT
,
COPY
and
PASTE
functions are available using the keyboard.
•
If preferred a
n external keyboard or keyboard/trackpad combo can be attached to one of Brio 36’s USB ports.
•
When an external keyboard is connected the software keyboard does not appear.
Summary of Contents for BRIO 36
Page 1: ...calrec com Audio Production System with Optional Networking BRIO 36 USER MANUAL V1 1...
Page 12: ...12 BRIO 36 Audio Production System with Optional Networking...
Page 13: ...calrec com BRIO 36 PRODUCT INFORMATION...
Page 20: ...20 BRIO 36 Audio Production System with Optional Networking...
Page 21: ...calrec com BRIO 36 SYSTEM OVERVIEW...
Page 29: ...29 FIGURE 1 BRIO 36 USER INTERFACE DISPLAY...
Page 43: ...calrec com BRIO 36 SETTING UP...
Page 47: ...47 FIGURE 1 SYNCHRONISATION OPTIONS...
Page 67: ...calrec com BRIO 36 GETTING SIGNALS IN AND OUT...
Page 93: ...93 FIGURE 1 THE DIRECT OUTPUT SCREEN...
Page 100: ...100 BRIO 36 Audio Production System with Optional Networking...
Page 101: ...calrec com BRIO 36 PROCESSING...
Page 146: ...146 BRIO 36 Audio Production System with Optional Networking...
Page 147: ...calrec com BRIO 36 MONITORING...
Page 149: ...149 FIGURE 3 EXAMPLE LOUDSPEAKERS SETUP...
Page 155: ...calrec com BRIO 36 METERING...
Page 163: ...calrec com BRIO 36 COMMUNICATIONS...
Page 172: ...172 BRIO 36 Audio Production System with Optional Networking...
Page 173: ...calrec com BRIO 36 ROUTING...
Page 175: ...175 FIGURE 1 CONFIGURING BUSES AND OUTPUTS...
Page 182: ...182 BRIO 36 Audio Production System with Optional Networking...
Page 183: ...calrec com BRIO 36 EXTERNAL INTERFACING...
Page 193: ...calrec com BRIO 36 CONSOLE FACILITIES...
Page 198: ...198 BRIO 36 Audio Production System with Optional Networking...
Page 199: ...calrec com BRIO 36 TERMINOLOGY...
Page 207: ...calrec com BRIO 36 FEATURES BY SOFTWARE VERSION...


