Creating Multiple User Memories
Best practice is to create one ‘default’ user memory, test it, make any necessary changes, and then use this as the basis
for all other user memories within the Show. This speeds up the process by reducing the need to make the same changes
to many different user memories.
To do this, create, test and update what is to be the ‘default’ user memory as described above, then, with the this user
memory still loaded on the surface, tap
NEW
, and the information will be saved into a new user memory, effectively
duplicating it.
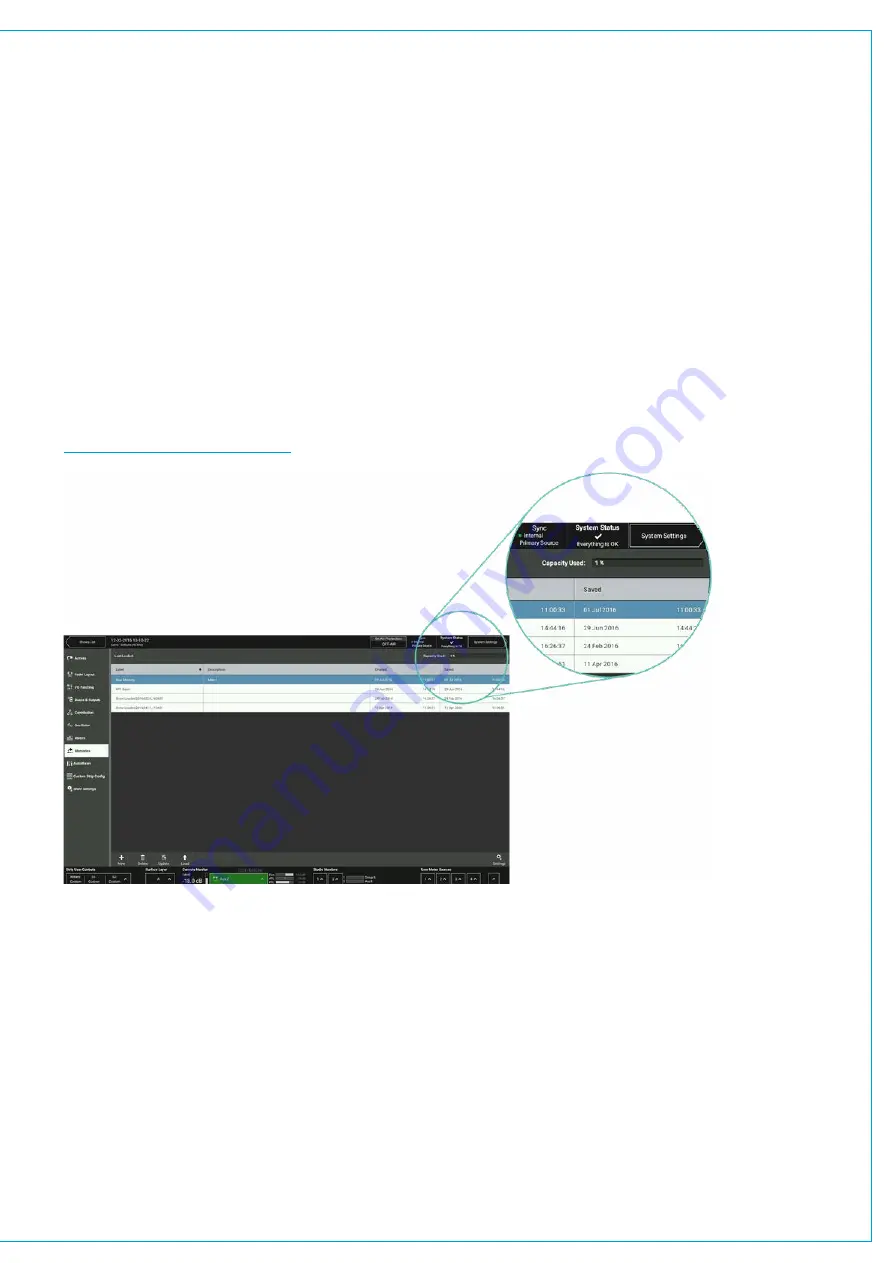
Storage Capacity
There is a capacity indicator at the top of the memories screen which shows how much storage space is available.
If more space is required, delete any old Shows and user memories which are no longer needed. The capacity indicator
shows the amount of space available on the controller card for storing Shows and Memories, however, the controller card
memory is also used for other files and folders and so the capacity may vary.
FIGURE 2 -
MEMORY CAPACITY
Memory Isolation
Memory Isolation is a system whereby paths or individual path parameters can be protected from being updated when
a user memory is loaded. When in ‘active Show’ view, memory isolation options are available per-path from the ISO
drop-down menu in the right hand side of the access bar: use the drop-down menu to select which parameters to isolate
for the currently accessed path.
ISOLATE ALL
or
ISOLATE NONE
options are also available.
Isolate can also be assigned as a function to be switched by the S1 or S2 Strip User Buttons on the surface
Note: Paths that have been isolated from memory loads can be moved around the surface.
Summary of Contents for BRIO 36
Page 1: ...calrec com Audio Production System with Optional Networking BRIO 36 USER MANUAL V1 1...
Page 12: ...12 BRIO 36 Audio Production System with Optional Networking...
Page 13: ...calrec com BRIO 36 PRODUCT INFORMATION...
Page 20: ...20 BRIO 36 Audio Production System with Optional Networking...
Page 21: ...calrec com BRIO 36 SYSTEM OVERVIEW...
Page 29: ...29 FIGURE 1 BRIO 36 USER INTERFACE DISPLAY...
Page 43: ...calrec com BRIO 36 SETTING UP...
Page 47: ...47 FIGURE 1 SYNCHRONISATION OPTIONS...
Page 67: ...calrec com BRIO 36 GETTING SIGNALS IN AND OUT...
Page 93: ...93 FIGURE 1 THE DIRECT OUTPUT SCREEN...
Page 100: ...100 BRIO 36 Audio Production System with Optional Networking...
Page 101: ...calrec com BRIO 36 PROCESSING...
Page 146: ...146 BRIO 36 Audio Production System with Optional Networking...
Page 147: ...calrec com BRIO 36 MONITORING...
Page 149: ...149 FIGURE 3 EXAMPLE LOUDSPEAKERS SETUP...
Page 155: ...calrec com BRIO 36 METERING...
Page 163: ...calrec com BRIO 36 COMMUNICATIONS...
Page 172: ...172 BRIO 36 Audio Production System with Optional Networking...
Page 173: ...calrec com BRIO 36 ROUTING...
Page 175: ...175 FIGURE 1 CONFIGURING BUSES AND OUTPUTS...
Page 182: ...182 BRIO 36 Audio Production System with Optional Networking...
Page 183: ...calrec com BRIO 36 EXTERNAL INTERFACING...
Page 193: ...calrec com BRIO 36 CONSOLE FACILITIES...
Page 198: ...198 BRIO 36 Audio Production System with Optional Networking...
Page 199: ...calrec com BRIO 36 TERMINOLOGY...
Page 207: ...calrec com BRIO 36 FEATURES BY SOFTWARE VERSION...


