TeraStation User Manual
26
Configuring a Hot Spare
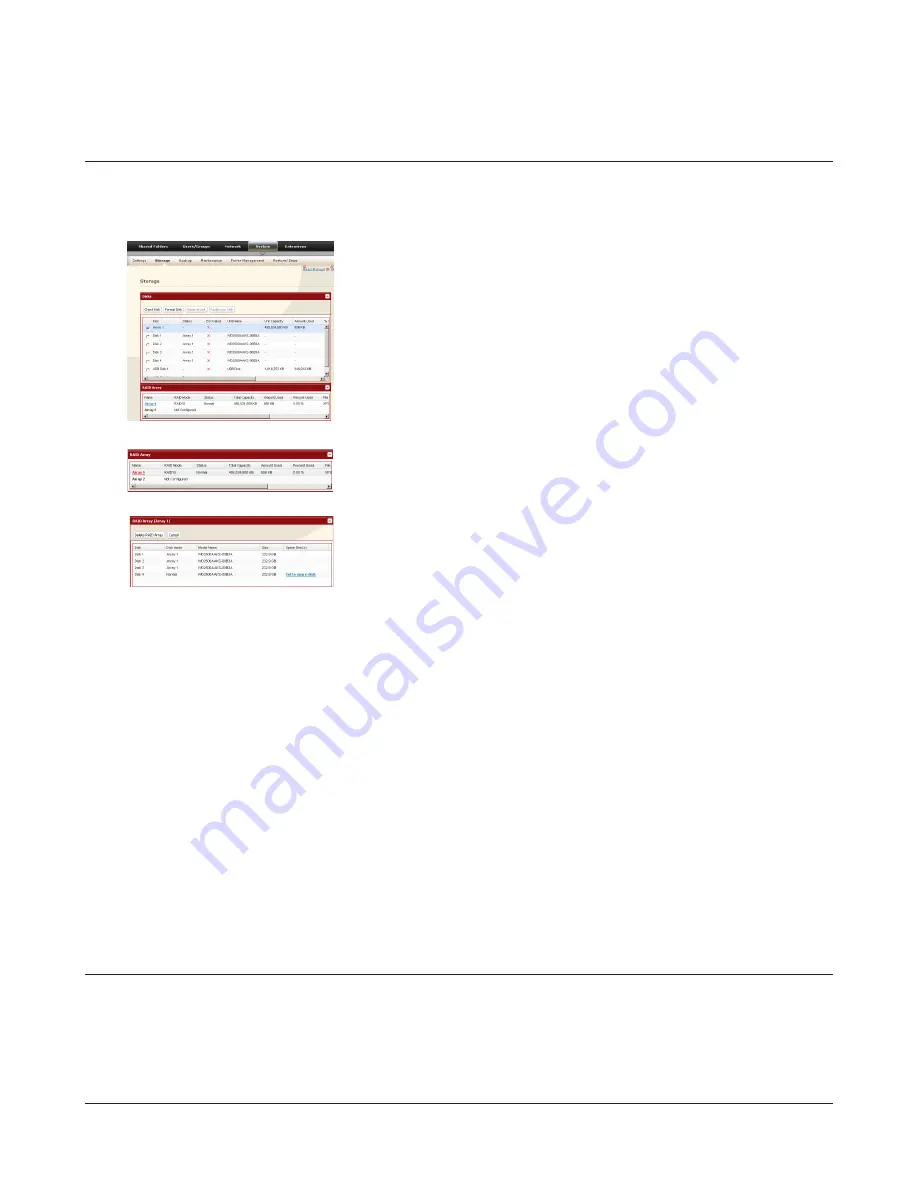
If you have 3 drives in a RAID 5 array, or 2 drives in a RAID 1 array, then you can configure another drive as a hot spare. If
one of the drives in the array fails, the TeraStation will switch over to the hot spare immediately.
1
2
3
Note:
If a hot spare is configured, click
Set to normal disk
to change the hot spare to a normal disk.
4
The Confirm Operation screen will appear. Enter the number shown in the Confirmation Number field within 60
seconds and click
Apply
.
5
Follow the instructions displayed on the screen.
You have now configured a hot spare.
Note:
All data in the hot spare drive will be deleted when it is configured as a hot spare and again when it changes over from a
spare to a drive in the array.
Choose a RAID 5 or RAID 1 array.
Click
Set to spare-disk
.
Click
System
-
Storage
-
RAID Array
in Settings.
Drive Failures
If a drive in the TeraStation fails, open the front cover and check the Status LED lights. If a drive’s Status LED is lit or
flashing red, it is malfunctioning and needs to be replaced. For replacement, use Buffalo OP-HD series drives of the same
size.
For more information on drive removal, installation, and rebuilding RAID arrays, refer to the “Hard Drive Replacement
Procedure” document available from the link provided in the TeraNavigator CD. You can also download the document
from www.buffalotech.com.


