NetDoc User Guide
Contacts
Adding a Contact
Adding Contacts is not required by
NetDoc
to manage your infrastructure. Your company may,
however, want to list contacts, such as users, outside consultants, contractors, support, and the
horizontal links associated with their workspaces for your internal network users.
The
Contacts
utility is also a practical place to keep track of employees and their workspaces, as
well as the assets they use.
To add a contact:
1.
From anywhere in the Navigator Tree, select the
Contacts
category from the drop-down
list in the
List View
. Any contacts already entered will be listed
2.
Click the
Add
button in the
Info
tab of the
Contacts Detail View
.
3.
Fill in the
First Name
and
Last Name
fields. These are the only required fields. You
can also enter Employee ID, Department, Title, E-mail, and Phone Number, as well as
User Name, Passwords, permission levels, and User Type.
4.
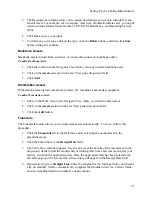
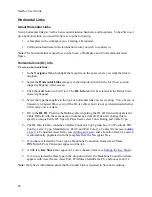
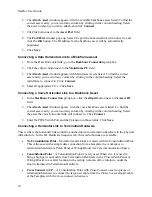
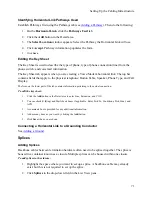
If you are entering the Contact information from a space other than the user’s workspace,
click on the
Set Location
button in the
Location
box to find that workspace and
associate the user with it.
5.
When the
Location
window appears, highlight the space where the user is located, and
click
Accept
.
Defining a Contact
NetDoc
comes with many Contact types already defined for you. If, however, you wish to track a
type of Contact that has not been defined, you can define it yourself.
To define a contact type:
1.
In the View Detail area, click the yellow
ellipsis
button to the right of the User Type
field.
2.
In the pop-up Customizable Fields window, click the
Add
button.
3.
In the newly added row, enter the
Type
.
4.
The Descriptions columns allow you to assign descriptions you want to include for each
Contact Type.
5.
Click
Save
to save your input.
To delete a contact type
1.
Click the yellow
ellipsis
button next to User Type.
2.
Click to select the type to delete.
80
Summary of Contents for NetDoc
Page 1: ......


