NetDoc User Guide
3.
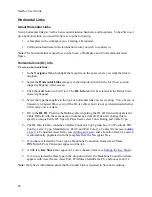
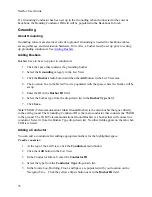
Click the
Add
button in the Spreadsheet area. Place the cursor in the
Closure ID
field.
4.
Enter the
Closure ID
.
Splice Types (User Defined)
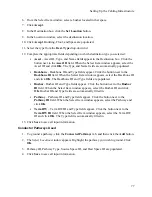
To add user-defined splices to the closure:
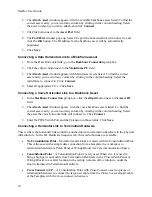
1.
Click the
Add
button in the Detail View. Enter the splice ID in the Splice ID column.
2.
In the
Type
column, enter the splice type you wish to add, or select a type previously
input.
3.
In the
Equipment
column, enter the equipment you wish to add, or select existing
equipment from the drop-down list.
4.
In the
Manufacturer
column, enter the manufacturer you’d like to add, or select an
existing manufacturer from the drop-down list.
5.
In the
# of Pairs
column, enter the maximum number of cable pairs that this splice can
contain.
6.
Click
Save
when you are done.
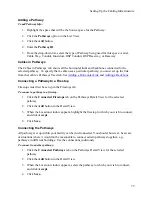
Connecting a Backbone Cable to a Splice
This must be done from the Backbone area. See
Backbones
.
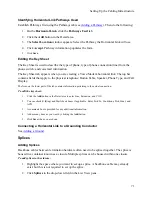
Once you have spliced a backbone cable, you can view all backbones connected to a splice in the
Connected Backbones tab of the splice’s Detail View.
Backbones
Backbone Cables
Backbone cables are run between termination hardware. These cables are often commonly
known to run from building to building and closet to closet.
Note
: NetDoc was built to allow for several connection types depending on the end user’s needs.
By providing this functionality, NetDoc will allow for Backbone Cables to connection to
Hardware, through Splices, and Backbone related Assets if needed.
See also
Backbone Source
and
Destination
.
In
NetDoc
, adding a Backbone Cable is comprised of a number of steps reflected in the tabs in
the
Backbone Cables
Detail View.
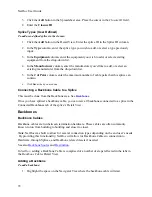
Adding a Backbone
To add a backbone:
1.
Highlight the space on the Navigator Tree where the backbone cable will start.
72
Summary of Contents for NetDoc
Page 1: ......


