NetDoc Tools Accessed from the NetDoc Main Page
test results, but to the relevant information within those results that are specific to your
documentation purposes.
Important Note:
It is recommended that all test results be saved and maintained in their original
format outside of
NetDoc
for any future need. By using
NetDoc’s
capability you can modify the
amount of information needed for quick reference, but the original formatted results should
always be saved in case they are needed for future reference.
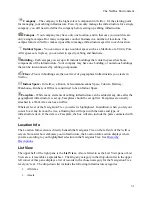
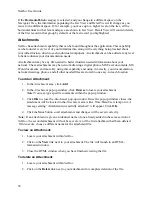
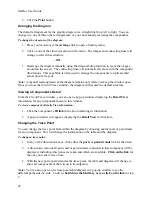
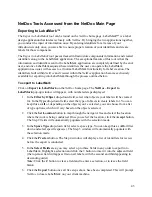
Importing Tester Data
Click on the
Import Tester Data
link on the
NetDoc
home page. Numbered steps will display.
1.
In the
Select space
location
area, click the
Set Location
button to map through the
navigator tree and select the location to which the test results should be associated. Once
you select the location, click the
Accept
button to populate the
Space
field.
Note:
This step is needed for both Horizontal and Backbone Cable test results.
2.
In the
Select Backbone Cable
area, click the drop-down menu and select the Backbone
Cable needed.
Note:
This step is only needed if importing test results for a Backbone Cable.
3.
In the
Select data file to import
area, click browse and locate the needed CSV file for
import. Once you have located and selected the file and the link appears in the Step 2
field, click the
Open
button.
Note:
If your test results have leading and trailing quotes – they can be removed by
selecting the check box below the Step 2 field
before opening
the results for loading.
The word "
Loading...
" will appear in the bottom portion of the screen. Your test results
should appear within seconds as the system processes the imported file.
4.
Click the
Add/Remove
button. When the
Add/Remove
pop-up appears you can build
your tester manufacturer. Once completed, click the
Close
button and make sure the
appropriate name appears in the Step 3 field.
5.
Skip the optional next field (
Select or Name the Profile Map
) and go to the following
field (
Step 5
–
Add/Remove Column Headers for Data Grid
) in the right-hand portion
of the screen). Click the
Add/Remove
button, then in the
All Fields
window, highlight
the column headers you want to keep for the final import of information into the
application database. Select the appropriate arrows to move the highlighted headers into
the right side of the pop-up area (these selections will then appear in the expanded Import
screen table).
6.
In the Import screen table, click on the drop-down menus and select the header you just
created for placement above the columns that correspond with the data you wish to
import. (Data in columns without a header will not be imported, ensuring your file will
only contain the information you specify for your final import.)
45
Summary of Contents for NetDoc
Page 1: ......

