VENUE SC48 Guide
42
Fader and Encoder Shortcuts
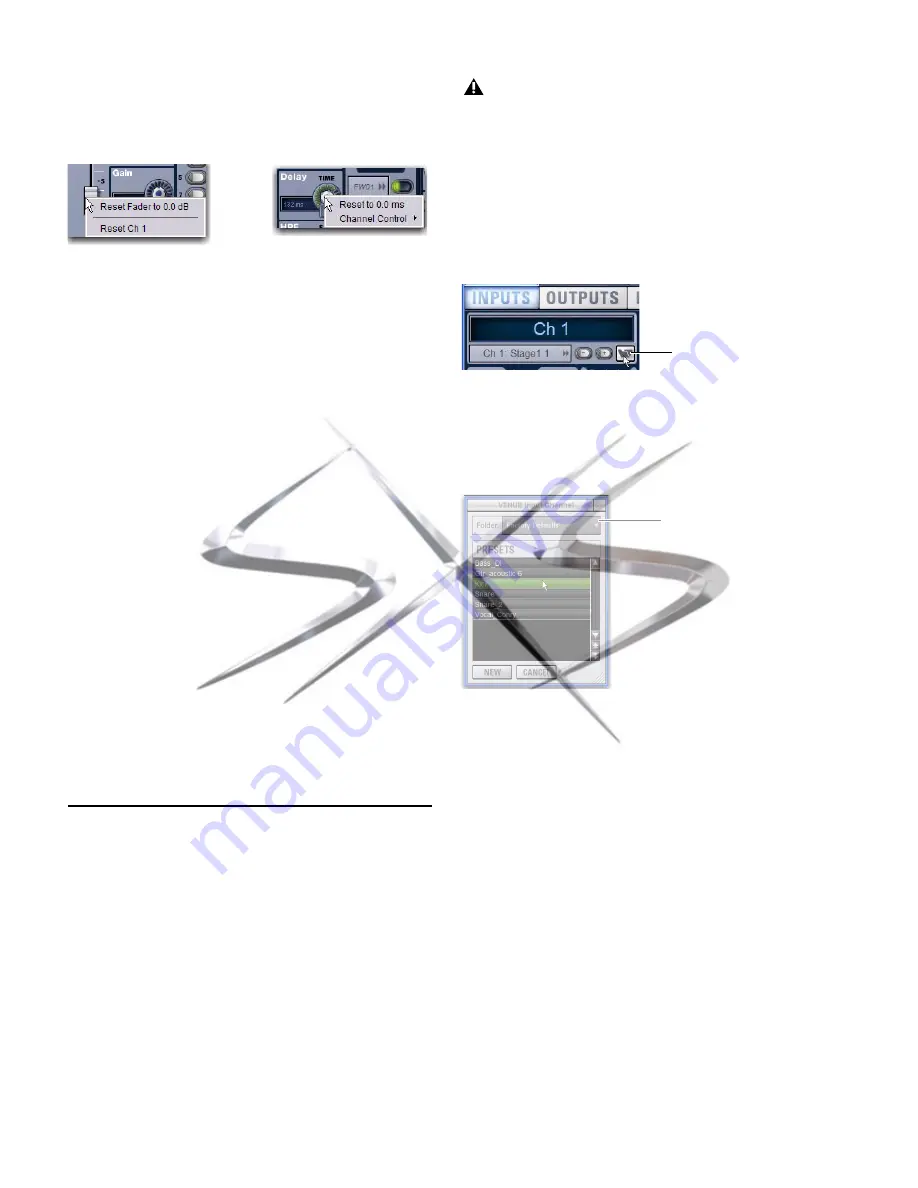
The on-screen channel faders and encoders provide the fol-
lowing right-click shortcuts to reset individual parameters and
channel strips.
Reset Parameter
To reset an on-screen fader or encoder to its default value, do one
of the following:
Right-click the control and choose
Reset
.
– or –
Alt-click the control.
Reset Channel
To reset an entire channel strip to its default settings:
Right-click the on-screen channel fader and choose
Reset
Strip
.
Channel Control
Channel Control provides a unified set of controls for input,
EQ and dynamics processing (or equivalent plug-ins), and Aux
Sends. You can also create a custom User assignment that in-
cludes any eight parameters.
To assign a compatible parameter to a Channel Control encoder:
Right-click the on-screen channel fader and choose an en-
coder from the Channel Control sub-menu.
For more information, see Chapter 6, “Channel Control.”
Input Channel Presets
Input channel configuration (input name, gain, fader levels,
send levels and bus routing) can be stored and recalled as In-
put Channel Presets. Input Channel Presets can be previewed,
recalled and transferred just like other VENUE preset files, let-
ting you quickly configure channels from among a library of
favorite setups.
When an Input Channel is stored or recalled as a preset, all pa-
rameters are affected except the following:
• Patchbay assignments, including Direct Outs
• Hardware and software insert (plug-in) assignments and
in/out state.
To store a channel as an Input Channel Preset:
1
Configure an Input Channel as desired.
2
Click the Channel Presets icon (the folder icon located to
the right of the Channel Routing indicator and +/– buttons).
3
Specify a folder in which to save the preset, if the currently
selected folder is not appropriate, by clicking the Folder selec-
tor and selecting a different folder.
4
Click New.
To preview and recall a saved Channel Preset:
1
Navigate to the Inputs page for the desired channel. Chan-
nel Presets can only be loaded into a single channel at a time.
2
Click the Channel Presets icon.
3
If necessary, click the Folders icon and select the appropriate
Channel Presets folder from the pop-up menu.
4
Do any of the following:
• To preview an existing Channel Preset, click its name in
the Channel Presets window.
• To load the currently selected Channel Preset, press Enter
or click the Close box (X) in the Channel Presets window
title bar.
• To cancel without changing settings, click
Cancel
.
To rename, duplicate, overwrite or delete a Channel Preset:
Right-click the preset name in the Channel Preset window
and choose
Rename, Duplicate, Delete,
or
Overwrite
.
Right-clicking channel strip controls on-screen
Selecting a channel preset automatically loads the saved
settings into the selected channel. Depending on the stored
settings this may dramatically change channel level and
signal routing. Use caution when previewing Input Channel
Presets with a live source.
Channel Presets icon in the Inputs page
Input Channel Presets window
Channel Presets
Folders
courtesy of
www.sxsevents.co.uk
Phone: 0870 080 2342
email: [email protected]
Event production and Audio-Visual Services
www.sxsevents.co.uk


