Chapter 19: Plug-Ins
147
The Info pane displays details about the currently selected
plug-in, including whether a newer version of the plug-in is
available. If a new version is available, you can find out
whether it is a recommended update or a critical update.
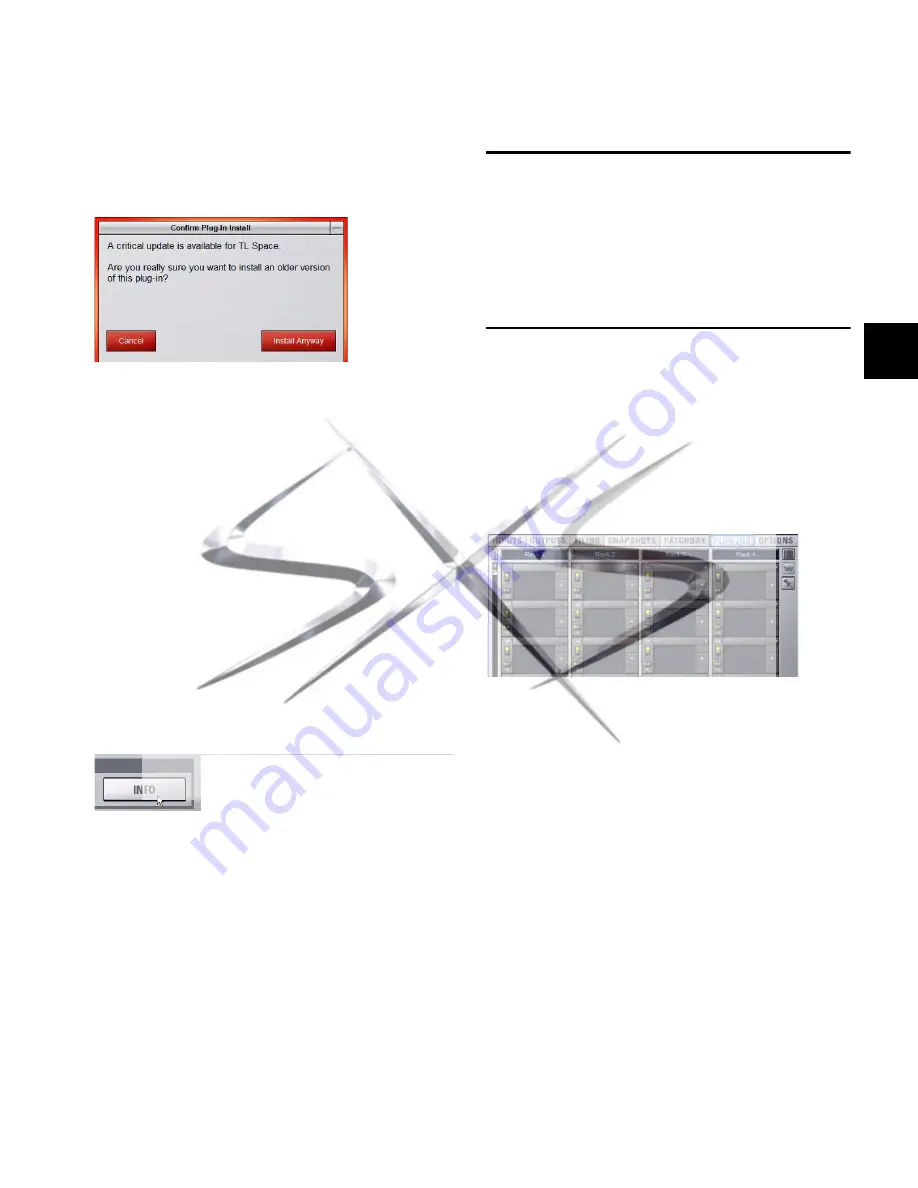
If you choose to install a plug-in for which there is a critical or
recommended update, the system will ask you to confirm the
installation procedure.
A similar dialog appears when attempting to replace an in-
stalled plug-in with an older version of the same plug-in. Fol-
low the instructions on-screen to install anyway, or cancel.
Using System Info to View Plug-in Version Information
Plug-in version information is included in exported System
Info data.
The Plug-in sections of the exported System Info file show crit-
ical and recommended updates, with links to sites to down-
load or check for newer versions.
To use System Info for Plug-In Version Maintenance:
1
Insert a USB key disk into any available USB port on the con-
sole.
2
Go to the
Options > System
page.
3
Click the
Info
button.
4
Do any of the following:
• If you have more than one USB key disk connected, make
sure the correct USB key disk is selected. If it is not, click
Next Disk
to cycle through each available disk until the
correct one is selected.
• Click
Save
to proceed and export system info to the se-
lected USB disk.
• Click
Cancel
to dismiss the dialog without exporting.
5
Click OK to confirm the export procedure.
6
Remove the USB key disk. Transfer the exported file to a per-
sonal computer for printing, formatting, archiving or distribu-
tion.
7
If viewing the System Info document from a computer with
internet access, use the included links to check for plug-in up-
dates.
USB Ports for iLoks
VENUE SC48 provides five USB ports, any of which can be
used to connect an iLok. Multiple iLoks can connected at one
time.
For more information, see Chapter 2, “Configuring and Con-
necting SC48.”
Overview of Plug-Ins
The Plug-Ins screen displays the plug-in Racks, where the ma-
jority of plug-in set up features are located.
To access the Plug-Ins page:
Press the Plug-Ins switch in the View Mode section (or click
the Plug-Ins tab). By default, the Plug-Ins page displays all four
racks, which are empty until plug-ins have been assigned. (See
also ““Jump To” Plug-Ins” on page 155.)
You populate the racks by
assigning
plug-ins in rack slots.
The following diagram shows an example of the racks with
plug-ins assigned.
During a performance, plug-ins assigned in the racks can be
inserted and routed on-screen and their parameters adjusted
from the control surface or on-screen.
Dialog shown when attempting to install a plug-in that has a known
newer version.
Export VENUE System Information button in Options > System
Plug-In racks (no plug-ins assigned)
courtesy of
www.sxsevents.co.uk
Phone: 0870 080 2342
email: [email protected]
Event production and Audio-Visual Services
www.sxsevents.co.uk


