13-39
IM 701210-06E
Saving and Loading Data
13
Selecting the Destination Directory
(Perform this operation when directories are present on the medium.)
10.
Turn the
jog shuttle
to select the save destination directory (indicated by < >).
11.
Press
SELECT
to confirm the new directory. The selected medium/directory is
displayed in “Path=......” located above and to the left of the File List window.
Select <..> to move to the parent directory.
Setting the Name of the File to Be Saved
12.
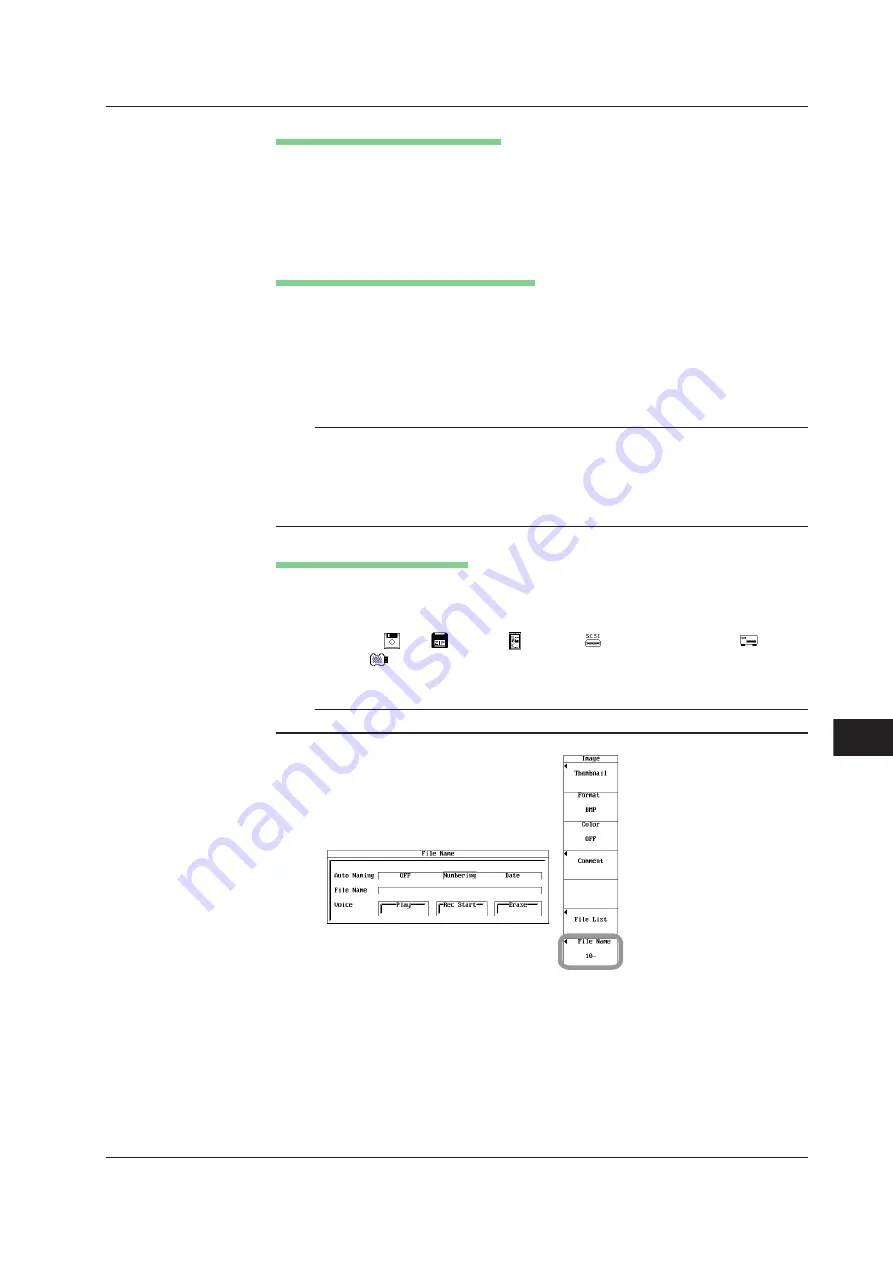
Press the
File Name
soft key. The file name setup menu appears.
13.
Turn the
jog shuttle
to select Auto Naming.
14.
Press
SELECT
to select OFF, Numbering, or Date.
15.
Turn the
jog shuttle
to select File Name.
16.
Enter the file name using up to 16 characters according to the procedure given
in section 4.2.
Note
•
If Auto Naming is set to Numbering, the first four characters are valid. If Auto Naming is
set to Date, the file name is invalid.
•
You can set up to 16 characters for the file name, but only 15 characters are displayed on
the setup menu.
•
When saving screen image data, voice comment data can be saved along with the screen
image data. For details, see section 13.19, “Using the Voice Comment Function.”
Executing the Save Operation
17.
Press
IMAGE SAVE
. The screen image data is saved to the storage medium.
Pressing
IMAGE SAVE
again aborts the save operation.
While the data is being saved, an icon corresponding the save destination
medium (
FD,
Zip disk,
PC card,
external SCSI device,
internal
HD, or
USB storage device) is displayed at the upper left corner of the
screen.
Note
Thumbnails of the saved screen image data can be displayed. For details, see section 13.12.
13.11 Saving Screen Image Data


