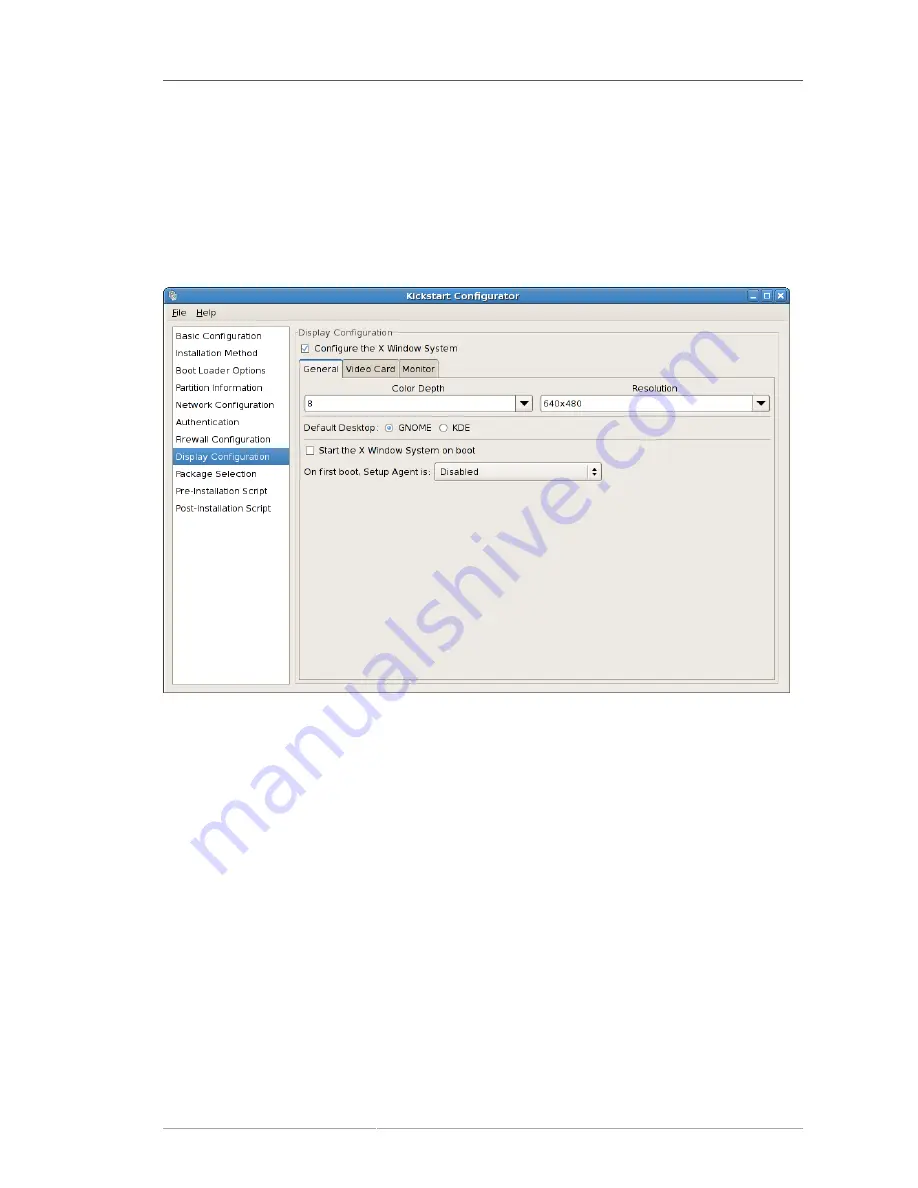
General
343
shown in
Figure 32.11, “X Configuration - General”
. If this option is not chosen, the X configuration
options are disabled and the
skipx
option is written to the kickstart file.
32.8.1. General
The first step in configuring X is to choose the default color depth and resolution. Select them from
their respective pulldown menus. Be sure to specify a color depth and resolution that is compatible
with the video card and monitor for the system.
Figure 32.11. X Configuration - General
If you are installing both the GNOME and KDE desktops, you must choose which desktop should be
the default. If only one desktop is to be installed, be sure to choose it. Once the system is installed,
users can choose which desktop they want to be their default.
Next, choose whether to start the X Window System when the system is booted. This option starts the
system in runlevel 5 with the graphical login screen. After the system is installed, this can be changed
by modifying the
/etc/inittab
configuration file.
Also select whether to start the
Setup Agent
the first time the system is rebooted. It is disabled
by default, but the setting can be changed to enabled or enabled in reconfiguration mode.
Reconfiguration mode enables the language, mouse, keyboard, root password, security level, time
zone, and networking configuration options in addition to the default ones.
32.8.2. Video Card
Probe for video card driver
is selected by default. Accept this default to have the installation program
probe for the video card during installation. Probing works for most modern video cards. If this option
is selected and the installation program cannot successfully probe the video card, the installation
Содержание ENTERPRISE LINUX 5 - VIRTUAL SERVER ADMINISTRATION
Страница 12: ...xii ...
Страница 20: ......
Страница 30: ...12 ...
Страница 32: ...14 ...
Страница 82: ...64 ...
Страница 106: ...88 ...
Страница 122: ...104 ...
Страница 124: ...106 ...
Страница 126: ......
Страница 132: ...114 ...
Страница 168: ...150 ...
Страница 182: ...164 ...
Страница 192: ...174 ...
Страница 194: ......
Страница 236: ...218 ...
Страница 238: ...220 ...
Страница 270: ......
Страница 274: ...256 ...
Страница 278: ...260 ...
Страница 292: ...274 ...
Страница 294: ......
Страница 300: ...282 ...
Страница 304: ......
Страница 316: ...298 ...
Страница 357: ...Creating Partitions 339 Figure 32 7 Creating a Software RAID Device 4 Click OK to add the device to the list ...
Страница 370: ...352 ...
Страница 384: ...366 ...
Страница 385: ...Part VII Appendix ...
Страница 386: ......


