Ch.2 Unpacking and Installation
< 54 >
DRYPRO Vstage MODEL 793 Installation Manual Ver.1.00 2004.11
9
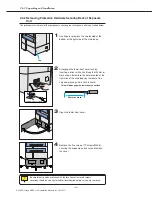
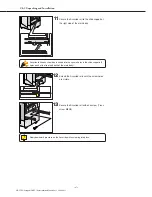
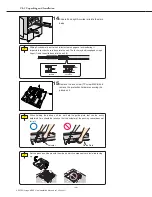
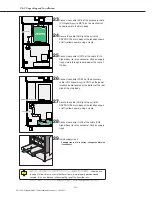
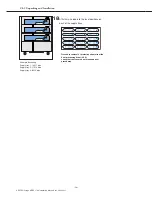
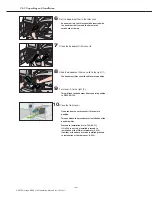
Pull out supply tray 2 to its fullest extent.
10
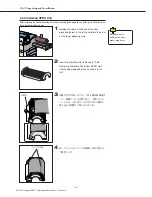
Loosen the two screws (TP screws M3X6) and
remove the supply tray 1, 2 cover.
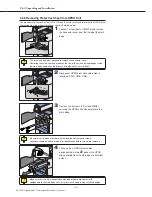
8
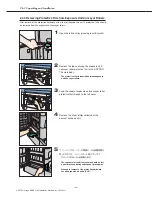
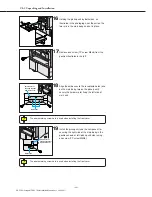
Disengage the supply tray 2 lock by inserting a
driver with a shaft length of 90mm or more into
the hole at the right side of the main body and
pressing down the latch.
- This will disengage the supply tray 2 lock.
7
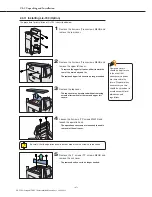
Slide supply tray 1 into place.
Supply Tray Latch
11
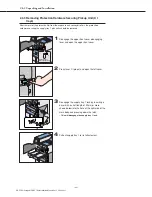
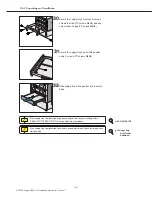
If necessary, change the supply tray 2 film size.
p.77 Changing the
Supply Tray
Film Size
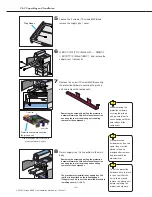
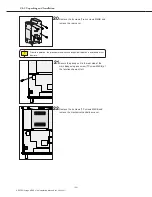
12
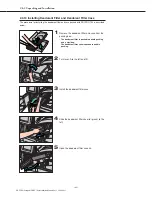
Remove the 2 top screws (TP screws M4X8)
and the two screws (TP screws M4X8) at the
edges (one at each edge) and remove the
supply tray 2 front cover.
Содержание DRYPRO793
Страница 4: ......
Страница 34: ...Ch 1 Pre installation Information 30 DRYPRO Vstage MODEL 793 Installation Manual Ver 1 00 2004 11...
Страница 88: ...Ch 2 Unpacking and Installation 84 DRYPRO Vstage MODEL 793 Installation Manual Ver 1 00 2004 11...
Страница 140: ...Ch 3 Setup 136 DRYPRO Vstage MODEL 793 Installation Manual Ver 1 00 2004 11...
Страница 198: ...Ch 6 Web Maintenance Mode 194 DRYPRO Vstage MODEL 793 Installation Manual Ver 1 00 2004 11...

