Ch.2 Unpacking and Installation
< 41 >
DRYPRO Vstage MODEL 793 Installation Manual Ver.1.00 2004.11
5
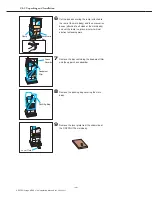
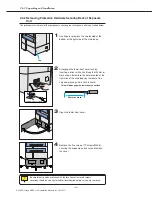
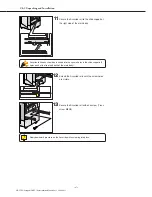
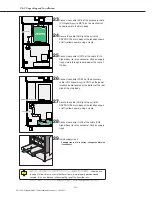
Remove the two screws (TP screws M4X8) at
the outer edges of the protection hardware
securing the rear of the exposure unit, leaving
the third securing screw in place, and
horizontally pull out the protection hardware.
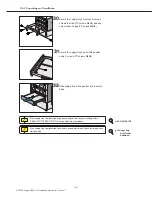
- Proceed to removal of the protection hardware
securing the front of the exposure unit (2.4.3).
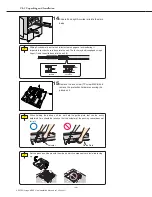
Be sure to keep the
protection hardware
securing the rear of the
exposure unit horizontal
when pulling them out.
Failure to do so may
result in the tips of the
components impacting
on internal components
causing damage.
2.4.3 Removing Protection Hardware Securing Front of Exposure
Unit
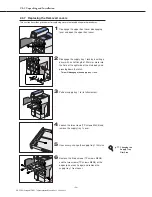
The procedure for removal of the hardware securing the front of the exposure unit is described below.
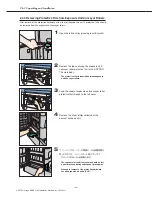
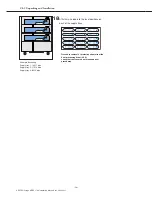
1
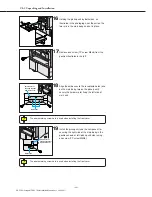
Remove the five screws (TP screws M4X8)
securing the protection hardware at the front of
the exposure unit and remove the component.
- The exposure unit cover and lower front cover
should be left open for access during subsequent
procedures.
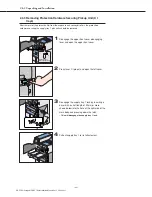
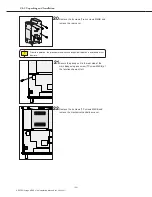
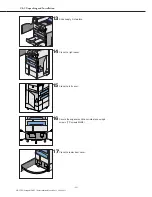
- Proceed to removal of the protective film on the
exposure unit conveyor rollers (2.4.4).
Содержание DRYPRO793
Страница 4: ......
Страница 34: ...Ch 1 Pre installation Information 30 DRYPRO Vstage MODEL 793 Installation Manual Ver 1 00 2004 11...
Страница 88: ...Ch 2 Unpacking and Installation 84 DRYPRO Vstage MODEL 793 Installation Manual Ver 1 00 2004 11...
Страница 140: ...Ch 3 Setup 136 DRYPRO Vstage MODEL 793 Installation Manual Ver 1 00 2004 11...
Страница 198: ...Ch 6 Web Maintenance Mode 194 DRYPRO Vstage MODEL 793 Installation Manual Ver 1 00 2004 11...


