Ch.2 Unpacking and Installation
< 51 >
DRYPRO Vstage MODEL 793 Installation Manual Ver.1.00 2004.11
29
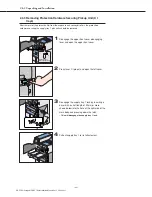
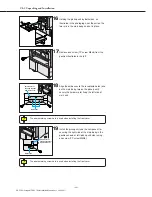
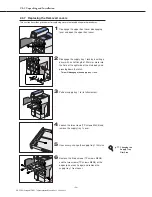
Install supply tray 3.
- If supply tray is a 14-inch tray, change the film size
if necessary.
8インチ、または10インチのサプライユニットを取り付けた場合、
, slide the tray
in and out a few times to ensure that Accuride rails are properly positioned and
secured. If the tray does not slide smoothly, reset the Accuride rails.
(12インチのサプライユニットを追加した場合、実施する必要はありません。)
28
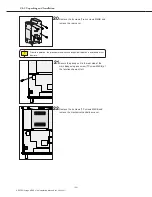
Connect connector UJP3 of the cable (CH3
Signal Assy) to relay connector UJJ3 on supply
tray 3.
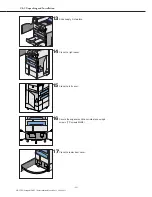
27
Secure the cable (CH Signal Assy) to the
DRYPRO 793 main body at the location shown
at left (yellow square) using a clamp.
26
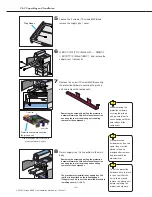
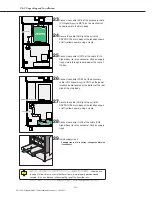
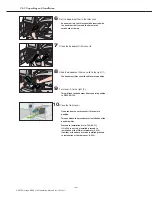
Connect connector PCN12 of the accessory
cable (CH3 Signal Assy) to CN12 on the power
interface board located at the bottom of the rear
side of the main body.
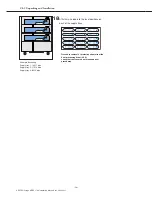
CH3 Power Assy
UJJ3
UJP3
PCN12
Window at rear of supply tray 3
Power IF Board
CN12
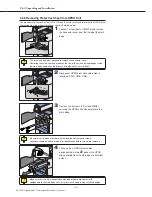
23
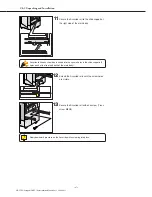
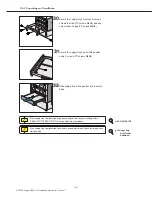
Connect connector M15 of the accessory cable
(CH Signal Assy) to MC15 on the mechanical
control board in the main body.
24
Secure the cable (CH Signal Assy) to the
DRYPRO 793 main body at the location shown
at left (yellow square) using a clamp.
Mech Ctl Board
CH3 Signal Assy
CN15
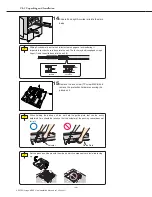
UJP5
UJJ5
MCN15
25
Connect connector UJP15 of the cable (CH3
Signal Assy) to relay connector UJJ5 on supply
tray 3 visible through the window at the rear of
the tray.
Содержание DRYPRO793
Страница 4: ......
Страница 34: ...Ch 1 Pre installation Information 30 DRYPRO Vstage MODEL 793 Installation Manual Ver 1 00 2004 11...
Страница 88: ...Ch 2 Unpacking and Installation 84 DRYPRO Vstage MODEL 793 Installation Manual Ver 1 00 2004 11...
Страница 140: ...Ch 3 Setup 136 DRYPRO Vstage MODEL 793 Installation Manual Ver 1 00 2004 11...
Страница 198: ...Ch 6 Web Maintenance Mode 194 DRYPRO Vstage MODEL 793 Installation Manual Ver 1 00 2004 11...


