95
Remote Setup
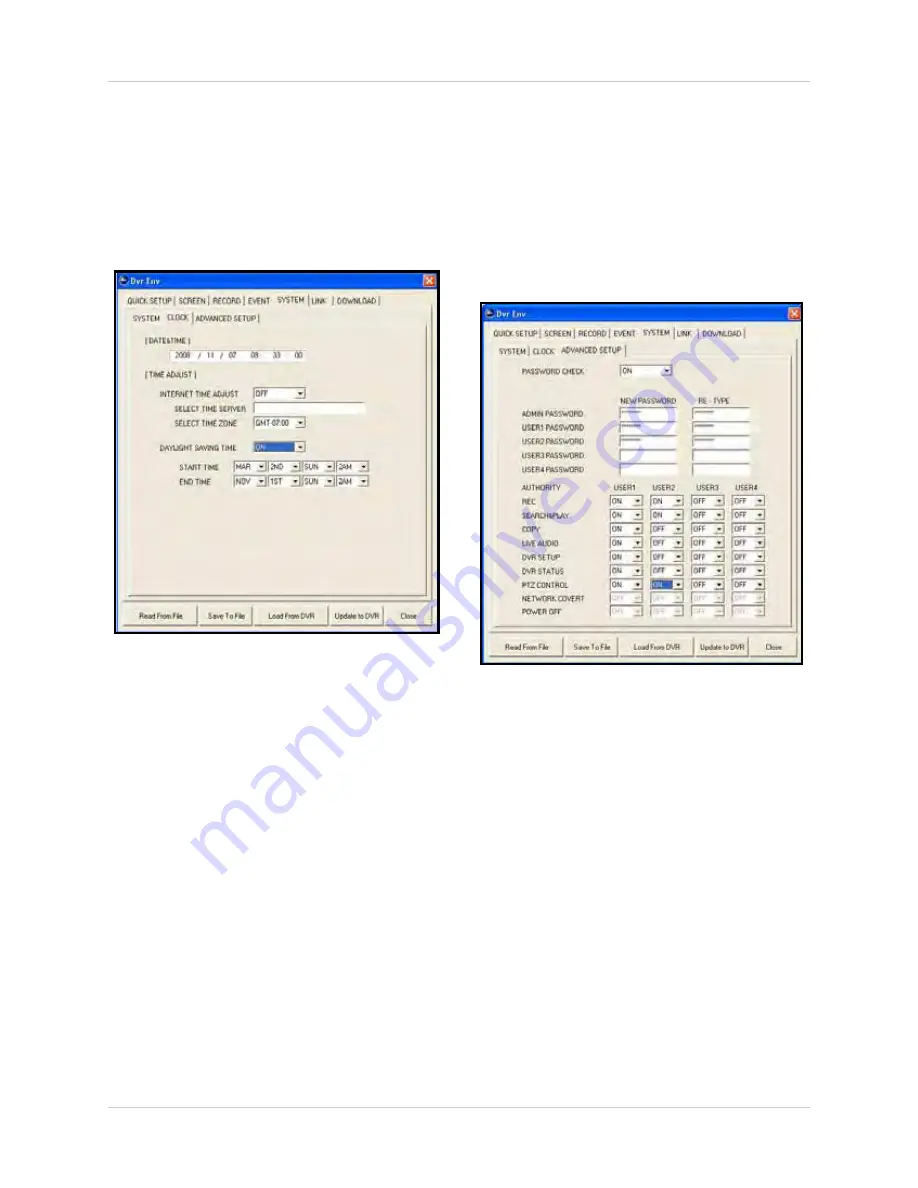
CLOCK
Use the Clock tab to adjust your Internet time
server and Daylight Savings Time (DST)
settings.
NOTE:
You cannot manually set the time
from the Clock tab. [DATE&TIME] at the top
of the tab is non-selectable.
To configure time settings:
1. Under TIME ADJUST, configure the
following options:
•
INTERNET TIME ADJUST
: Select
ON
/
OFF
to use an Internet time server to maintain the
time on the DVR (network connection
required).
•
SELECT TIME SERVER
: In the text field,
enter the IP address of the time server.
•
SELECT TIME ZONE
:
Select the time zone
based on + / - GMT (Greenwich Mean
Time). For example, New York is GMT
-06:00, Los Angeles is GMT -08:00.
•
DAYLIGHT SAVINGS TIME
: Select
ON
/
OFF
to enable/disable DST on the DVR.
•
START TIME / END TIME
: Use the drop-down
menus to select month, date, day-of-week,
and time for DST.
2. To save your settings to your DVR, click
Update to DVR
.
ADVANCED SETUP
Use Advanced Setup to configure passwords
and user management.
To configure password options:
1. Under PASSWORD CHECK, select
ON
/
OFF
. If ON the DVR will ask you for a
password when logging in and accessing
certain menus.
2. Under ADMIN and USER1~USER4 enter
an
8-digit password
in the NEW
PASWORD text field. Under RE-TYPE,
enter the password again for verification.
To configure user options:
1. Click the drop-down menus to enable/
disable the following authorities for
USER1~4:
Figure 26.1 Clock options
Figure 26.2 Advanced Setup options


