Crestron
D3 Pro
™
Software
Set IP Information
If you intend to communicate with the control processor via Ethernet you have to set
up the processor’s IP information. Once you set up a serial connection to the control
system, you can click
Set IP Information
on the
Communications
menu to set the
control system's IP address, IP mask and default router address. Enter the values into
the text fields and click
OK
to reboot the control system. When you start D3 Pro, you
can connect to the control system at its newly assigned IP address: click
Communication Settings
, choose
TCP/IP
as the connection type and enter the IP
address.
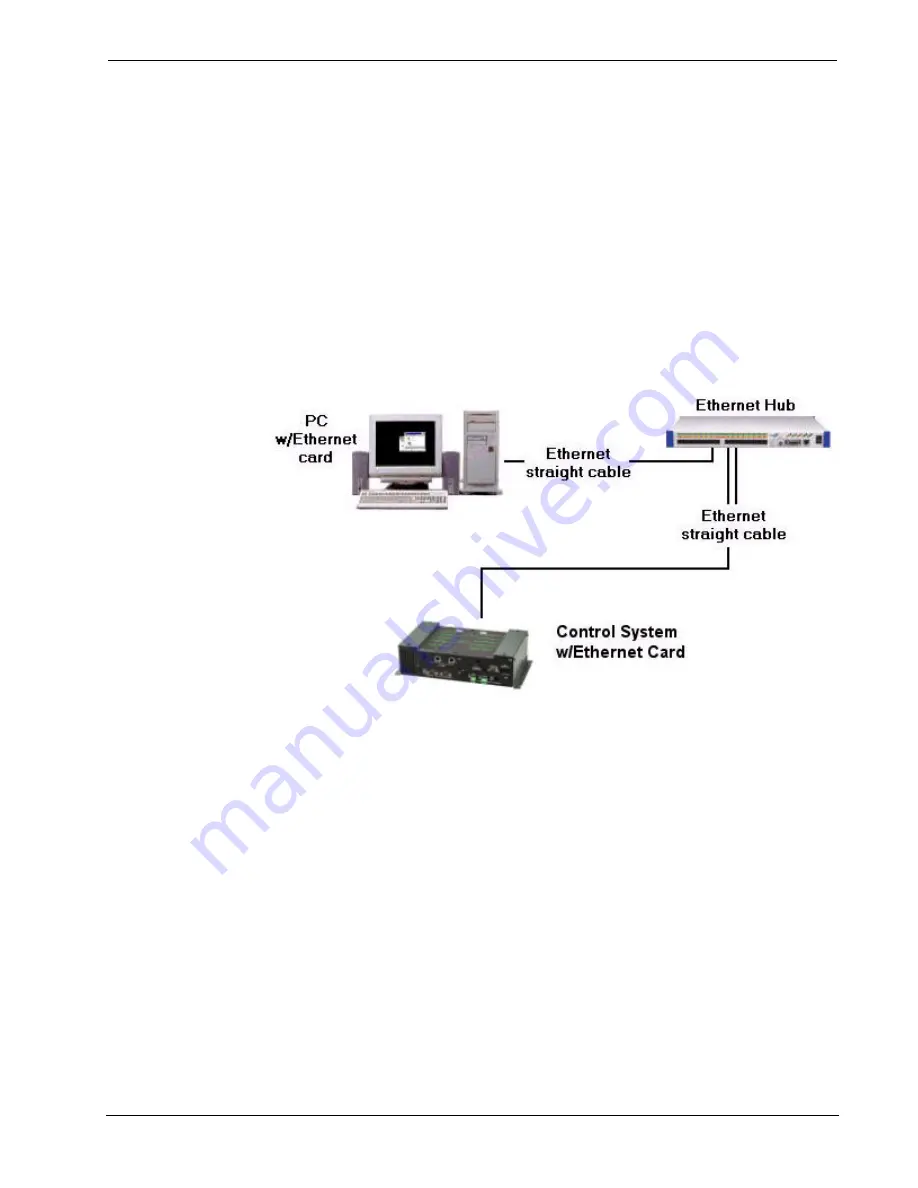
For a TCP/IP connection, use Ethernet straight-through cables to connect the PC and
control system to the Ethernet network.
TCP/IP Connection
Verify Hardware
The Finish View system tree shows all Cresnet, Ethernet and wireless devices
arranged by type (or by room, if you have selected the
Sort by Room
option). The
system tree lists the name of each device, its type, and its Network ID. Once you
have connected the control system, interfaces and lighting modules to the network
and you have established communication to the PC, click the
Verify Hardware
button at the bottom of the screen. This will cause the D3 Pro lighting software to
poll the network and compare the devices in your lighting program with those it
actually detects on the network.
If a device has not yet been detected on the network, it will be crossed out by a red X.
Wireless devices with no physical connection to the network will be marked by a
yellow question mark, indicating that their presence cannot be confirmed. In addition,
the control processor will be preceded by a
*!*
, if the logic program has not yet been
compiled or if the system has been changed in any way since the program was built
last.
When a device is connected at the correct Network ID, the red X will not be visible
the next time you click
Verify Hardware
.
Reference Guide – DOC. 5998a
Crestron D3 Pro™
•
85


