Software
Crestron
D3 Pro
™
You can drag any interface to a different room. To select multiple interfaces, press
the Shift or Ctrl key while you click each interface. If you right click an interface in
the system directory, you can select from the submenu to cut and paste, rename the
interface, delete it or view its properties. Interface names must be unique throughout
the system.
Interface Properties
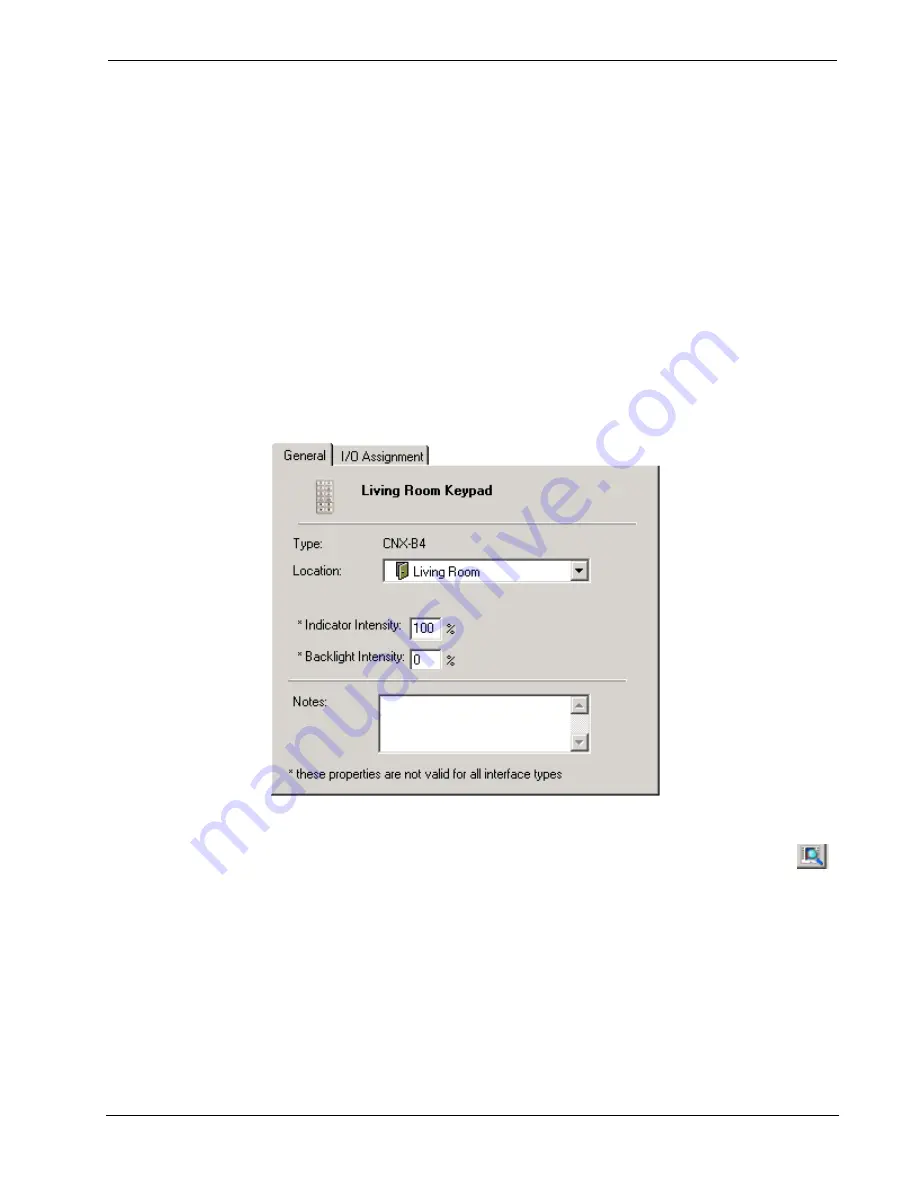
Use the
General
tab to view or change general information about an interface. For
example, you can change the location of the interface by selecting a different room
from the
Location
list.
Some keypads provide LED indicators and/or a backlight that illuminates the buttons.
Here you can enter a brightness level (from 0% to 100%) for the LED in the
Indicator Intensity
field, and for the backlight in the
Backlight Intensity
field.
The backlight illuminates all the buttons on the interface all the time. The LED
indicator is used only when a given button has feedback.
Some touchpanels provide templates that are used to design the touchpanel pages. If
the touchpanel provides templates, you can select a template from the
Template
drop-down list. To view a preview image of a sample page, click the
Template
button.
Type descriptive information about the interface in the
Notes
field. This information
will be included in any documentation that you generate.
Use the
I/O Assignment
tab to view or change the Network ID of the interface. A
Network ID is a hexadecimal value that must be unique to identify each device on a
network. All Crestron devices have an internal Network ID set at the factory. This
internal Network ID has to match the ID that is set for that device in the D3 Pro
lighting program. Generally you have to change the internal Network ID of each
device to match the ID assigned in D3 Pro (see page 86).
14
•
Crestron D3 Pro™
Reference Guide – DOC. 5998a


