Software
Crestron
D3 Pro
™
Finish View
The Finish View provides the final steps to building your lighting system:
•
Synchronizing presets (retrieving learnable light levels that were adjusted by
the end user).
•
Compiling the control system logic program and touchpanel projects.
•
Setting Cresnet IDs.
•
Verifying valid Cresnet network connections.
•
Uploading program files to the control system and touchpanels.
Communication Settings
If you have not already done so you must establish a valid connection between the
control system and your PC before you can upload programs or set Network IDs.
This is accomplished using either a serial (RS-232) or TCP/IP connection. If you are
connecting to the control system for the first time, you must use RS-232. You can
then enter the IP information of the control system for subsequent connections over
Ethernet.
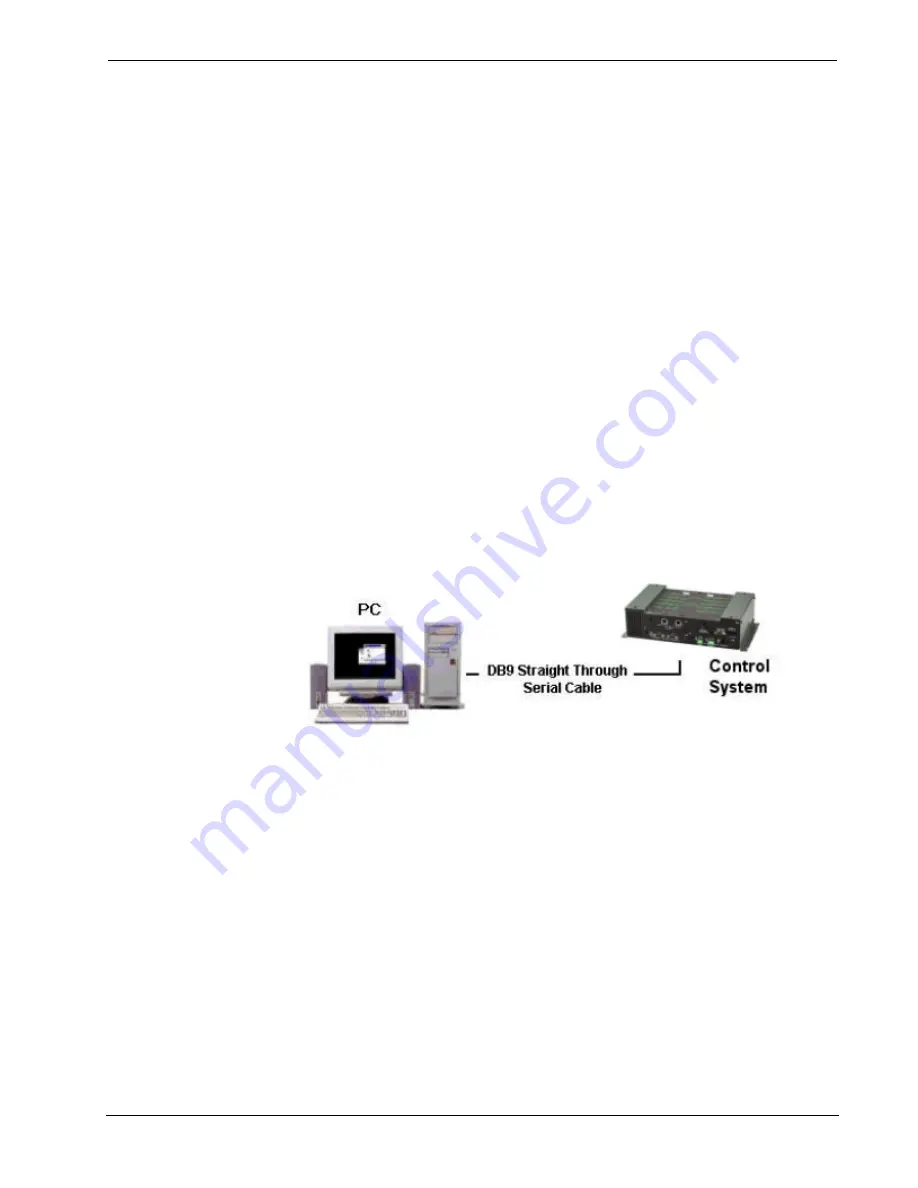
For RS-232 communication, use a DB9 straight-through serial cable to connect the
COMPUTER port on the control system to one of the COM ports on the PC.
RS-232 Connection
Launch D3 Pro and click
Communication Settings
on the
Communications
menu.
Select the connection type:
RS-232
. Then use the following settings to make the PC’s
COM port settings match those in the control system:
•
Port = COM 1. Select the correct COM port on the PC (COM 1 through
COM 8).
•
Baud rate = 115200 (this is the default baud rate of the 2-Series control
processor).
•
Parity = None.
•
Number of data bits = 8.
•
Number of stop bits = 1.
•
Hardware handshaking (RTS/CTS) enabled (2 Series).
•
Software handshaking (XON/XOFF) not enabled.
84
•
Crestron D3 Pro™
Reference Guide – DOC. 5998a


