5- 5
TCP/IP Network Settings (Windows, Macintosh, UNIX)
トップ
Chapter 3
Printing by Objective
Chapter 4
Maintenance
Chapter 5
Using the Printer
in a Network
Environment
Chapter 6
Troubleshooting
Chapter 7
Operating the
Function Menu
Index
TOP
Contents
Chapter 2
Using Various Media
Chapter 1
Basic Use
TCP/IP Network Settings (Windows, Macintosh, UNIX)
This chapter describes the configuration procedures for
connecting the printer to a TCP/IP network.
Procedures Required for a TCP/IP
Network
The following is a summary of the procedures required to
set the printer for use on a TCP/IP network.
The following work should be performed by the network
system administrator.
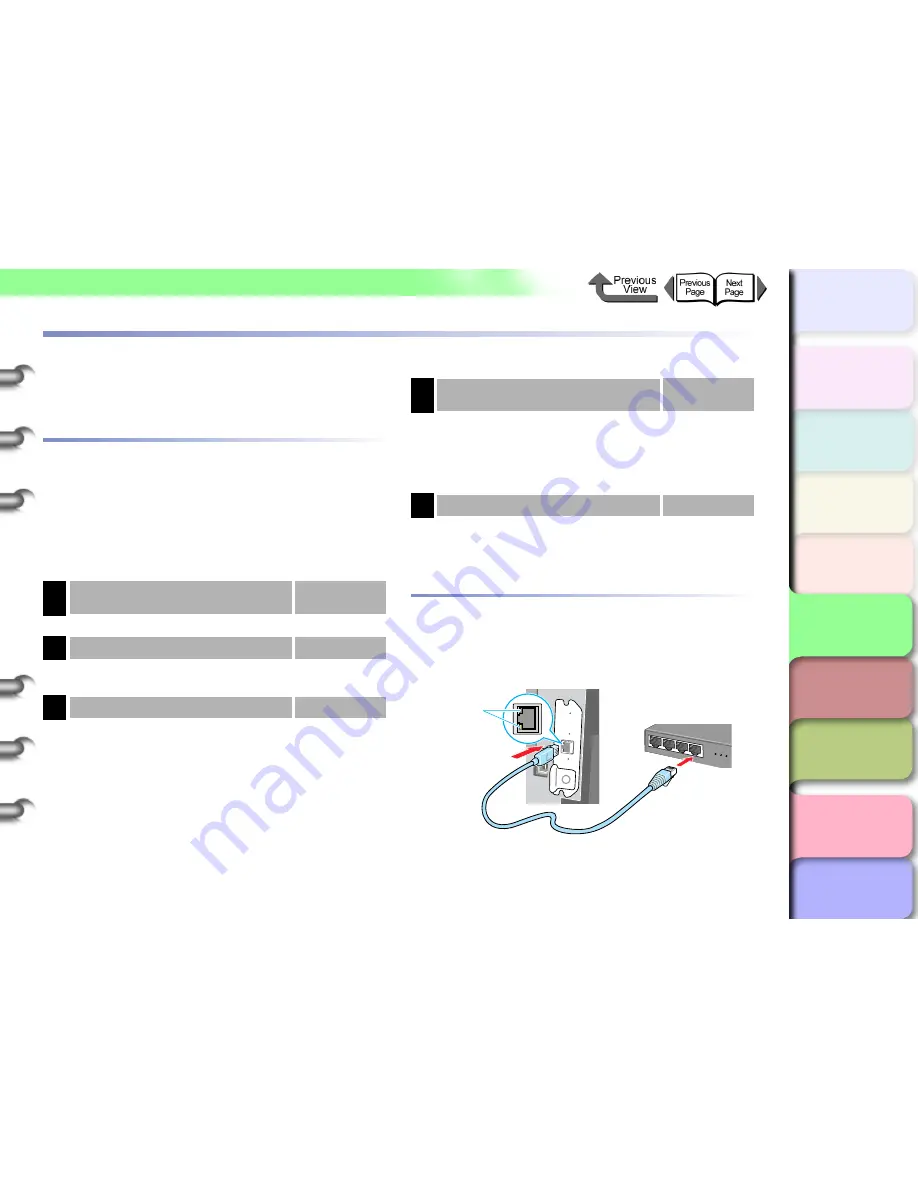
Connecting the LAN Cable
1
Use a LAN cable to connect the printer LAN
port to a port on the hub.
1
Installing the network interface board
→
Quick Start
Guide
First, install the optional network interface board.
2
Connecting the LAN Cable
→
P.5-5
Connect the printer LAN board to the HUB using a
network cable.
3
Setting the Printer IP Address
→
P.5-7
Set the printer IP address so that the printer can
communicate with the computer you are using.
Settings can be made using one of the following.
• GARO Device Setup Utility (Canon software
application provided with the printer.)
• ARP/PING command
• Printer Operation Panel
4
Installing the Printer Driver
→
Quick Start
Guide
You can use the Canon IMAGEPROGRAF printer
driver for Windows or the Canon IMAGEPROGRAF
printer driver for Macintosh (OS X). Install the printer
driver by following the procedure in the quick start
guide. There is no printer driver for UNIX.
5
Configuring TCP/IP Protocol Settings
→
P.5-15
Configure the TCP/IP protocol settings as required.
You can use a Web Browser to configure these
settings from your computer.
a


