2- 44
Change the height of the printhead
TOP
Chapter 3
Printing by Objective
Chapter 4
Maintenance
Chapter 5
Using the Printer
in a Network
Environment
Chapter 6
Troubleshooting
Chapter 7
Operating the
Function Menu
Index
Contents
Chapter 2
Using Various Media
Chapter 1
Basic Use
4
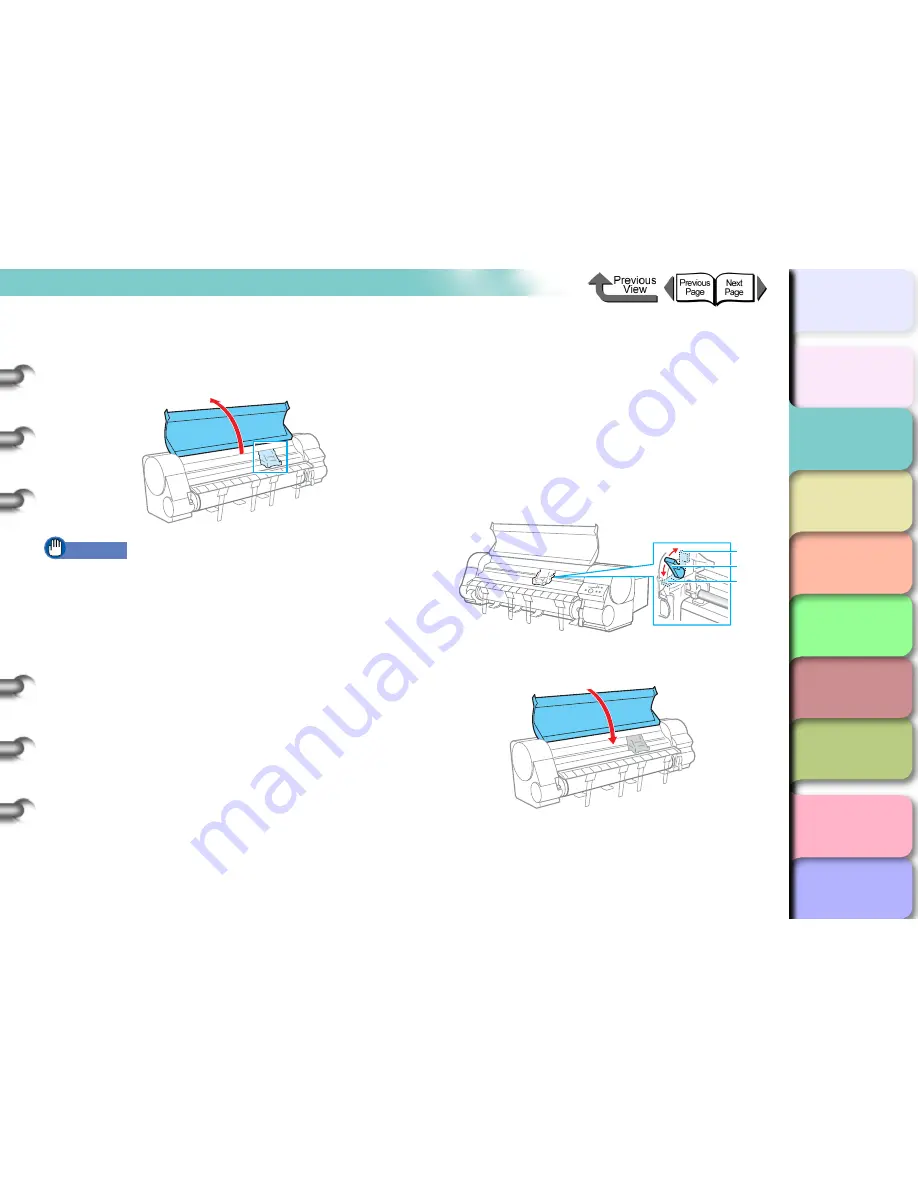
Open the top cover when you see
Open
UpperCover
, then
Chng Head Hght
is
displayed.
Important
z
Do not touch any areas other than those indicated.
Your hands could get dirty or this could damage the
printer.
z
If the printhead height adjustment lever is dirty, before
continuing with this procedure, wring out a damp cloth
and use it to clean the printhead height adjustment
lever.
5
Adjust the height of the printhead with the
printhead height adjustment lever.
If printing on CAD standard paper, CAD tracing
paper, or CAD translucent matte film, set the lever to
the down position (a). If printing on semi-glossy
canvas, set the lever to the up position (c), and if
printing any other type of media, set the lever to the
middle (standard) position (b). If the printhead is
misaligned, or if printing on paper that creases
easily, set the printhead higher than the optimum
printhead height for each media type.
6
Close the top cover.
The carrige returns to the home when you see
Carriage Moving
. The printer returns to the print
ready status.
c
b
a


