


83
www.analogway.com
PROGRAMMER’S GUIDE
PROGRAMMER’S GUIDE
PROGRAMMER’S GUIDE
PROGRAMMER’S GUIDE
PROGRAMMER’S GUIDE
PROGRAMMER’S GUIDE
PROGRAMMER’S GUIDE
PROGRAMMER’S GUIDE
USER MANUAL
5.
If required, adjust the
Overscan Compensation
(as percentage of the output format size).
To manually adjust the AOI size and position:
Front Panel
1.
Enter the
OUTPUTS
menu on the Front Panel interface.
2.
Select
STANDARD OUTPUT
to access the standard output setup menu.
3.
Select
Area of Interest
to access the AOI setup menu.
4.
Uncheck the
Fit Format Resolution
check-box to access the AOI size and position adjustments.
NOTE:
Enabling/disabling the automatic fit format option will not erase the manual AOI size and position settings.
5.
Adjust the following parameters:
•
H Position:
AOI vertical start offset compared to the output format (in pixels).
•
H Size:
AOI horizontal size (in pixels).
•
V Position:
AOI vertical start offset compared to the output format (in pixels).
•
V Size:
AOI vertical size (in pixels).
TIP:
Use the
Reset
command if required to reset the AOI size and position to its default values.
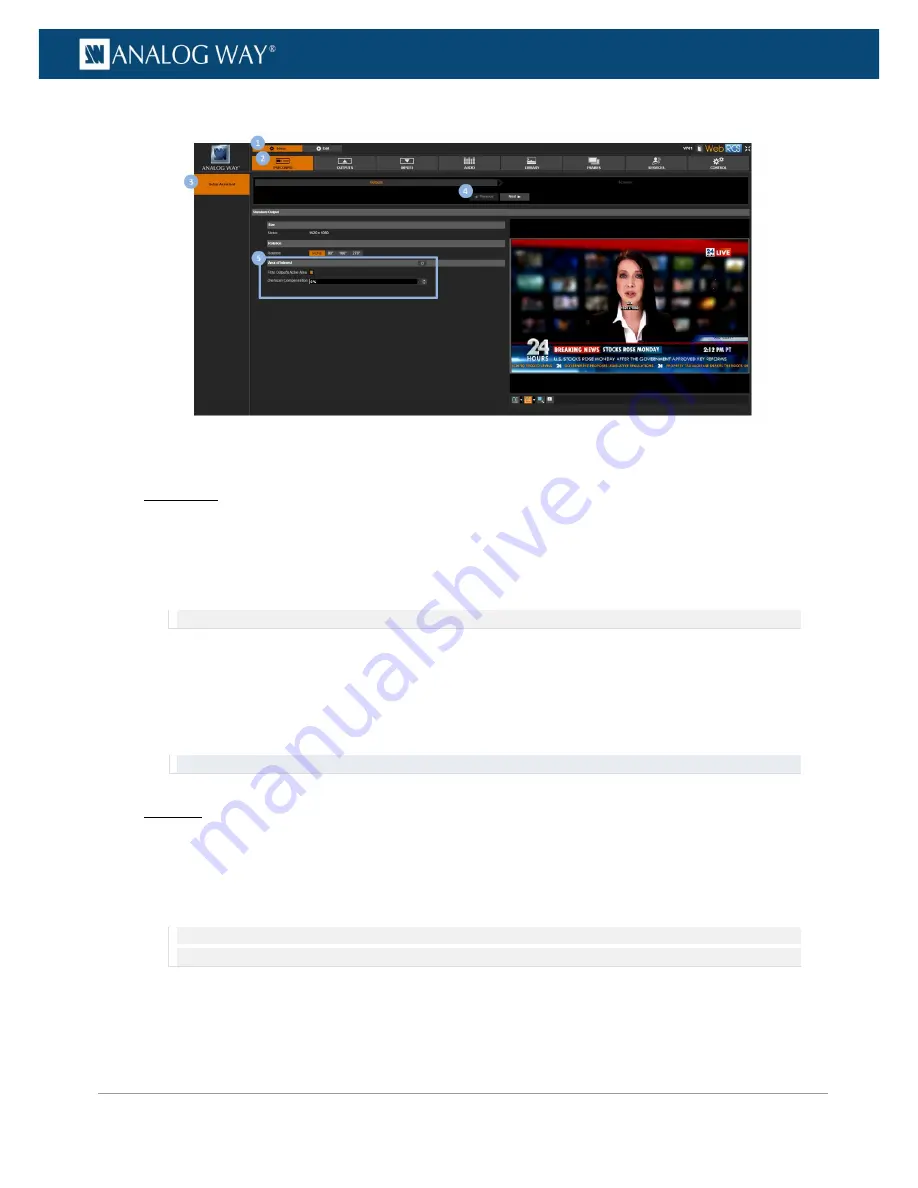
Web RCS
1.
Go to the
Setup
menu on the Web RCS interface.
2.
Click on the
PRECONFIG
tab to access the setup assistant.
3.
If the
Screens
page is active, click on the
Previous
button to access the area of interest setup page.
4.
Uncheck the
Fit to Output's Active Area
check-box to access the AOI size and position adjustments.
NOTE:
Enabling/disabling the automatic fit format option will not erase the manual AOI size and position settings (use the
Reset
button instead if required).
5.
Adjust the following parameters:
•
H Position:
AOI vertical start offset compared to the output format (in pixels).
•
H Size:
AOI horizontal size (in pixels).


