Using the ImageStation online service with MovieShaker software
ImageStation
SM
is an online service that allows you to store your pictures and movies on the Internet to share with family
and friends. The ImageStation service requires an Internet connection and registration for the Web-based service. You
must be connected to the Internet before uploading your pictures or movies using the MovieShaker software and
ImageStation applications.
To upload MovieShaker files
1.
Locate the clips or video files that you want to upload to the ImageStation
SM
service, and import them to the
Import Clip
tray.
2.
Drag the desired clips or video files to the
Story Board
tray.
3.
Click the
Export
button. The
Export
window appears.
4.
Select
MPEG1 (ImageStation)
, and click
Next
.
The MovieShaker application creates a temporary file to store your images prior to uploading to the ImageStation
service. This file is deleted after the upload process.
5.
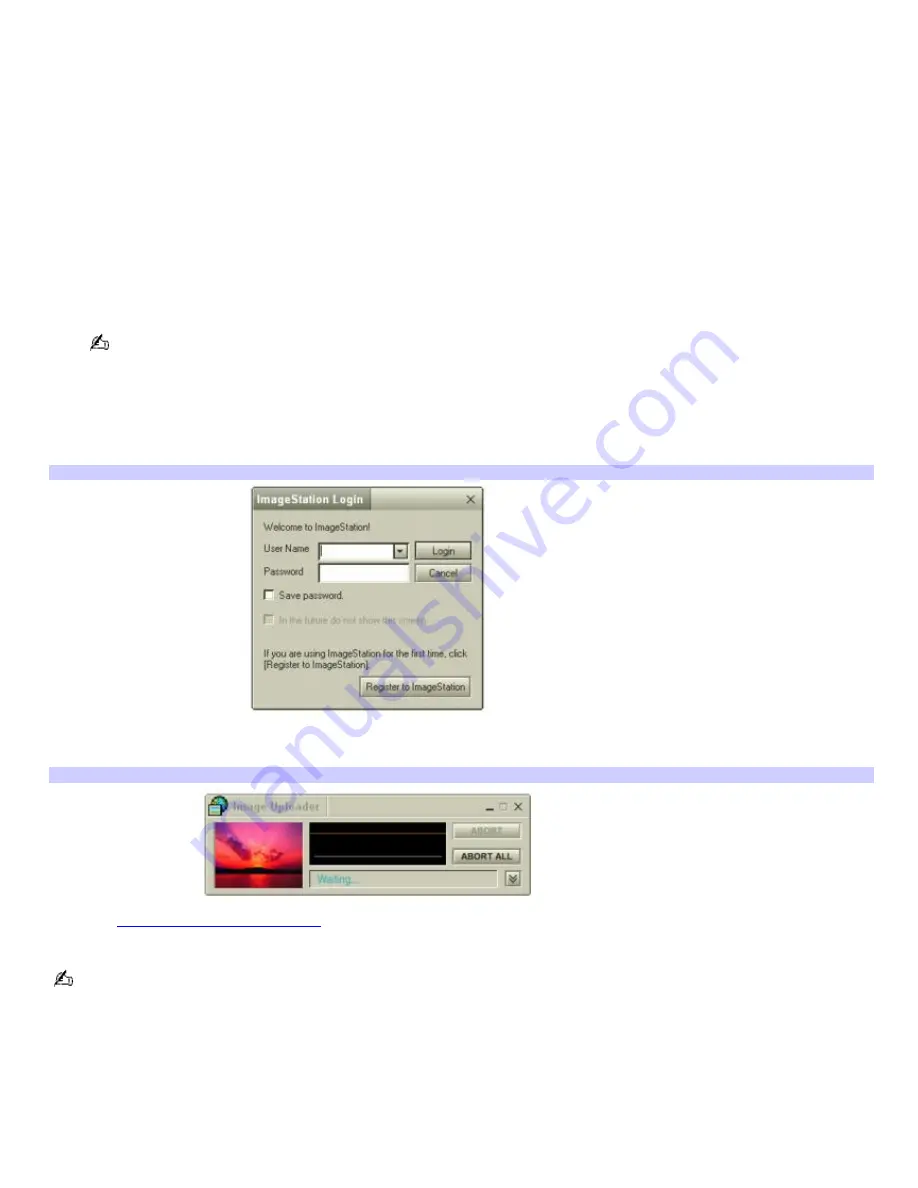
If you are a registered member, provide your login name and password.
For first-time users, click
Register
to
ImageStation
. The ImageStation service registration wizard appears and
guides you through the initial registration process. Follow the on-screen instructions.
Im ageStation Login window
6.
When the ImageStation application on your computer connects with ImageStation online, your files are uploaded
to the Web site. The
Image Uploader
window appears and displays the Internet connection and upload status.
Im age Uploader window
7.
Go to
http://www.imagestation.com
to view your uploaded pictures or movies. Follow the on-screen instructions
to access your ImageStation
SM
account.
The ImageStation Web site may ask you to complete a full login again if your current session is not active.
Page 149
Summary of Contents for PCG-SRX99K VAIO User Guide (primary manual)
Page 23: ...3 Follow the on screen instructions Page 23 ...
Page 48: ...4 Lift the disc from the drive 5 Push the drive tray gently to close it Page 48 ...
Page 56: ...Printer Connections Printing With Your Computer Page 56 ...
Page 73: ...Locating the Jog Dial Control The Jog Dial Control Page 73 ...
Page 88: ...Connecting Mice and Keyboards Using External Mice and Keyboards Page 88 ...
Page 93: ...Floppy Disk Drives and PC Cards Using Floppy Disk Drives Using PC Cards Page 93 ...
Page 104: ...hardware device 6 Eject the PC Card from the PC Card slot Page 104 ...
Page 182: ...Memory Upgrades Upgrading Your Computer s Memory Page 182 ...
Page 189: ...Using the Recovery CDs Application and System Recovery CDs Using Your Recovery CDs Page 189 ...


