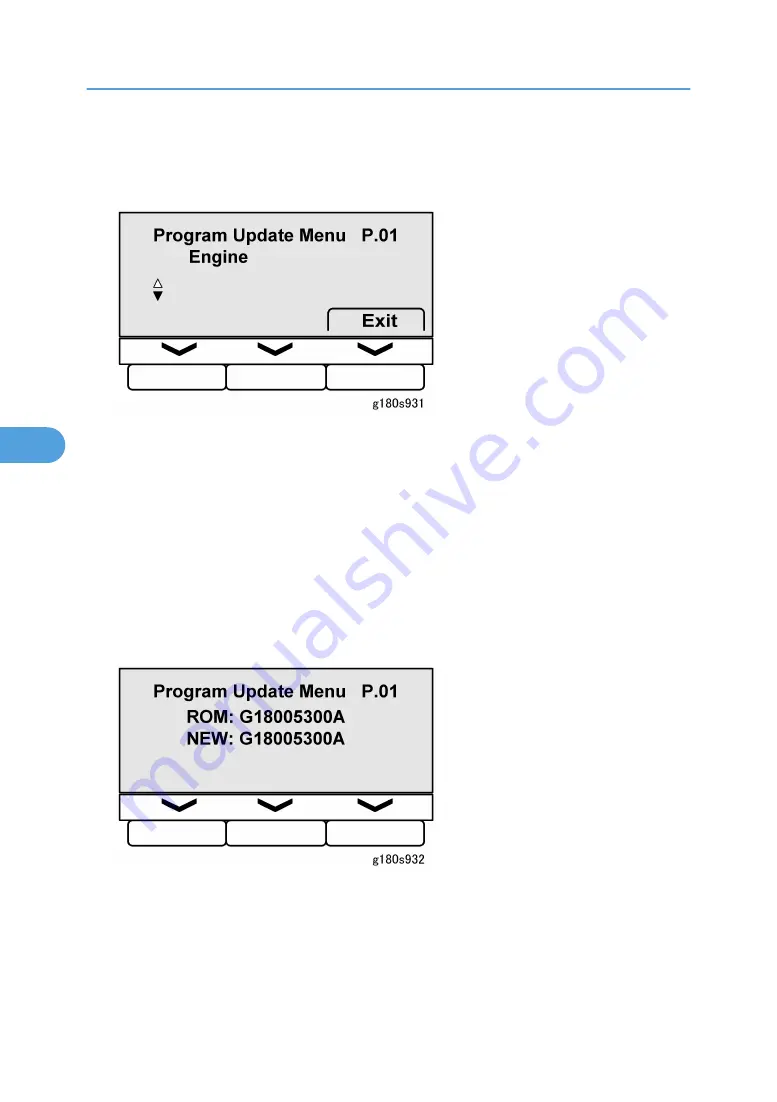
4. Insert the SD card [2] with the firmware in SD card Slot 3. (If there is an SD card in Slot 3, remove it.)
5. Turn on the main power switch. "Please wait" then "Preparing to start firmware update" appears on
the LCD panel. After about 90 sec., the initial firmware update screen appears.
Browsing the Update Menu
1. [
] or [
] to display the module to update:
• Engine
• Network Support
• Web Support
• Printer
• Network DocBox (Document Server)
• System
2. [
] displays ROM name.
3. [
] again displays ROM version.
5. Service Tables
232
5
Summary of Contents for Neptune-P1
Page 1: ...Neptune P1 Machine Code G180 SERVICE MANUAL June 2007 Subject to change...
Page 103: ...1 Installation 102 1...
Page 114: ...Rear Cover 1 Rear cover x 2 A 2 Controller cover B x 1 Paper Exit Unit Common Procedures 113 3...
Page 177: ...3 Remove the SFDB A x 2 x 2 standoffs x 2 3 Replacement and Adjustment 176 3...
Page 180: ...4 Remove the cooling fan D x3 x1 Others 179 3...
Page 402: ...Toner End Recovery Flow Chart Development 401 6...
Page 449: ...6 Details 448 6...
Page 457: ...MEMO 456...


