C
L A S S E S
A N D
S
T U D E N T S
Importing Student Names from a File
. . . . .
24
AccelTest
User Manual
3.
On the next panel, click
Select File
or
Select Folder
.
Find and select (highlight) the file or folder that you want to import students
from. Then, click
Select
,
OK
or
Choose
. (The button name varies depending
on your operating system and the type of item that you are choosing.)
4.
After you have chosen the file or folder, notice that the panel in the wizard
will show you how many students were found in that location. To continue,
click
Next
.
5.
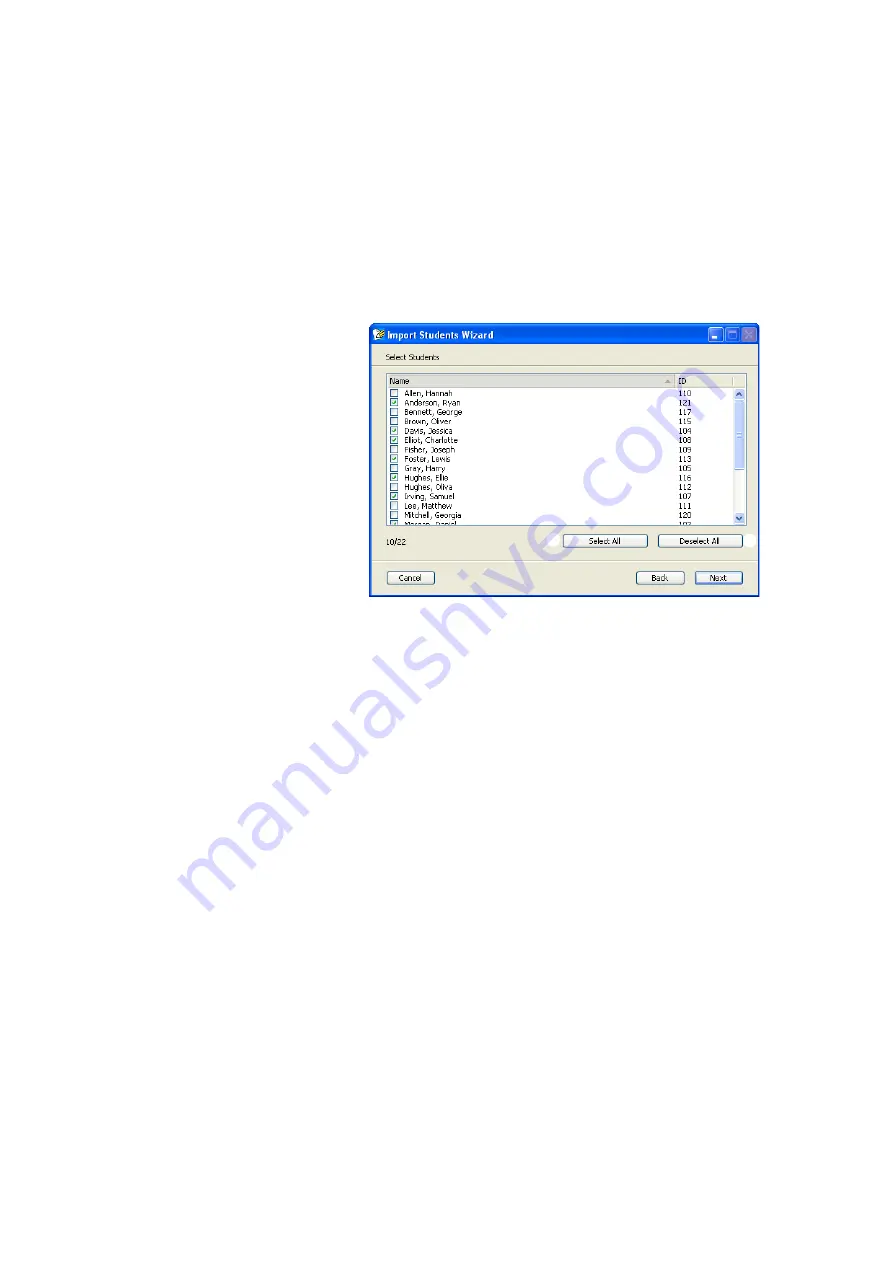
Tick the boxes next to the students that you want to import. Then, click
Next
.
6.
If any student names that you are importing are the same as student names
that are already in your database, AccelTest will show you the duplicate
student names one by one. For each student, you will have some or all of
these options:
•
Update ID
and
Update All IDs:
These options are available when the
student name is the same but the ID is different. Clicking
Update ID
updates the student’s ID in the database to the one that is in the file or
folder you are importing. Clicking
Update All IDs
does this for all student
names that match names in the file or folder you are importing.
•
Update Name
and
Update All Names
: These options are available when
the ID for a student in the import source matches the ID of a student in your
AccelTest database. Clicking
Update Name
changes the name of the
student in the database to match the student with the same ID in the import
source.
Update All Names
does this for all students with matching IDs.
Make sure the student in your AccelTest database is the same as the one
in the import source before doing this to avoid attributing a student’s marks
to another name.
•
Skip
and
Skip All
: If the student information that is already in your
database is correct, and you do not want to replace it or update it with
information from the file, click
Skip
to skip just this student (without
importing the student) or
Skip All
to skip all duplicate students in the file.
A
B
C
A
To choose students one by one,
tick the box next to each
student that you want to import.
If you want to enrol students
in classes as you import them,
make sure you only select
only
students who are in the
same class!
B
To select all the students listed,
click
Select All
. This ticks the
box next to each student.
C
To remove the tick from all
students listed, click
Deselect All
.


