


C
HAPTER
7:
A
DDING
U
SERS AND
U
SER
G
ROUPS
99
Add User to Group
To manage users with similar privileges, you can assign them to groups. When you add a user to
any group, you are assigning the group’s privileges to that user (please see the section
Add User
Group
in this chapter for more information about groups).
1.
Click on the
Users
tab and select a group (the Group icon displays multiple people and a User
icon displays a single person).
2.
On the
Users
menu, click
Add User To Group
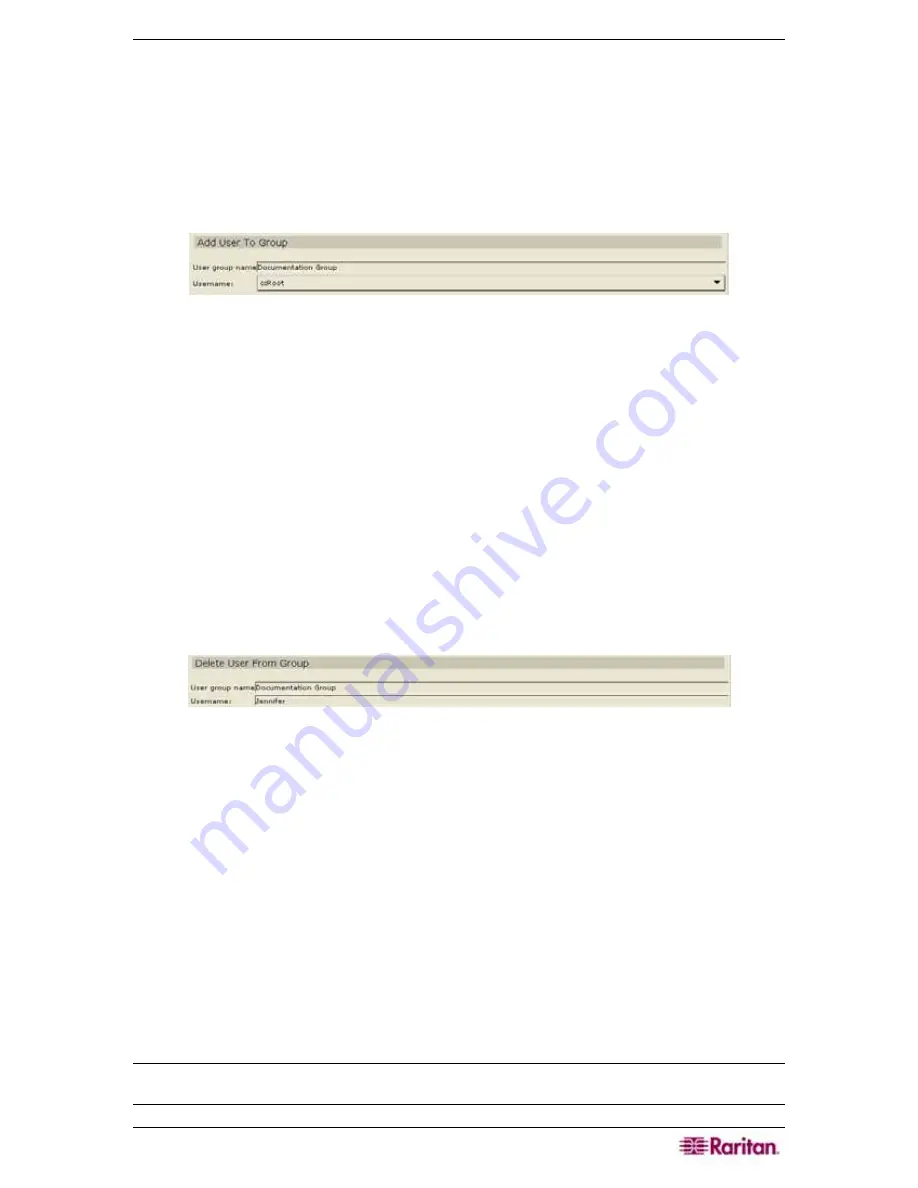
. The
Add User To Group
screen appears.
Figure 123 Add User To Group Screen
3.
Click on the
Username
drop-down arrow and select a user from the list to add to the group
shown in the
User Group Name
field.
4.
Click
OK
to add the selected user to the group or
Cancel
to exit without adding. An
Added
Successfully To User Group
message confirms that the user has been added to a group.
5.
Repeat steps 1 through 4 to add more users to this or to other groups.
Delete User from Group
This command removes a user from a specific group, but not from the system. If a user is not
assigned to any other group, that user is moved to
Users Not In Group
, a non-specific category
shown at the base of the Users tree.
1.
Click on the
Users
tab and select a user to be deleted.
2.
On the
Users
menu, click
Delete User From Group
. The
Delete User From Group
screen
appears.
Figure 124 Delete User From Group Screen
3.
Click
OK
to delete the user or
Cancel
to exit without deleting. A
Deleted Successfully From
Group
message confirms that the user has been deleted from the group.
4.
Repeat steps 1 through 3 to delete other users from this or other groups.
Default User Groups
A CC-SG is shipped with these default user groups:
•
System Administrators
—user group in which
ccroot
resides. The account
ccroot
is a
special type of super-user Administrator, which is always authenticated locally by CC-SG.
Users in this group have all privileges as listed in
Appendix D: User Group Privileges
, but
the privileges cannot be changed. Users in this group can also manage (add, edit, delete) users
and user groups. Policies can be applied to users in this group to provide access rights to ports.
•
CC Users
—initially has only the
Ports Access
privilege, but the privileges can be changed in
this group. Policies can be applied to this group to provide access rights to ports.
Note: The Users Not in Group is technically not a user group but can be considered as a
“holding area” for users until they are moved into another group.
Summary of Contents for Command Center CC-SG
Page 2: ...This page intentionally left blank...
Page 16: ......
Page 34: ...18 COMMANDCENTER SECURE GATEWAY ADMINISTRATOR GUIDE...
Page 64: ...48 COMMANDCENTER SECURE GATEWAY ADMINISTRATOR GUIDE...
Page 122: ...106 COMMANDCENTER SECURE GATEWAY ADMINISTRATOR GUIDE...
Page 168: ...152 COMMANDCENTER SECURE GATEWAY ADMINISTRATOR GUIDE...
Page 252: ......
Page 254: ...238 COMMANDCENTER SECURE GATEWAY ADMINISTRATOR GUIDE...
Page 258: ...242 COMMANDCENTER SECURE GATEWAY ADMINISTRATOR GUIDE...
Page 260: ...244 COMMANDCENTER SECURE GATEWAY ADMINISTRATOR GUIDE...
Page 268: ...252 COMMANDCENTER SECURE GATEWAY ADMINISTRATOR GUIDE 255 80 5140 00...
Page 269: ...APPENDIX G FAQS 253...


