Chapter 3 — Changing Printer Ribbons
34
NOTE:
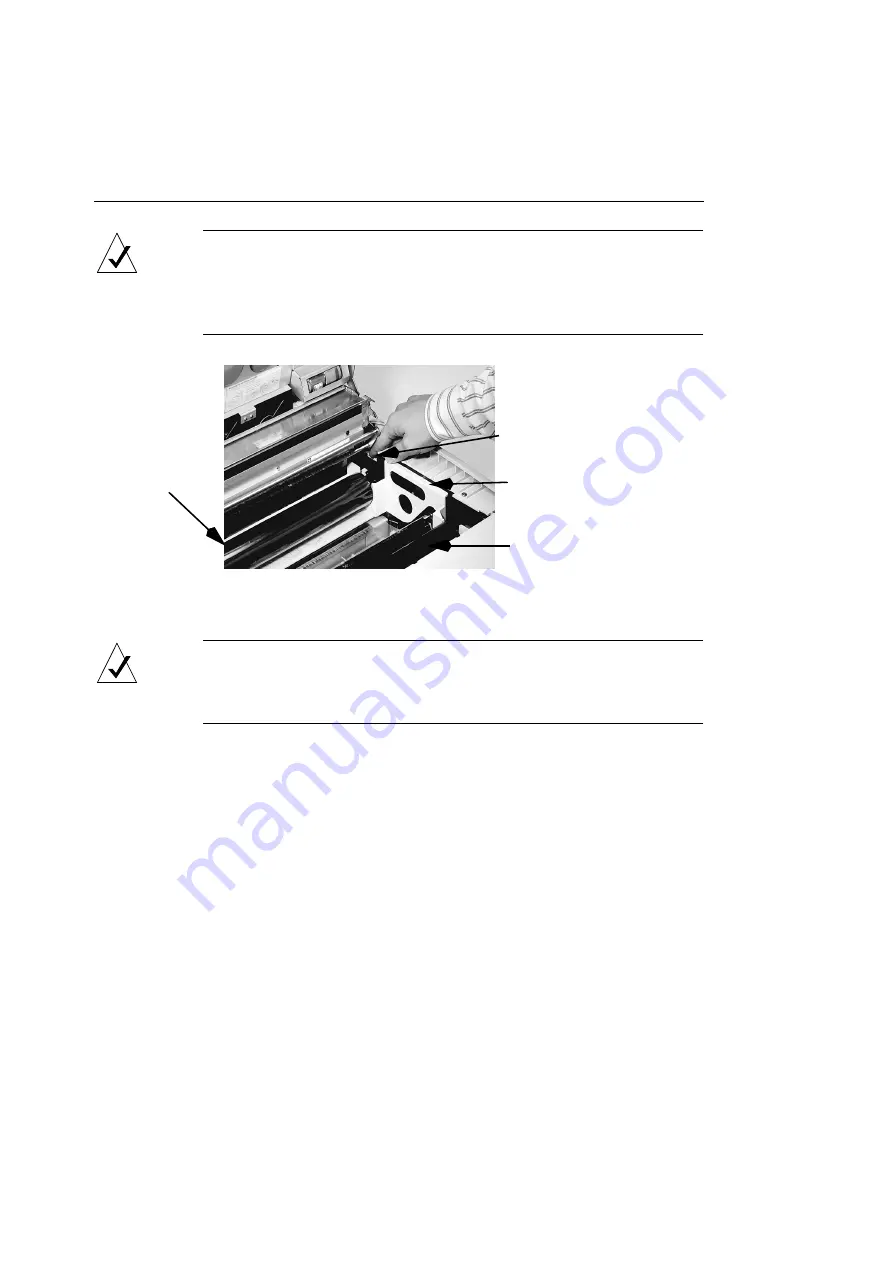
The paper may jam if the dye ribbon is too slack, but do not
overtighten the ribbon. The ribbon should drape smoothly between
the two rollers, sagging no more than 1 inch (2.5 cm) below
horizontal.
Figure 3-4 Winding the Ribbon Wheel
NOTE:
If you are installing a continuous monochrome ribbon, skip
the rest of this procedure and follow the instructions in “Printing in
Monochrome Mode” on Page 35.
4.
Press downward gently on the printer cover until it
clicks into place.
The red front panel indicators should all turn off.
You will hear a whirring sound as the printer moves the dye
ribbon forward to the first dye panel.
If the front panel ribbon indicator glows red, open the top
cover and review this procedure. Be sure that the dye ribbon
and all gears are properly seated.
Ribbon Wheel
Front Spindle
Cassette Handle
Rear
Spindle
Summary of Contents for ColorScript 310
Page 1: ...ColorScript 310 330 Printer User s Guide...
Page 2: ...This page is intentionally left blank...
Page 3: ...ColorScript 310 330 Printer User s Guide Revision 1 1 March 1997...
Page 4: ...This page is intentionally left blank...
Page 12: ...Table of Contents x This page is intentionally left blank...
Page 16: ...List of Figures xiv This page is intentionally left blank...
Page 37: ...Switching the Printer On 21 This page is intentionally left blank...
Page 38: ...Chapter 1 Installing Your Printer 22...
Page 54: ...Chapter 3 Changing Printer Ribbons 36 This page is intentionally left blank...
Page 90: ...Chapter 4 Printing from the Mac OS 72 This page is intentionally left blank...
Page 128: ...Chapter 5 Printing from Windows 110 Figure 5 21 Corel Draw 6 0 Print Window...
Page 146: ...Chapter 5 Printing from Windows 128 This page is intentionally left blank...
Page 164: ...Chapter 7 Storing and Ordering Supplies 146 This page is intentionally left blank...
Page 186: ...Glossary 168 This page is intentionally left blank...
Page 192: ...Index 174 This page is intentionally left blank...


