FASTCAM-APX RS Hardware Manual
-80-
3.7.2. Manual (One Touch) White Balance
To obtain a better white balance, the APX RS has a means for setting up white balance
semi-automatically. Two patterns of setting can be saved in memory as preset
parameters. Follow the below procedure:
1. Set up parameters for an upcoming recording – frame rate, shutter speed and
resolution.
2. Press the MENU key on the keypad to display the menu list.
3. Move the cursor to the [COLOR TEMP] command using the U-D and L-R keys.
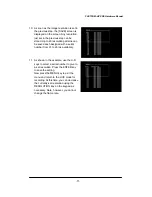
4. Press the EMTER key and the COLOR TEMP menu appears as shown below.
5. Move the cursor by the U-D and L-R keys to AUTO USER1
(
or AUTO USER2
)
and press the ENTER key to enter the white balance readjustment mode.
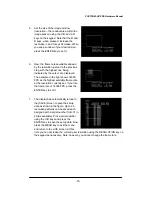
6. Make sure that the value of each of R, G and B channels and indication of DARK
or GRIGHT are shown in the lower left corner of the screen.
7. Turn the light on and shoot a piece of white paper or something that is going to be
the reference white target, and place it in the center of the picture frame.
8. Control the lens iris to readjust the amount of incoming light onto the imaging
sensor. While doing this, make sure that the indicator changes from [DARK] to
[PUSH ENTER] to [BRIGHT], or other way around, as the incoming light amount
varies. If the indication does not change even when the overall brightness of the
image frame is changing, check if the white target is in the center part of the view
field. If the target is not in the center, replace it until the indicator changes to the
movement of the iris.
9. Control the iris until the indicator shows PUSH ENTER.
10. Press the ENTER key to enter the current setting of white balance while PUSH
ENTER is displayed.
11. Now the APX RS system has obtained a set of R, G and B values for a proper
white balance. Make sure that the displayed image has been updated.
12. The set of R, G and B values are saved in the USER 1 (or USER 2) window.


