FASTCAM-APX RS Hardware Manual
-40-
3.1. Initialization (Calibration)
To take advantage of maximam performance of the APX system high image quality, it is
necessary to correct the non-uniformity in sensitivity of each pixel of the imaging sensor.
The APX has a calibration (shading correction) function that corrects the non-uniformity
in output of each pixel based on black level. This function uses a uniform black image
as reference to null the output of each pixel against black, making it possible to obtain
uniform output from each of pixels in proportion to the level of incoming light.
Calibration is carried out automatically when the system is switched on. For the best
result of recording, however,
it is strongly recommended that whenever you
change framing parameters such as resolution, gain, frame rate, shutter speed,
etc
., you carry out calibration of the camera before starting a recording.
It may happen that as follows, but It will be resolved if you carry out calibration.
◆
Horizontality fixed noise appears.
◆
Partial area is clear but other area has noise.
The following procedure shows how to initialize the system.
3.1.1. Start Calibration
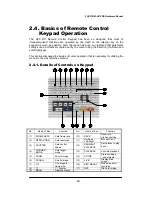
1. Set up framing parameters, such as the frame rate and shutter speed, using the
pertinent up-down keys on the keypad.
2. Place a cap on the lens to cover it. The black image at this time is used as the
reference black. Make sure the lens is completely covered and there is no light
falling on the imaging sensor.
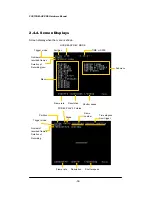
3. Press the MENU key on the keypad to display the menu.
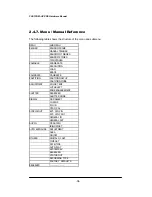
4. Use the Up-Down Cursor Guide Keys (“U-D cursor keys” hereinafter) to go to
[CALIBRATE] and select [CALIBRATE] using the Left-Right Cursor Keys (L-R
cursor keys” hereinafter).
5. Use the U-D and L-R cursor keys to go to [ON]. Make sure the lens is completely
covered and press the ENTER key to execute calibration.

