NewFEIMAS
Refer to Revision Record on page 2.
T.Anzai
Nov. 20, 2008
K.Okada
Rev
04
03
PAGE
20
/
138
PFU LIMITED
P1PA03334-B30X/6
Refer to Revision Record on page 2.
T.Anzai
July 7, 2008
K.Okada
Refer to Revision Record on page 2.
K.Okada
K.Okada
DESCRIPTION
CHECK
DATE
T.Anzai
APPR.
K.Okada
K.Okada
Aug.19, 2005
DESIG
N
DESIG
.
CUST.
I.Fujioka
I.Fujioka
T.Anzai
CHECK
fi-5530C/fi-5530C2
IMAGE SCANNER
MAINTENANCE MANUAL
APPR.
TITLE
DRAW.
No.
Feb.23, 2007
05
Section 1-5-1
1-5. Installing the scanner
1-5-1 For safe installation
Before installing the scanner, read the following cautions carefully to avoid scanner trouble.
Refer to
Section 1-1
“Overview” for information of power source and scanner dimensions.
■ Install the scanner away from strong magnetic fields and other sources of noise.
■ Do not install the scanner near heating apparatus or in the direct sunlight.
■ Install the scanner in a location which is level and subject to minimal vibration. Make sure the rubber pads on the bottom of
the scanner grounds evenly.
■ Do not install the scanner in locations subject to humidity and dust.
■ Do not block the ventilation ports.
■ Protect the scanner from static electricity.
■ Use proper AC voltage.
1-5-2 Installation
(1)
Place the scanner at its installation site.
For details on the scanner’s dimensions and required installation space, refer to “Environmental specifications” in
Section
1-1 “Overview”
.
(2)
Attach the ADF paper chute (Chute unit) by referring to
Section 4-7-1
.
(3)
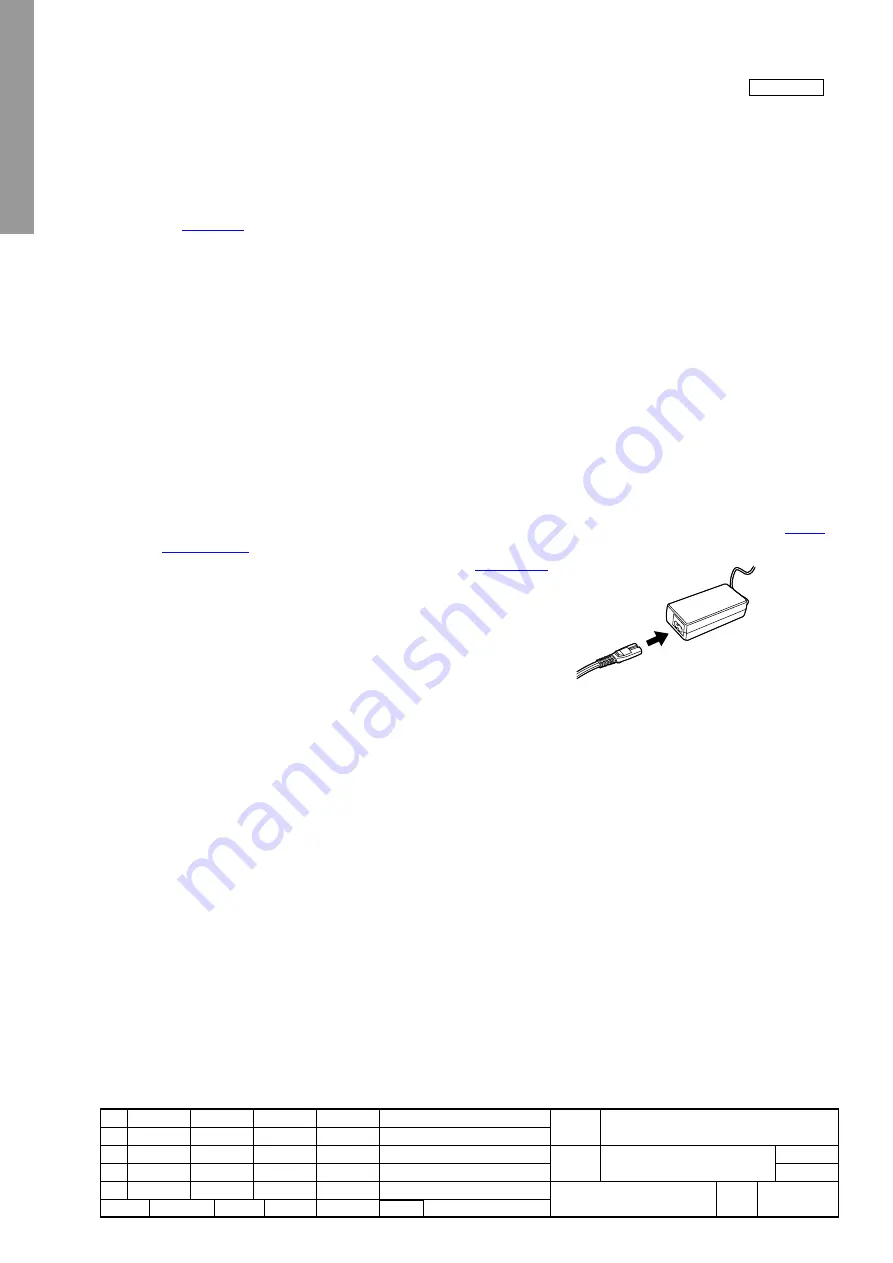
Connect the AC adapter.
Use only the AC adapter provided by the manufacturer.
1) Connect the AC cable to the AC adapter.
2) Connect the AC adapter connector to the Scanner’s DC inlet.
3) Plug the AC cable into the outlet.
Note: The function Number Display and the LED may flash for an instant when plugging the AC cable into the
outlet.
(4)
Connect the USB interface cable or the SCSI cable to the interface connector of the scanner. Then connect the other
end of the interface cable to the PC.
Note 1: This scanner is provided with two interfaces: Ultra SCSI and USB 2.0/1.1. Connect only one of the USB or SCSI
interface cable.
- When running Windows 95 or Windows NT 4.0, connect the scanner with the SCSI interface cable. These
operating systems do not support USB interface.
- When running Windows 98, Windows Me, Windows 2000, or Windows XP, connect the scanner to the PC by
either the USB interface cable or the SCSI cable.
Note 2: Be sure to use the USB cable which comes as an accessory with this scanner. Correct operation with commercially
available cables is not guaranteed.
Note 3: When connecting to a USB hub, use the first stage USB hub that is closest to the computer. If you use the second
or later hub stages, the scanner may not operate correctly.
Note 4: If you connect the scanner with USB 2.0, it is required that the USB port and Hub are compliant with USB 2.0. The
scanning speed may slow down if it is connected with USB 1.0.


