


iConnectAccess624W
18
step 4
Enter the netmask in the Netmask field as required.
step 5
Click Apply,
then
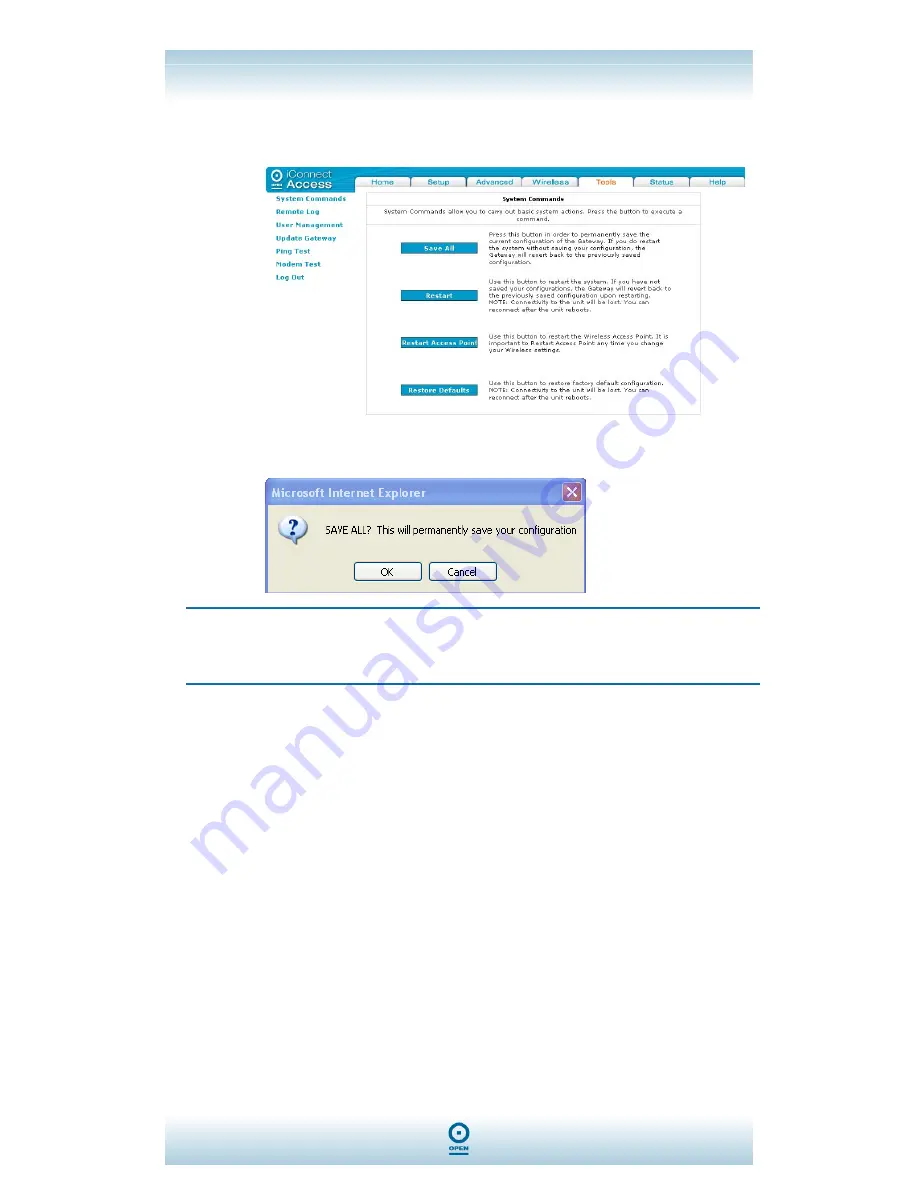
Tools. The following screen appears:
step 6
Click System Commands, then Save All. Click OK to confirm the save
when the following appears:
NOTE:
If you change this address from the default, you will need to reconnect
using your new IP Address.
Enabling DHCP
A static IP address must be set on the iConnectAccess624W if the DHCP server is to be
enabled.
step 1
Follow steps 1 to 4 of the Accessing The LAN Configuration Screen
procedure.
step 2
In the Enable DHCP Server area of the screen, highlight the Enable DHCP
Server radio button.
step 3
Enter the Start IP Address in the Start IP: field. This address is the
beginning of the range from which the DHCP Server starts issuing IP
addresses.
step 4
Enter the End IP
Address in the End IP Address field. This address is the
end of the range from which the DHCP Server issues IP addresses.
step 5
Click Apply,
then
Tools. The following screen appears: