10
Installation Method
Section 2-1
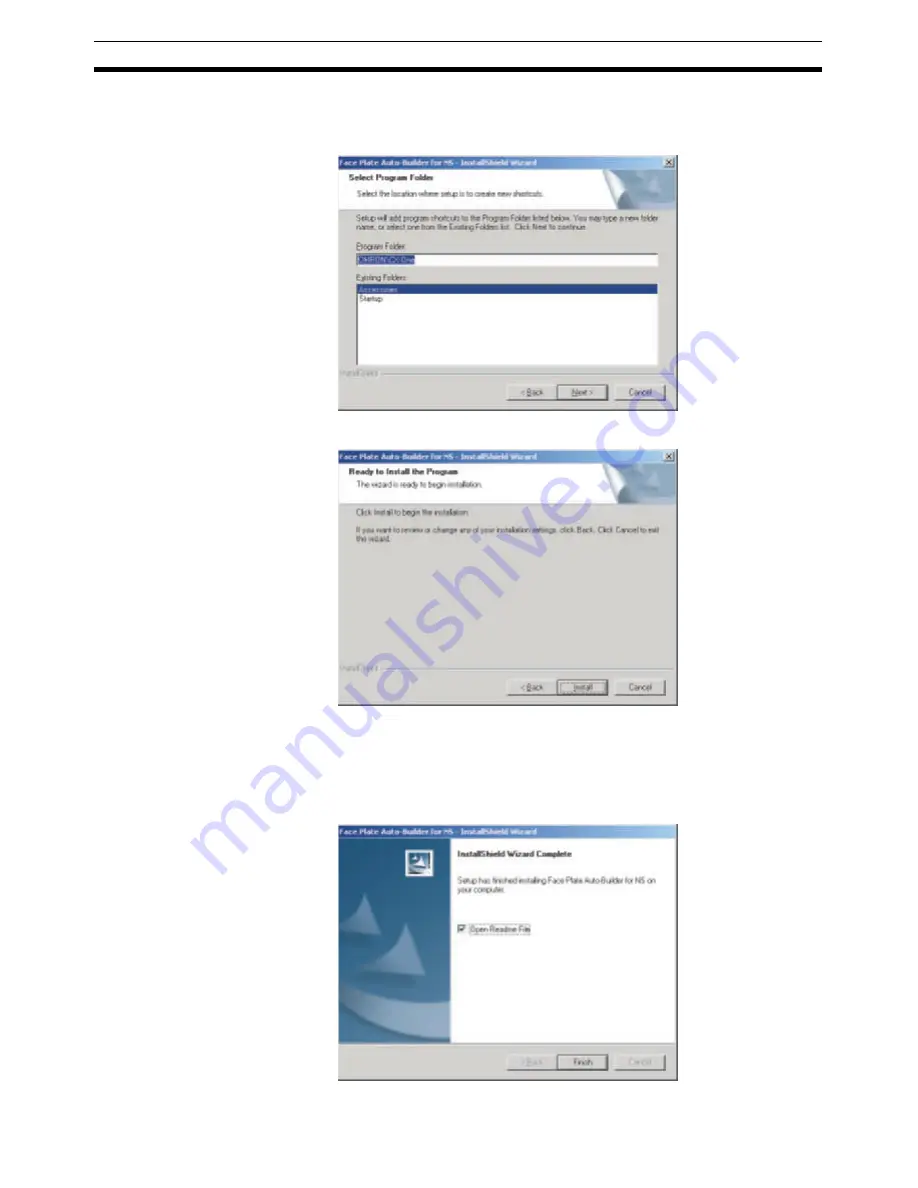
Step 5: Select the program folder.
Specify the location for the new shortcut to be added to the program folder
under the Start Menu. Check the setting and select the
Next
Button.
Step 6: Preparations for executing the installation have been completed.
Click the
Install
Button.
Installation will start from the install program.To check or change installation
details, click the
Back
Button. To cancel installation, click the
Cancel
Button.
Step 7: The following dialog box will be displayed when installation has been
completed. Click the
Finish
Button.
Summary of Contents for Face Plate Auto-Builder for NS 3.1
Page 2: ...WS02 NSFC1 EV3 Face Plate Auto Builder for NS Ver 3 1 Operation Manual Revised December 2007...
Page 3: ...iv...
Page 5: ...vi...
Page 13: ...xiv...
Page 21: ...6 Upgrades Made for Version 3 1 Section 1 6...
Page 27: ...12 Uninstalling the Face Plate Auto Builder for NS Section 2 2...
Page 28: ...13 SECTION 3 Basic Operation Flow 3 1 Basic Operation Flow 14...
Page 39: ...24 Merging Projects Section 4 2...
Page 141: ...126 Segment Program 3 Block Model 158 Section 6 19...
Page 143: ...128 Revision History...


