Action
4
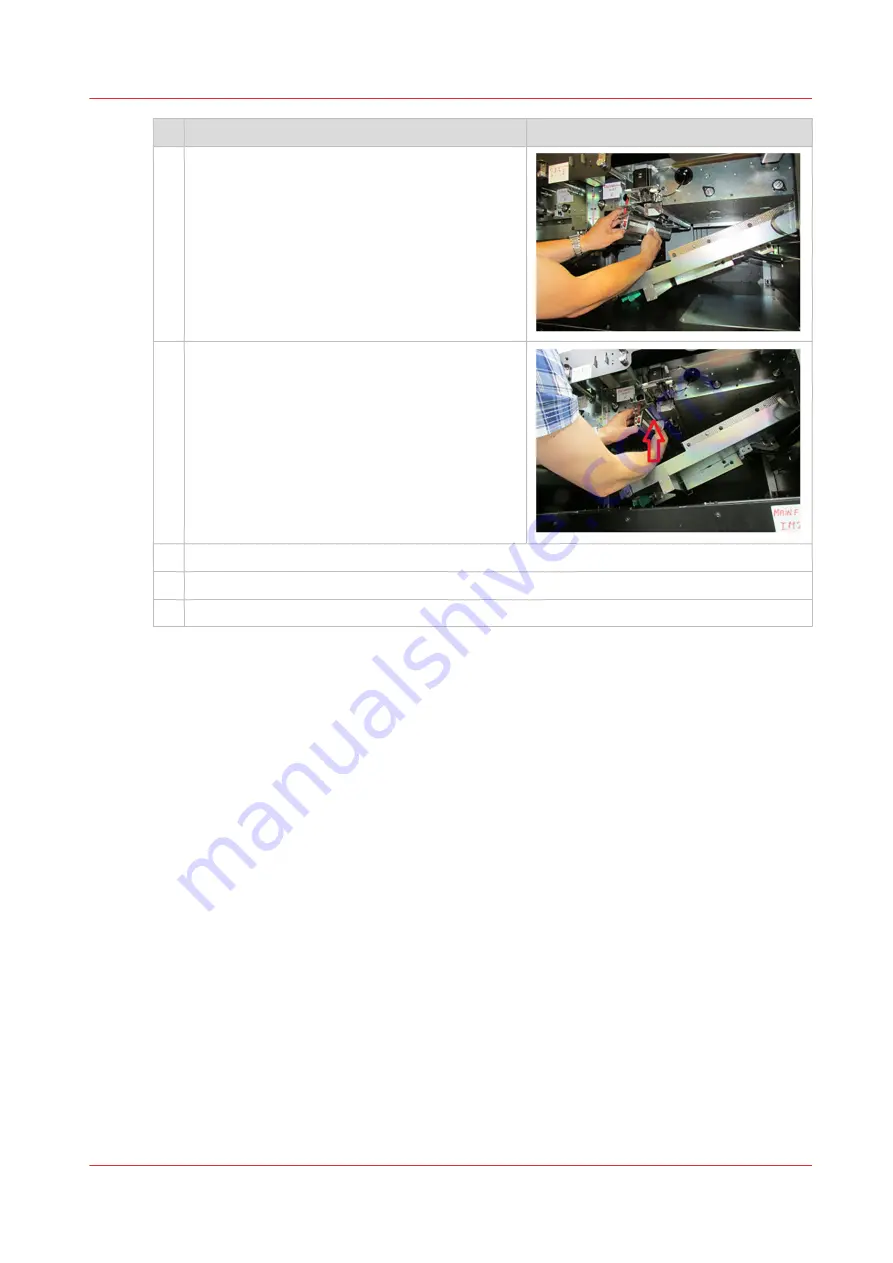
Take a cleaning cloth and move the cloth three
times over the lower sensors.
5
Take a new cleaning cloth and move the cloth
three times over the upper sensors.
6
Gently close the Z-sensor unit.
7
Use the green handle to close the paper guide.
8
Close the front door of the registration input module.
After you finish
Dispose the used cleaning cloths.
Clean the Z-sensors in the registration input module (Z1)
Chapter 12 - Maintain the printer
309
Summary of Contents for VarioPrint i Series
Page 1: ...Operation guide VarioPrint i series ...
Page 8: ...Contents 8 ...
Page 9: ...Chapter 1 Introduction ...
Page 18: ...Notes for the reader 18 Chapter 1 Introduction ...
Page 19: ...Chapter 2 Explore the printer ...
Page 35: ...Chapter 3 Getting started ...
Page 44: ...Log in to the printer 44 Chapter 3 Getting started ...
Page 51: ...Chapter 4 Define defaults ...
Page 74: ...Download account log files 74 Chapter 4 Define defaults ...
Page 75: ...Chapter 5 Job media handling ...
Page 91: ...Chapter 6 Transaction printing ...
Page 111: ...Chapter 7 Document printing ...
Page 143: ...2 Touch Split Combine jobs Chapter 7 Document printing 143 ...
Page 183: ...Chapter 8 Manage media definitions ...
Page 198: ...Edit a media print mode 198 Chapter 8 Manage media definitions ...
Page 199: ...Chapter 9 Manage colour definitions ...
Page 232: ...Reset spot colours 232 Chapter 9 Manage colour definitions ...
Page 233: ...Chapter 10 Print what you expect ...
Page 271: ...Chapter 11 Save energy ...
Page 276: ... 301 Automatic shut down time Configure the energy save timers 276 Chapter 11 Save energy ...
Page 278: ...Prepare printer for a long shut down period 278 Chapter 11 Save energy ...
Page 279: ...Chapter 12 Maintain the printer ...
Page 339: ...Chapter 13 Solve problems ...
Page 359: ...Chapter 14 References ...
Page 388: ...Status indicators 388 Chapter 14 References ...
Page 400: ...metrics 377 Index 400 ...
Page 401: ......


