4.4Approval
4-35
4
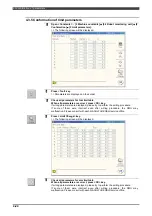
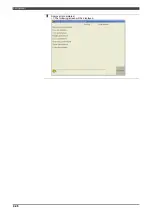
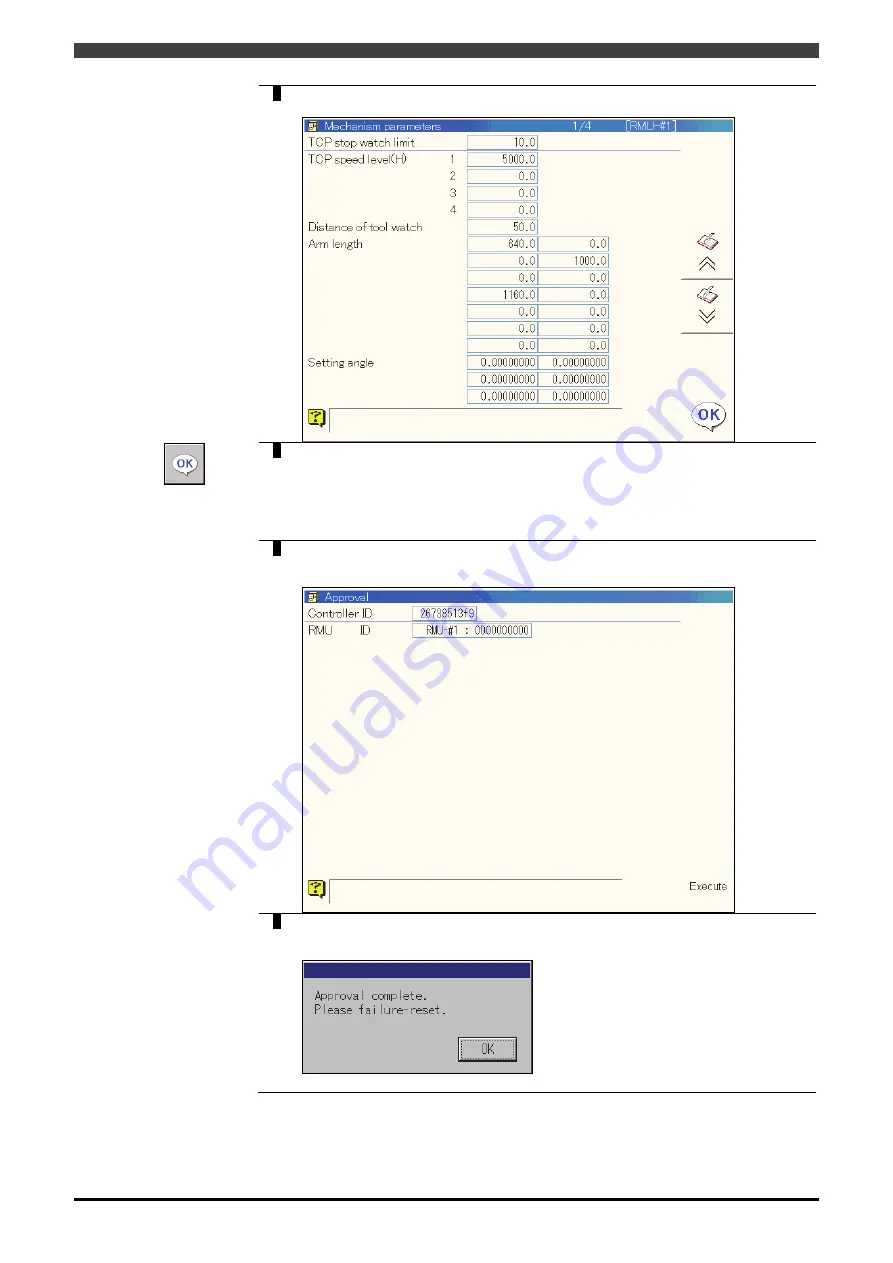
After the setting operation is finished, proceed with the confirmation operation.
>>A screen like the following will be displayed.
5
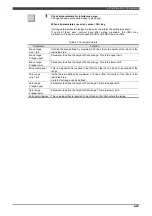
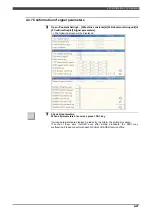
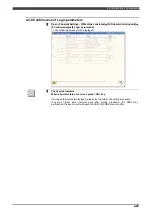
Check all parameters.
When all parameters are correct, press <OK> key.
(NOTE) The unfinished screens will appear one after another. Check the parameters
in the same way and press <OK> respectively.
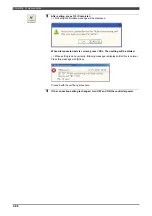
6
After the confirmation operation is finished, proceed with the approval
operation.
>>A screen like the following will be displayed.
7
Input the password to finish the approval.
>> The following screen will be displayed. Now controller ID and RMU ID become the
same. Approval is completed.
Summary of Contents for RMU20-20
Page 2: ......
Page 6: ...Contents 4 ...
Page 8: ......
Page 26: ...1 4 EC DECLARATION OF CONFORMITY FOR MACHINERY 1 18 NOTE ...
Page 68: ...2 9 Enabling RMU 2 40 NOTE ...
Page 70: ......
Page 100: ...3 4 Setting when a slider unit is used 3 30 NOTE ...
Page 102: ......
Page 138: ...4 4Approval 4 36 8 Approval is completed The following screen will be displayed ...
Page 144: ......
Page 154: ...5 4Trouble shooting 5 10 NOTE ...
Page 156: ......
Page 166: ...6 4Trouble shooting 6 10 NOTE ...
Page 168: ......
Page 189: ......


