REMARK
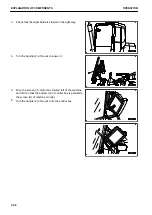
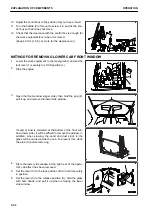
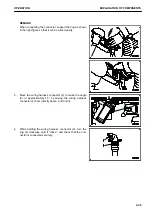
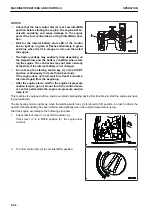
When connecting the connector, support the ring as shown
in the right figure so that it can be turned easily.
5.
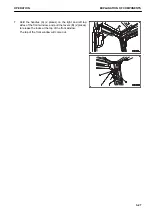
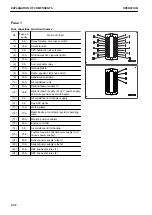
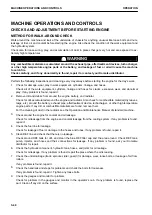
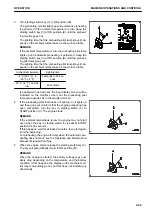
Move the wiring harness connector (2) to make the angle
(X) of approximately 15 ° by seeing the wiring harness
connector (2) from directly above, and hold it.
6.
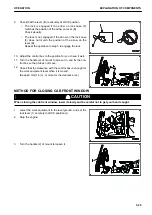
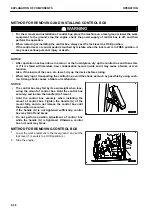
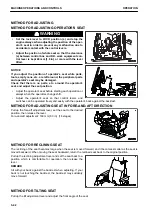
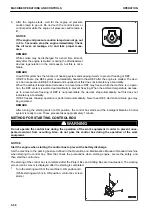
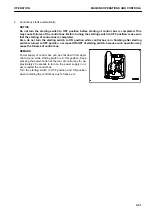
While holding the wiring harness connector (2), turn the
ring (4) clockwise until it “clicks”, and check that the con-
nector is connected securely.
OPERATION
EXPLANATION OF COMPONENTS
3-39
Summary of Contents for A31001
Page 12: ...LOCATION OF SAFETY LABELS Options are shown with marks in the figure SAFETY LABELS SAFETY 2 4...
Page 106: ......
Page 107: ...SPECIFICATIONS 5 1...
Page 110: ......
Page 116: ......
Page 117: ...SETTING 7 1...
Page 311: ...EXECUTIONS 8 1...
Page 376: ...PC360LCi 11 PC390LCi 11 HYDRAULIC EXCAVATOR Form No CEAM032703...


