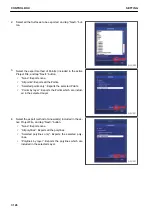
4.
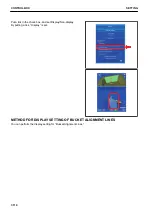
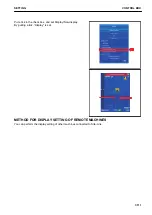
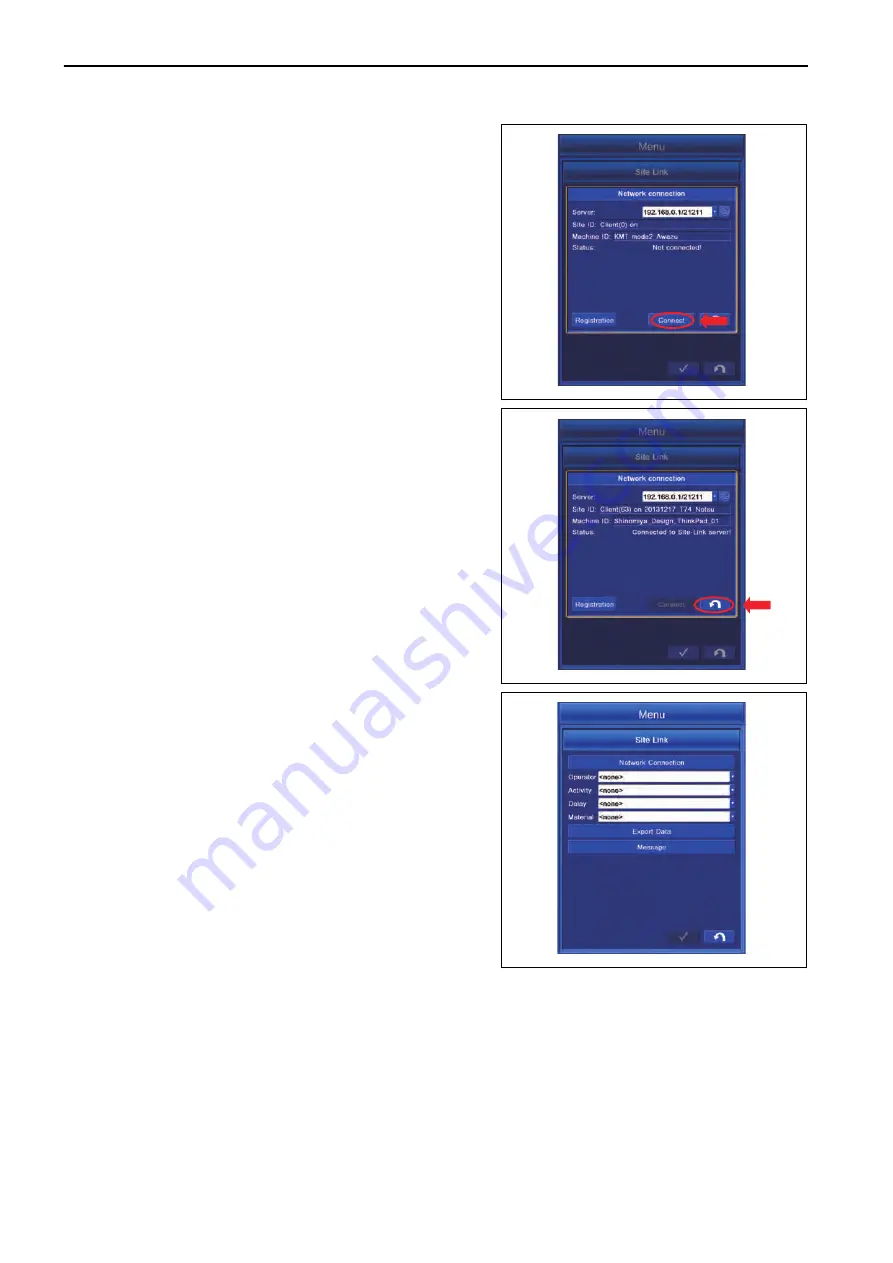
Tap “Connect” button and connect to Sitelink3D.
5.
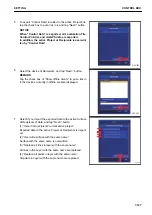
After connection to Sitelink3D is succeeded, the Status
changes to “Connected to Site-Link server!” and “Site ID:”
is displayed. After confirming the connection, tap RETURN
button.
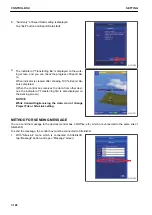
6.
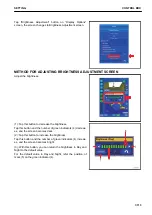
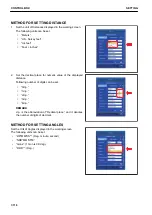
Each setting item in “Site-Link” menu becomes Enabled as
shown in the figure.
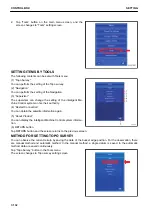
METHOD FOR SETTING CONSTRUCTION INFORMATION
Once the construction information (Operator, Activity, Delay, Material) are set, the current construction informa-
tion can be checked at the office.
To enable the setting of construction information, the control box must be connected to the Sitelink3D.
In addition, the setting of construction information must be completed at the WebPortal of Sitelink3D.
$-'
$-'
$-'
CONTROL BOX
SETTING
7-124
Summary of Contents for A31001
Page 12: ...LOCATION OF SAFETY LABELS Options are shown with marks in the figure SAFETY LABELS SAFETY 2 4...
Page 106: ......
Page 107: ...SPECIFICATIONS 5 1...
Page 110: ......
Page 116: ......
Page 117: ...SETTING 7 1...
Page 311: ...EXECUTIONS 8 1...
Page 376: ...PC360LCi 11 PC390LCi 11 HYDRAULIC EXCAVATOR Form No CEAM032703...

