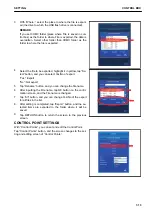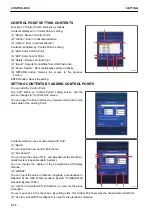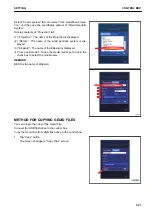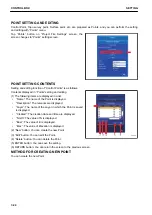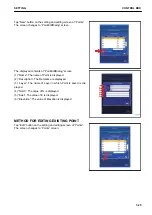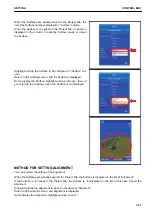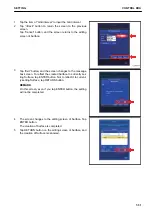
Highlight the Control Point to be edited on “Control Points” set-
ting screen, tap “Edit” button, and the screen changes to “Con-
trol points” editing screen.
You can input the Point obtained by measurement and Coordi-
nates data of the existing Point.
On “Control points” screen, the data of Point which has been
inputted is displayed.
For the editing method of the Control Point, see “SETTING
CONTENTS BY ADDING CONTROL POINTS”.
METHOD FOR DELETING CONTROL POINTS
You can delete the Control Points.
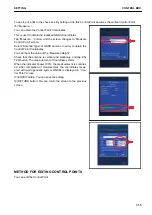
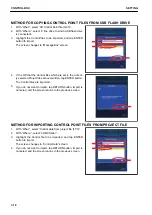
1.
Highlight the Control Point to be deleted on “Control
Points” setting screen, tap “Delete” button, and the screen
changes to “MessageBox” screen.
CONTROL BOX
SETTING
7-16
Summary of Contents for A31001
Page 12: ...LOCATION OF SAFETY LABELS Options are shown with marks in the figure SAFETY LABELS SAFETY 2 4...
Page 106: ......
Page 107: ...SPECIFICATIONS 5 1...
Page 110: ......
Page 116: ......
Page 117: ...SETTING 7 1...
Page 311: ...EXECUTIONS 8 1...
Page 376: ...PC360LCi 11 PC390LCi 11 HYDRAULIC EXCAVATOR Form No CEAM032703...


