


2-28
Intel® Integrated RAID Controller GSU31 User’s Manual
Rev 1.0
Advanced Installation Steps
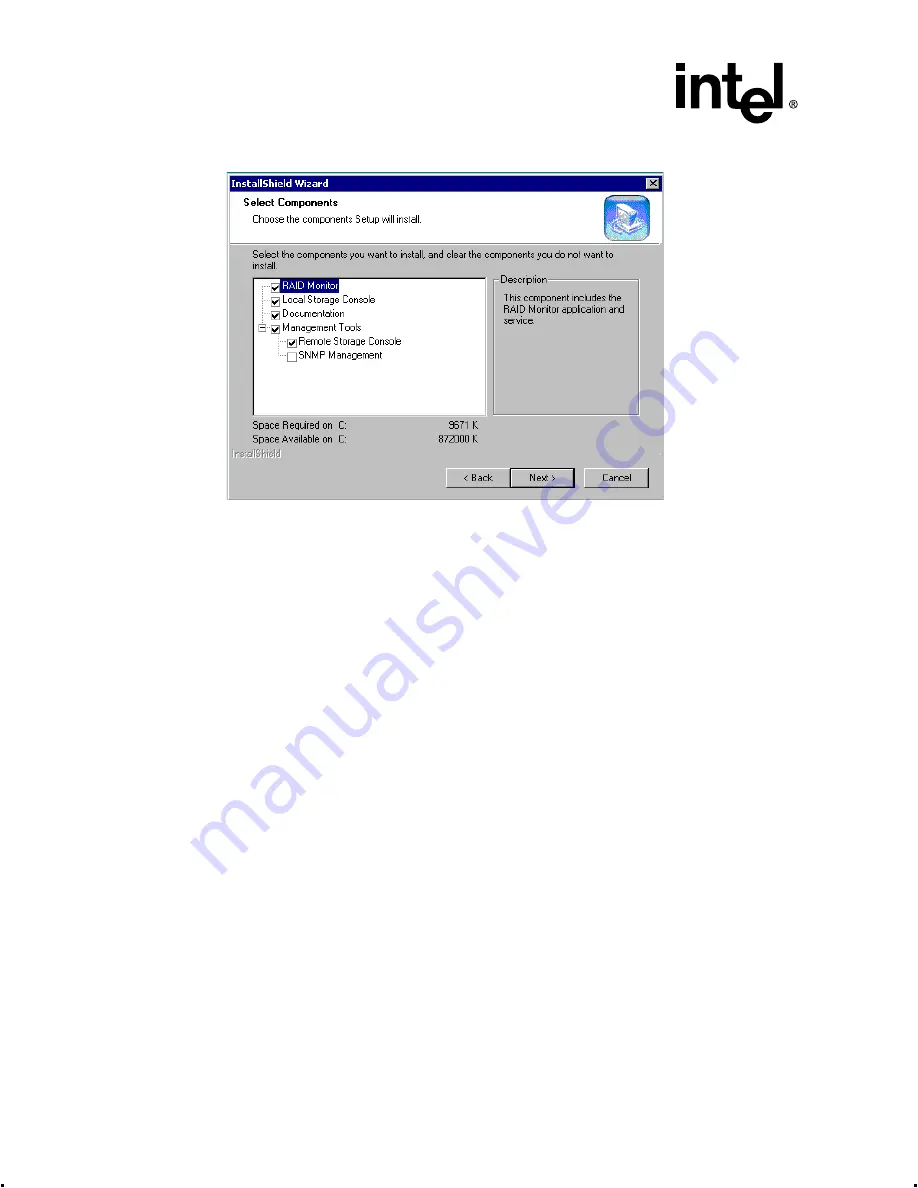
Figure 2-24. Adding Components
7. If the Digital Signature Information window pops up, click Yes to continue.
8. If you have RAID volumes already configured on the RAID adapter, proceed with the
following steps (
through
). If not, go to
a. The Found New Hardware Wizard will launch (if more than one launches, close one by
clicking Cancel.
b. When the Install Hardware Device Drives window launches, click Next to continue.
c. Uncheck the Floppy Disk and CD-ROM Drives boxes; check the Specify Location box
and continue.
d. Type or browse the following path for the drive location: \\<system drive>:\Program
Files\RAID Software Suite\Drives Click OK to continue.
9. The RAID Software Suite installation will complete. Reboot when prompted.
10. Log onto Windows. The Found New Hardware Wizard window will auto-launch.
11. When the Install Hardware Device Drivers window (see
) launches for the Generic
I
2
O Disk, click Next to continue the installation.
12. Uncheck the Floppy Disk and CD-ROM Drives boxes and check the Specify Location box and
continue.
See
.
13. Type in the following path for the location of the drivers: C:\Program Files\RAID Software
Suite\Drivers, click OK to continue. Restart the computer when finished.
14. If you installed the remote Storage Console, configure Internet Information Services. See
Section 2.5.7.1, Configuring Internet Information Services 5.0 for Microsoft Windows 2000
Server
For More Information


