


2-8
Intel® Integrated RAID Controller GSU31 User’s Manual
Rev 1.0
Advanced Installation Steps
Naming the RAID Volume
In
, RAID 0 volume is named Volume1. By default, the first RAID volume name will
always appear as Volume1. You are free to rename the RAID volume providing it starts with an
alpha character between A and Z in upper or lower case and does not exceed the 15 character limit.
The name may include an “_” (underscore) character. Rename the existing volume name if needed.
Choosing the Size of the RAID Volume
In
, the maximum volume size available (by default the maximum size always appears),
21455, has been selected. Another way to allocate the maximum size available to a RAID volume
is to enter a size value of 0. A value of 0 will automatically allocate all available space to a new
RAID volume. Enter the appropriate volume size.
Choosing the RAID Volume as a Boot Device
In
the RAID 0 Volume being created is selected by default to become the boot device.
To select the RAID 0 Volume as a boot device select Yes, or select No to create the volume without
selecting it as the boot device. For more information about selecting a boot device see
. The RAID 0 confirmation screen appears (
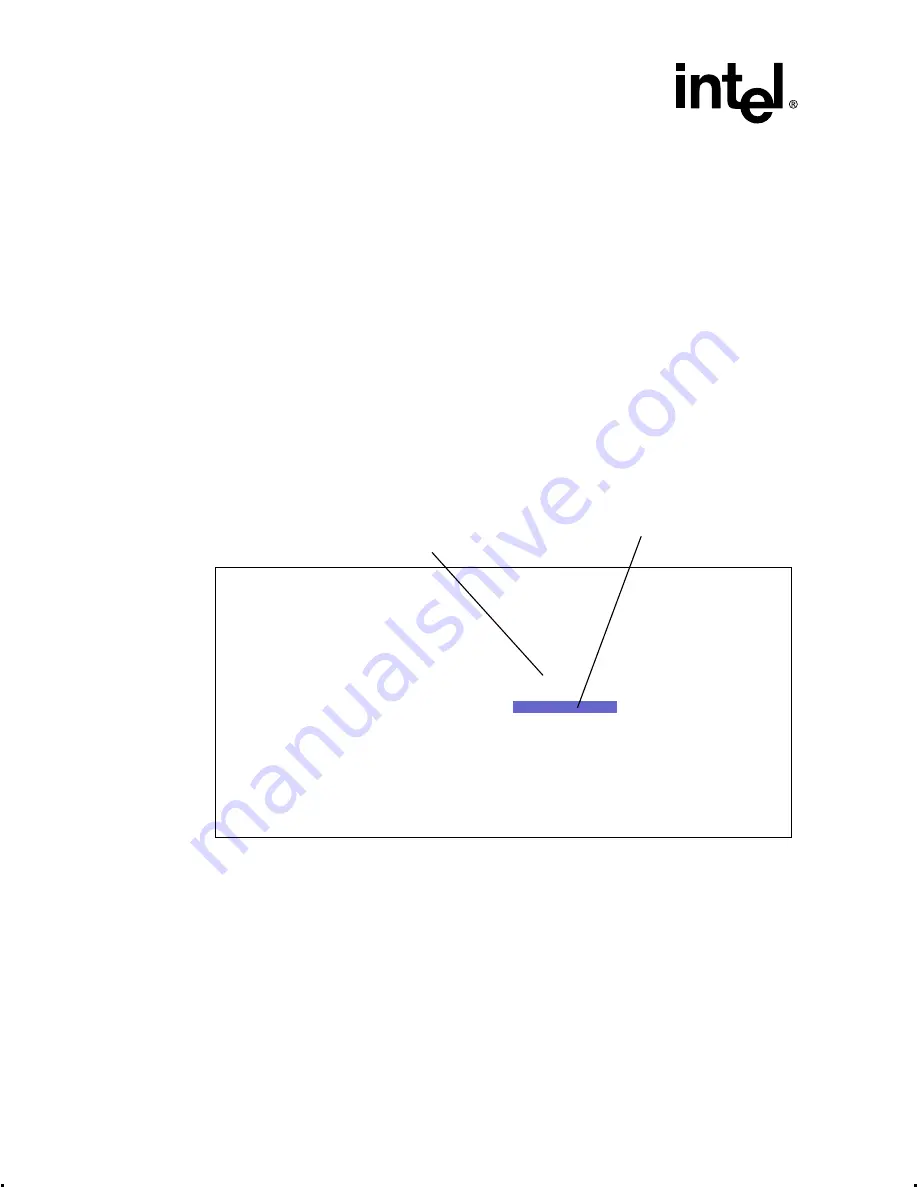
Figure 2-5. Create RAID 0 Volume
The Create RAID 0 confirmation screen confirms that the user is creating a RAID 0 volume. If you
are satisfied with the selections you have made for your RAID 0 volume, select Yes and the volume
creation process begins.
Intel(R) Integrated RAID - RAID Configuration Utility Version 4.05
Copyright(c) Intel Corporation 1998-2000 All Rights Reserved
RAID 0 Volume Creation
Volume Size Selection
Volume Name Selection
Enter the name of the RAID Volume: Volume1
Enter the size of the RAID Volume:
21455
Maximum RAID Volume Size: 21455
SUBMIT
*YES
NO
Is this the Boot Device?
Arrow Keys to Highlight, ENTER to Select.
Esc for previous menu


