


Intel® Integrated RAID Controller GSU31 User’s Manual
Rev 1.0
4-19
Using the Storage Console
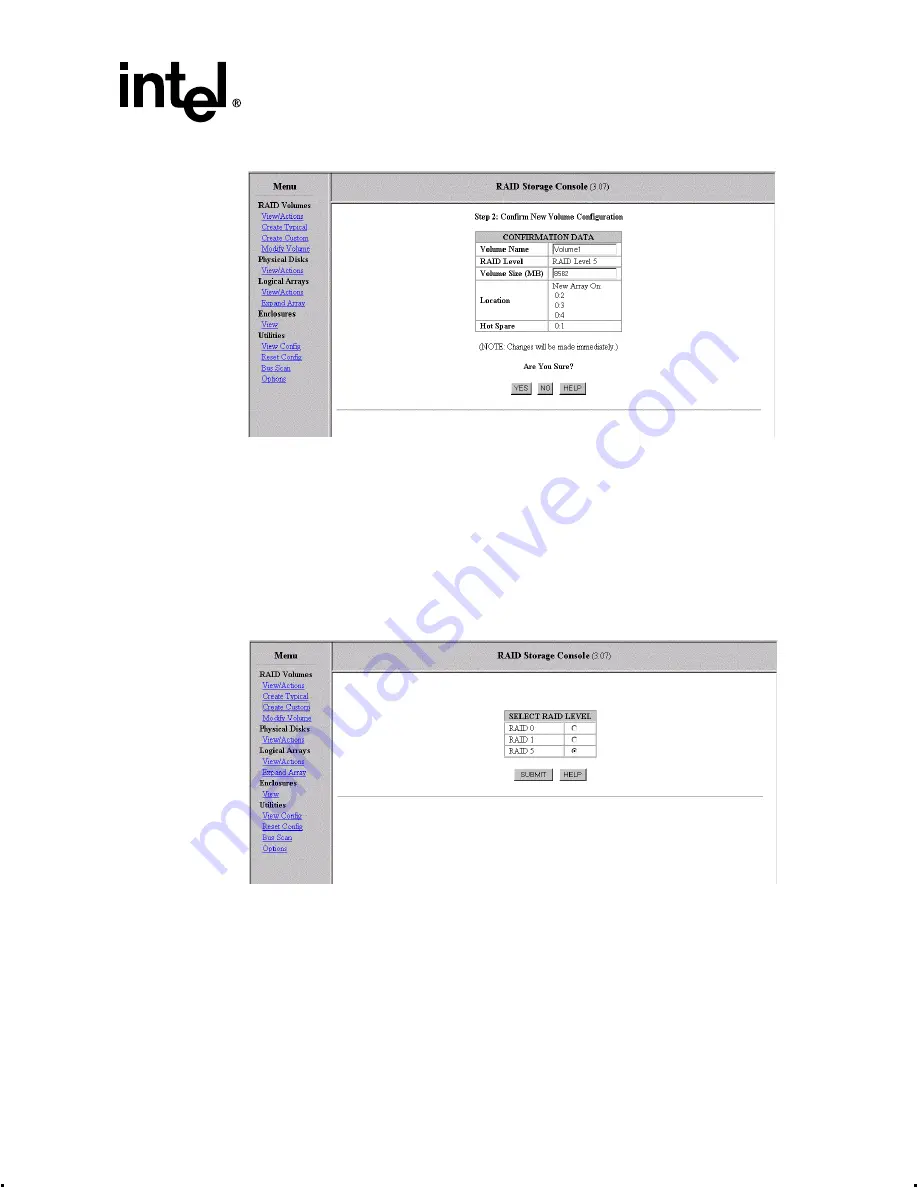
Figure 4-10. Create Typical Step 2
4.3.5.3
Create Custom
The Create Custom option allows you to select the volume name and size, RAID level, strip size
and define which disks or arrays upon which to place your volume. Create Custom does not
automatically select global hot spares.
To create a custom RAID volume configuration click, on the Create Custom link.
1. Select the appropriate RAID Level (0, 1 or 5) and submit your selection. See
Figure 4-11. Select RAID Level
2. Edit the volume information as appropriate. Edit volume name, volume size (zero for largest
possible size), strip size and select the disks you wish to include in the volume. See
. Click on the Create Volume button when finished. The create confirmation screen
appears. If you wish to create a global hot spare after the volume is created, go to the Physical
Disk List (
) and convert the available disk(s) as appropriate.
3. Click on Yes to create the volume. The Volume Created Successfully screen appears.


