


4-30
Intel® Integrated RAID Controller GSU31 User’s Manual
Rev 1.0
Using the Storage Console
2. In the Menu click on Bus Scan. The Select Bus Scan Type page appears. See
. Click
on the Destructive Method radio button. Click on Submit. The Bus Scan screen appears. Your
system is now in destructive mode. See
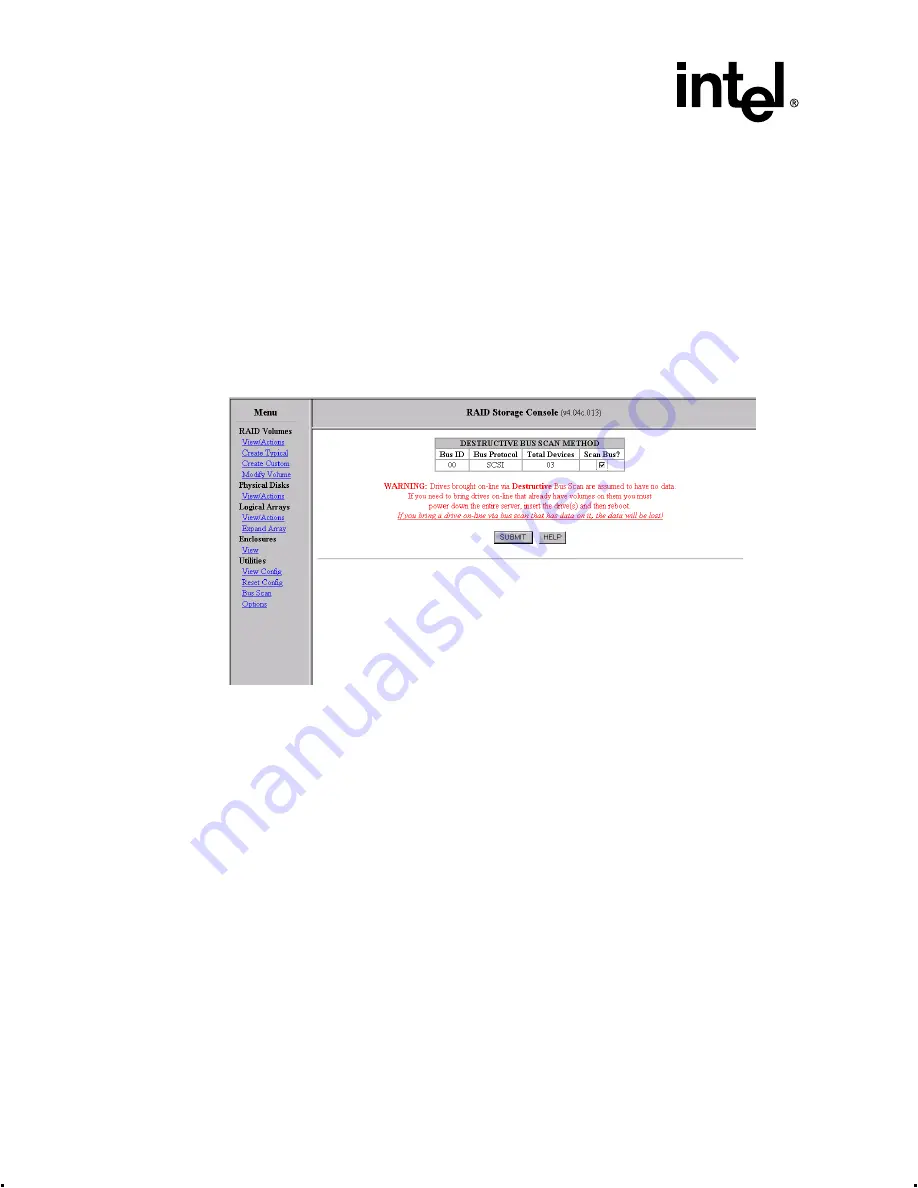
3. Click on the check box (check the box).
Warning:
Bus scans performed in destructive mode will destroy all data and configuration information on
newly installed disks.
4. Click on Submit to scan all buses (
5. Click on View/Config under Utilities to view all volumes and disks.
Figure 4-24. Destructive Bus Scan
Add Disk(s) Method
In this mode a bus scan will always attempt to bring new drives on-line and preserve any existing
RAID information that has previously been stored on them. If the disk(s) had previous information
stored on them, the volume(s) on the disk(s) will be visisble in Storage Console after the
completion of the bus scan. Note that while in this mode, intelligent enclosures will not
automatically present new disks in the Storage Console, a manual bus scan will be required even
with an intelligent enclosure in order to bring the disk(s) on line. Add Disk(s) method supports
array roaming and is the method used for the initial boot scan.
Performing a Bus Scan using the Add Disk(s) Method
1. Ensure disks are inserted into the system.
2. In the Menu click on Bus Scan. The Select Bus Scan Type page appears. See
. Click
on the Add Disk(s) Method radial button. Click on Submit. The Bus Scan screen appears. See
3. Click on the check box (check the box) and then click on Submit to scan all buses


