Removing
and
installing
internal
drives
This
section
describes
the
removal
and
installation
of
internal
drives
(see
for
the
location
of
the
drive
bays).
See
the
User’s
Guide
for
more
information
about
the
types
of
drives
that
the
computer
supports.
Removing
a
drive
in
bay
1
or
2
To
remove
a
drive
in
bay
1
or
2,
complete
the
following
steps:
1.
Read
the
safety
information
that
begins
on
page
and
2.
Turn
off
the
computer
and
all
attached
devices;
then,
disconnect
all
external
cables
and
power
cords.
3.
Remove
the
side
cover
(see
4.
Remove
the
front
bezel
(see
5.
Remove
the
hard
disk
drive
bracket,
if
one
is
installed
(see
6.
Disconnect
the
cables
from
the
drive
that
you
are
removing.
7.
Release
the
drive
from
the
bay
by
pressing
the
blue
release
button
on
the
side
of
the
drive;
then,
pull
the
drive
out
of
the
computer
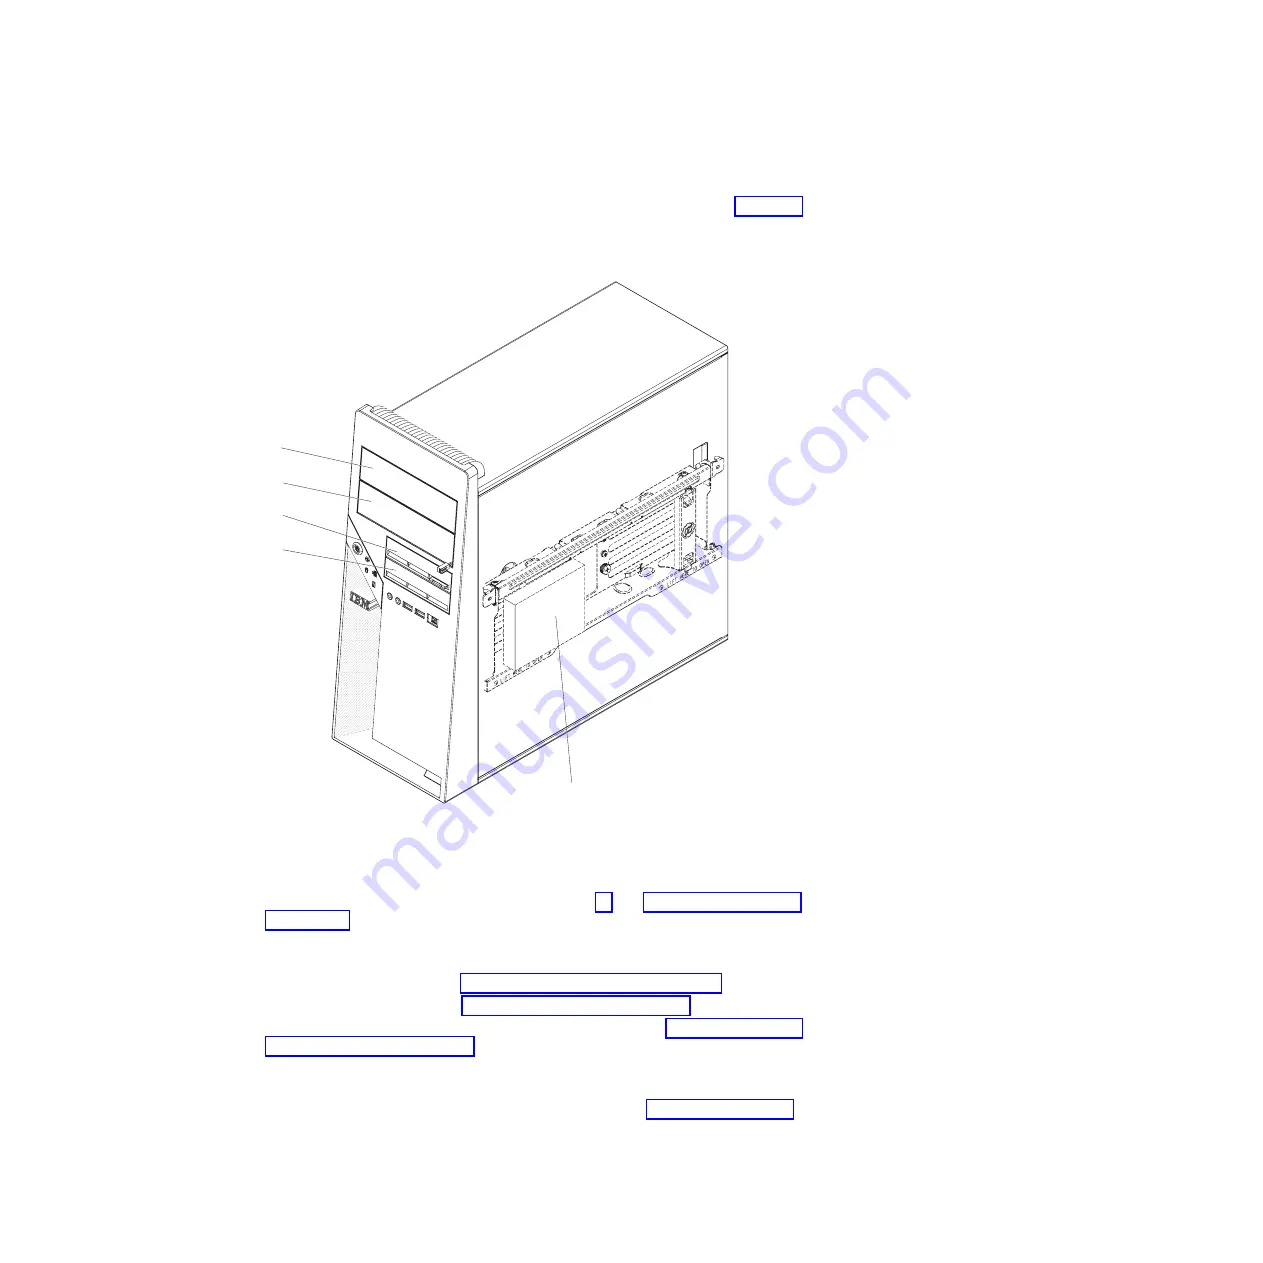
Bay 1
Bay 2
Bay 3
Bay 4
Bay 5
Figure
31.
Internal
drive
bay
locations
98
IBM
IntelliStation
M
Pro
Type
6218
and
9236:
Problem
Determination
and
Service
Guide
Summary of Contents for IntelliStation M Pro 6218
Page 1: ...IBM IntelliStation M Pro Type 6218 and 9236 Problem Determination and Service Guide...
Page 2: ......
Page 3: ...IBM IntelliStation M Pro Type 6218 and 9236 Problem Determination and Service Guide...
Page 8: ...vi IBM IntelliStation M Pro Type 6218 and 9236 Problem Determination and Service Guide...
Page 16: ...xiv IBM IntelliStation M Pro Type 6218 and 9236 Problem Determination and Service Guide...
Page 26: ...10 IBM IntelliStation M Pro Type 6218 and 9236 Problem Determination and Service Guide...
Page 140: ...124 IBM IntelliStation M Pro Type 6218 and 9236 Problem Determination and Service Guide...
Page 162: ...146 IBM IntelliStation M Pro Type 6218 and 9236 Problem Determination and Service Guide...
Page 167: ......
Page 168: ...Part Number 31R1998 Printed in USA 1P P N 31R1998...


