9. Click
OK
to close the Bind dialog box and begin the binding process.
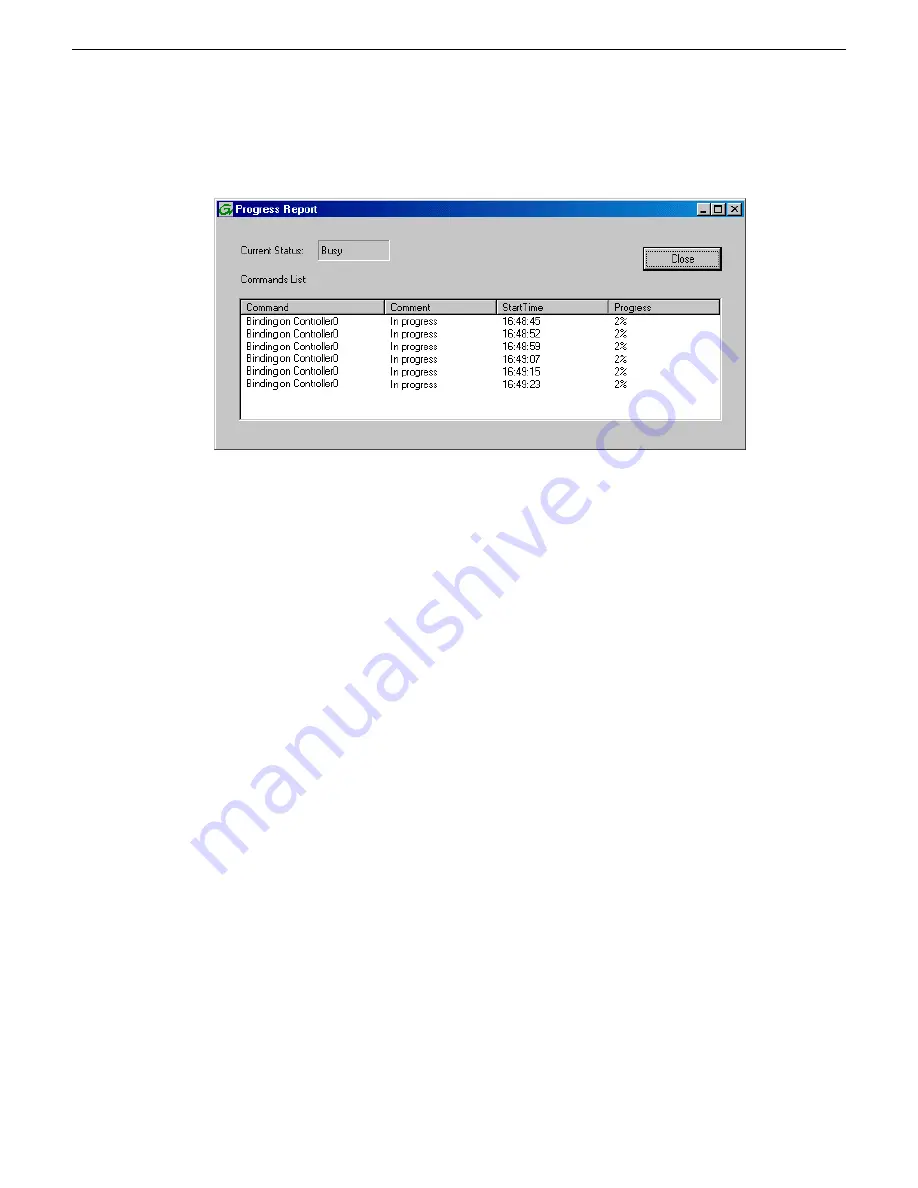
The Progress Report dialog box opens, showing the status of the binding process.
10. Close the Progress Report and repeat these steps for other unbound disks.
If specified by your system design, you can bind some disks as Hot Spares.
When you are done, if you did not bind any extra Hot Spares, you should have the following
results:
The disks in the primary RAID chassis and in optional Expansion chassis should be bound as
RAID 6 RANKs, with twelve disks to a RANK.
11. Click
Close
in Progress Report window.
12. Restart the K2 Media Server.
NOTE: Make sure start up processes on the K2 Media Server are complete before proceeding.
Next, create a new file system.
Related Topics
on page 310
on page 314
on page 316
Creating a new file system - Nearline K2 SAN
Prerequisites for the K2 RAID chassis are as follows:
•
Fibre Channel cable(s) connected
•
Ethernet cable(s) connected
•
Power on
•
Disks bound
Prerequisites for the optional K2 RAID Expansion chassis are as follows:
•
Fibre channel cable(s) connected
•
Power on
2014 01 27
K2 SAN Installation and Service Manual
193
Configuring and licensing the K2 SAN
Summary of Contents for K2 SAN
Page 2: ......
Page 4: ......
Page 28: ...28 K2 SAN Installation and Service Manual 2014 01 27 Preface ...
Page 234: ...234 K2 SAN Installation and Service Manual 2014 01 27 Configuring clients on the K2 SAN ...
Page 239: ...2014 01 27 K2 SAN Installation and Service Manual 239 Operating the K2 SAN ...
Page 248: ...248 K2 SAN Installation and Service Manual 2014 01 27 Operating the K2 SAN ...
Page 346: ...346 K2 SAN Installation and Service Manual 2014 01 27 Index ...


