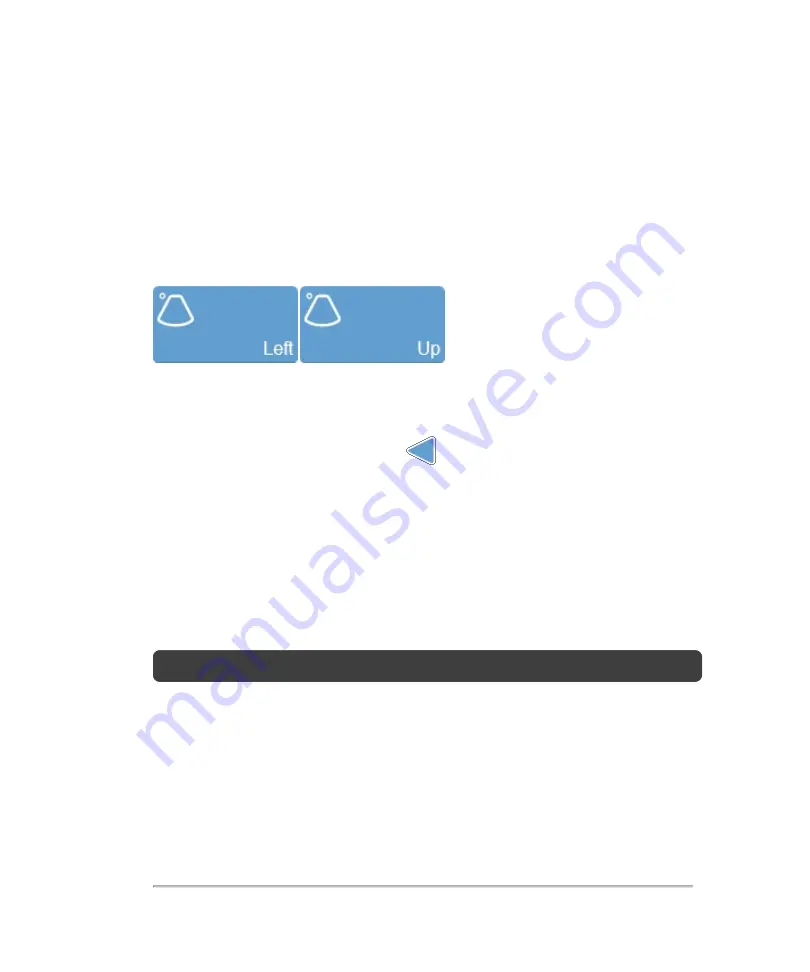
Transducer orientation indicator
The blue dot corresponds to the orientation ridge on the transducer nose and indicates
the orientation relative to the anatomy.
Tap either of the
Orientation
buttons to flip the image between the following options:
Right
and
Left
or
Up
and
Down
.
Focal zone
When you acquire data, this blue arrow
indicates the current focus depth.
Adjust the depth of the 2D focal zone on your image by tapping and dragging the arrow
up to decrease the depth or down to increase the depth.
Image depth
Adjust the image depth to display how deep you want the ultrasound signal. The
image depth is displayed in millimeters beside the control as you adjust it.
Note:
The available depth is transducer dependent.
To adjust the image depth
1
You can adjust the image depth in two ways:
a. Tap and drag the depth control down to increase the depth, or up to decrease
the depth—as you slide the control, the image depth is displayed beside the
2D control panel
219
Summary of Contents for VisualSonics Vevo MD
Page 1: ......
Page 2: ......
Page 12: ...12 ...
Page 69: ...System settings 69 ...
Page 70: ...70 System settings ...
Page 77: ...3 Tap DICOM Setup Connectivity 77 ...
Page 146: ...2 Tap User Management in the list on the left 146 System settings ...
Page 168: ...Review images screen 1 Next and previous image 2 Scan 3 Export 4 Delete 168 Patient ...
Page 461: ...zoom while scanning 2D control 226 Color Doppler Mode control 265 Index 461 ...
Page 462: ...462 Index ...
Page 463: ...51370 01 1 0 51370 01 ...


