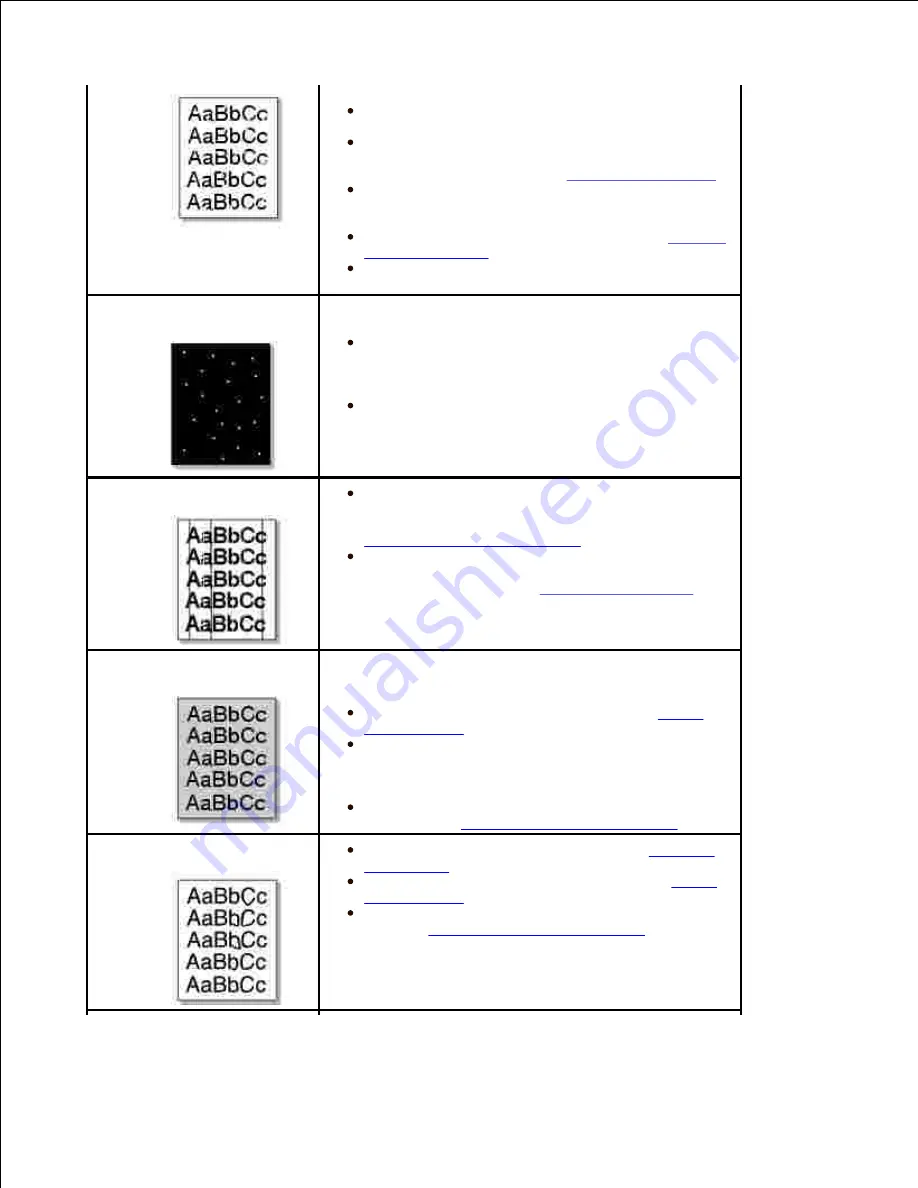
A single sheet of paper may be defective. Try
reprinting the job.
The moisture content of the paper is uneven or
the paper has moist spots on its surface. Try a
different brand of paper. See
"Paper Specifications"
.
The paper lot is bad. The manufacturing process
can cause some areas to reject toner. Try a different
kind or brand of paper.
The toner cartridge may be defective.
"Vertical
repetitive defects"
on the next page.
If these steps do not correct the problems,
contact a service representative.
White Spots
White spots appears on the page:
The paper is too rough and a lot of dirt from a
paper falls to the inner devices within the machine, so
the transfer roller may be dirty. Clean the inside of
your machine. Contact a service representative.
The paper path may need cleaning. Contact a
service representative.
Vertical lines
If black vertical streaks appear on the page,
the
drum inside the toner cartridge has probably been
scratched. Install a new toner cartridge. See
"Replacing the Toner Cartridge"
.
If white vertical streaks appear on the page,
the
surface of the LSU part inside the printer may be
dirty. Clean the LSU (see
"Cleaning the Interior"
).
Gray background
If the amount of background shading becomes
unacceptable:
Change to lighter weight pages. See
"Paper
Specifications"
.
Check the printer's environment; very dry (low
humidity) or high humidity (higher than 80% RH)
conditions can increase the amount of background
shading.
Remove the old toner cartridge and install a
new one. See
"Replacing the Toner Cartridge"
.
Toner smear
Clean the inside of the printer. See
"Cleaning
the Interior"
.
Check the paper type and quality. See
"Paper
Specifications"
.
Remove the toner cartridge and install a new
one. See
"Replacing the Toner Cartridge"
.
Summary of Contents for 2335 Mono Laser
Page 8: ...MFP and an optional tray 2 attached Front View Rear View ...
Page 9: ...Operator Panel Button Functions Common Keys ...
Page 31: ...5 ...
Page 114: ...2 In the Set Scan Button window select the scan setting option 3 ...
Page 145: ...7 ...
Page 236: ...a Open the DADF inner cover b Remove the document by gently pulling it out c d ...


